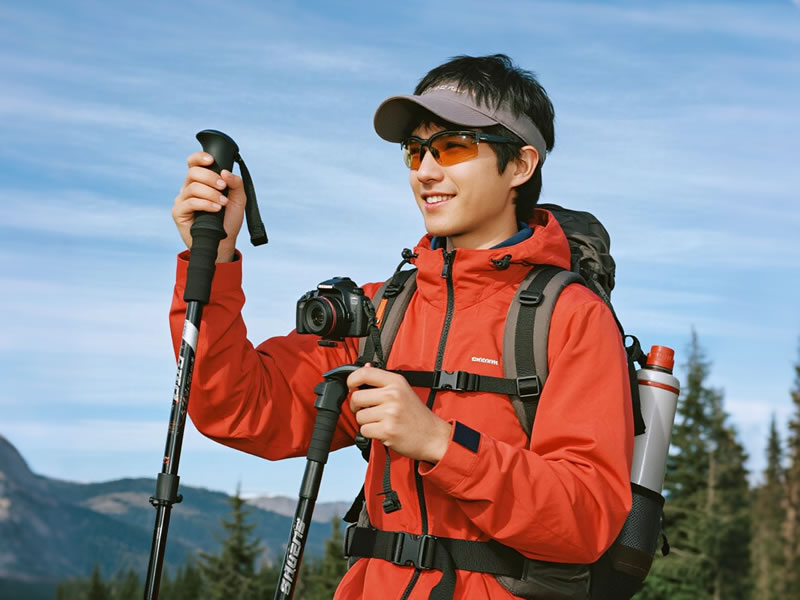
Compatible Camera Mounts for Hiking Poles?
Trekking poles are indispensable for stability on the trail, but they can also double as versatile camera supports for photographers and content creators. Whether you’re capturing sweeping landscapes, wildlife encounters, or action shots, attaching a camera to your hiking poles requires the right accessories to ensure stability, safety, and compatibility. This guide explores the best camera mount options for transforming your poles into practical monopods or grips.

Buy Link: https://www.aliexpress.com/item/1005008897419715.html
1. Universal Thread Adapters: The Foundation
Most trekking poles feature a hidden capability: a standard ¼-20 thread (the universal tripod screw size) concealed under the wrist strap cap or within the grip itself.
- How It Works: Unscrew the cap at the top of the grip to reveal the thread. A universal thread adapter (a small, inexpensive metal screw) can then be inserted, allowing you to attach any device with a standard tripod mount.
- Best For: Point-and-shoot cameras, compact mirrorless cameras, and smaller action cameras.
- Pros: Low cost, lightweight, and maintains the pole’s original functionality.
- Cons: The mount point is at the handle, which can make the pole top-heavy and awkward to balance. Best for quick, stationary shots rather than walking.
2. Dedicated Action Camera Mounts
For GoPro, Insta360, or DJI Osmo users, specialized mounts offer a more secure and flexible solution.
- Handlebar/Bar Mounts: These versatile clamps wrap securely around the pole’s shaft. They provide a stable base and allow you to position the camera anywhere along the pole’s length.
- Flexible Grips (GorillaPod Style): These mounts feature flexible legs that can wrap around the pole shaft multiple times for an incredibly secure hold. They are perfect for uneven surfaces and allow for creative camera angles.
- Best For: First-person POV shots, time-lapses, and capturing smooth motion footage.
- Pro Tip: For walking shots, combine the pole with a gimbal for incredibly smooth, stabilized footage that eliminates the bounce of your steps.
3. Smartphone Mounts
Our phones are powerful cameras, and securing them to a trekking pole is great for elevated selfies, group photos, or stable video.
- What to Look For: Choose a clamp-style mount with:Rubberized Grips: To prevent scratching your phone and ensure a secure hold.Adjustable Tension: To accommodate phones of different sizes, even with cases.360-Degree Rotation: For switching between portrait and landscape mode effortlessly.
- Best For: Hikers who primarily use their smartphone for photography and video.
- Warning: Always use a safety lanyard or tether attached to your phone’s case. A dropped phone can be disastrous on the trail.
4. Pole-Mounted Gimbal Systems
For professional-quality video, a gimbal is essential for counteracting the natural shake and bounce of walking.
- How It Works: A compact gimbal (like the DJI OM series) is attached to the trekking pole via a universal thread adapter or clamp. The gimbal’s motors actively stabilize the camera, producing buttery-smooth footage even while you’re moving.
- Best For: Videographers, bloggers, and serious enthusiasts who demand cinematic quality from their hikes.
- Consideration: This setup requires managing the gimbal’s battery life and adds significant weight to your kit.
5. DIY and Improvised Solutions
For the resourceful hiker, a few simple items can create a functional setup.
- Voile Straps & a Mini Tripod Head: A robust rubber Voile strap can securely lash a small, lightweight tripod ball head to the pole’s grip, providing a mounting platform.
- Heavy-Duty Rubber Bands: Can be used in a pinch to secure a small action camera, though this is not recommended for valuable equipment or rough terrain.
Critical Safety and Stability Tips
- Secure Everything Twice: Always double-check that all screws are tightened and clamps are secure before attaching your camera. Vibration from walking can loosen connections.
- Use a Safety Tether: This is non-negotiable. Always attach a safety cord or lanyard from your camera directly to your pack or pole. If the mount fails, your gear won’t tumble down a mountainside.
- Mind Your Balance: A camera mounted high on the pole makes it top-heavy and can affect its use for hiking. Be extra mindful of your balance, especially on technical terrain.
- Practice First: Test your setup at home before your hike. Understand its limitations and how it affects the pole’s functionality.
Conclusion
With the right mount, your trekking poles evolve from simple stability tools into powerful creative platforms. From the simplicity of a universal thread adapter for your compact camera to a full gimbal-stabilized system for video, there is a solution for every level of photographer. By prioritizing security with safety tethers and choosing a mount that matches your camera and hiking style, you can confidently capture stunning, stable images and videos without adding a dedicated tripod to your pack. Embrace the versatility of your gear and see the trail from a whole new perspective.


