


DIY Walking Pole Repair: The Ultimate Guide to Fixing Your Trekking Poles
Trekking poles are crucial companions on the trail, but they endure significant stress with every step. When they fail, it can compromise your hike and your safety. While serious damage may require professional help, many common issues have straightforward DIY solutions. Learning basic walking pole repair not only saves money but also empowers you to handle trailside emergencies. This comprehensive guide will walk you through diagnosing and fixing the most frequent trekking pole problems, ensuring your trusted gear remains reliable for miles to come.
Recommended trekking pole purchase link: https://s.click.aliexpress.com/e/_c4M7OWaN
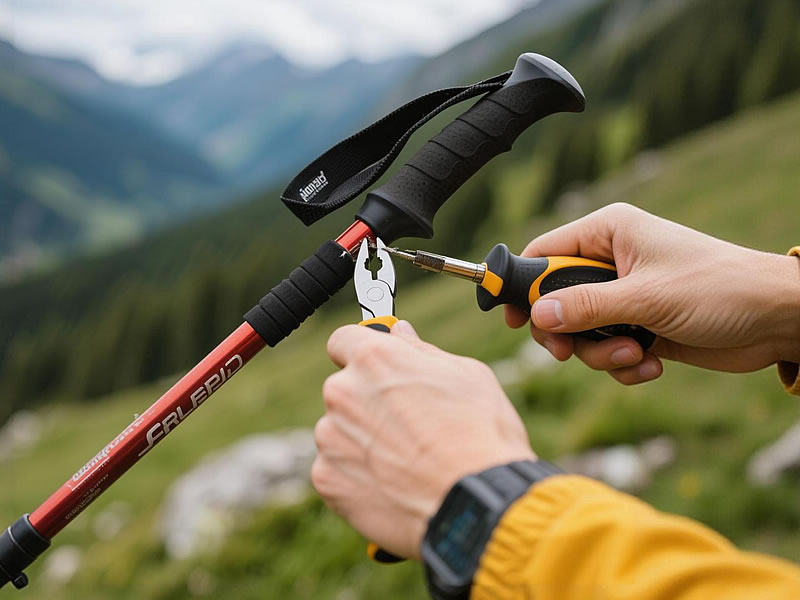
Essential Tools for Your Repair Kit
Before starting any repair, gather these basic tools:
- Multi-tool or set of Allen wkeys
- Adjustable wrench or locking pliers
- Replacement parts (tips, baskets, lock components)
- Rubbing alcohol and cotton swabs
- Lightweight lubricant (silicone-based)
- Epoxy putty or strong adhesive
- Small piece of fine-grit sandpaper
Common Repair #1: Replacing Worn-Out Tips
This is the most frequent maintenance task, crucial for maintaining grip on slippery surfaces.
Symptoms: The carbide tip is smooth, rounded, or completely worn away, exposing the metal casing underneath.
DIY Fix:
- Secure the pole shaft in a vise (padded with cloth) or hold firmly with pliers.
- Grip the old tip with another set of pliers and turn counterclockwise.
- Clean the threaded socket with a cotton swab and alcohol.
- Apply a small amount of epoxy to the new tip's threads.
- Screw the new tip clockwise until hand-tight, then give a final quarter-turn with pliers.
Pro Tip: Keep spare tips in your repair kit for emergency trail replacements.
Common Repair #2: Fixing Stuck or Slipping Locks
Both twist locks and lever locks can develop issues over time.
For Stuck Twist Locks:
- Separate the pole sections completely.
- Clean both the inner shaft and expanding mechanism with alcohol.
- Apply dry lubricant sparingly to the mechanism.
- Reassemble and test the adjustment.
For Slipping Lever Locks:
- Open the lever mechanism fully.
- Tighten the internal adjustment nut clockwise (usually requires a hex key).
- Test frequently to avoid over-tightening.
- Replace the locking mechanism if tightening doesn't solve the issue.
Common Repair #3: Basket Replacement
Symptoms: Broken spokes, cracks, or baskets that spin freely.
DIY Fix:
- Most baskets unscrew counterclockwise from the pole tip.
- Clean the threads beneath the old basket.
- Screw the new basket clockwise until snug.
- Ensure proper basket size for your activity - small for summer hiking, large for snow.
Common Repair #4: Shaft Damage Solutions
For Aluminum Shafts:
- Small dents: Carefully sand smooth edges with fine-grit sandpaper
- Bent sections: Use two pieces of wood as splints and gently straighten
- Severe bends: Consider cutting the damaged section and using the pole as a shorter backup
For Carbon Fiber Shafts:
- Surface scratches: Lightly sand smooth and apply epoxy coating
- Cracks or fractures: This usually requires professional assessment
- Never attempt to bend carbon fiber back into shape
Trailside Emergency Repairs
When you're miles from civilization and equipment fails:
- Broken strap: Use a paracord bracelet or shoelace as temporary replacement
- Loose tip: Wrap the thread area with tape for temporary hold
- Stuck section: Use a tree as leverage to separate sections, being careful not to damage the pole
- Cracked basket: Remove it entirely rather than risking complete failure
When to Seek Professional Help
Some situations require expert attention:
- Carbon fiber splintering or cracking
- Completely seized locking mechanisms
- Bent ferrules or connector pieces
- Damage near the grip or strap attachments
Prevention: The Best Repair Strategy
Regular maintenance prevents most common issues:
- Clean poles after each use, especially locking mechanisms
- Store poles extended in a cool, dry place
- Periodically check all components for wear
- Use appropriate baskets for the terrain
- Avoid overtightening any components
Conclusion: Empowerment Through Self-Reliance
Mastering basic DIY walking pole repair transforms your relationship with your gear. Instead of viewing equipment failure as a trip-ending disaster, you'll see it as a manageable challenge. The skills to replace a worn tip, adjust a slipping lock, or perform emergency trail repairs not only save money but build confidence in the backcountry. Remember that safety comes first - when in doubt about a repair's integrity, err on the side of caution. With these repair techniques in your skillset, you're prepared to keep your poles functioning optimally for countless adventures to come.


