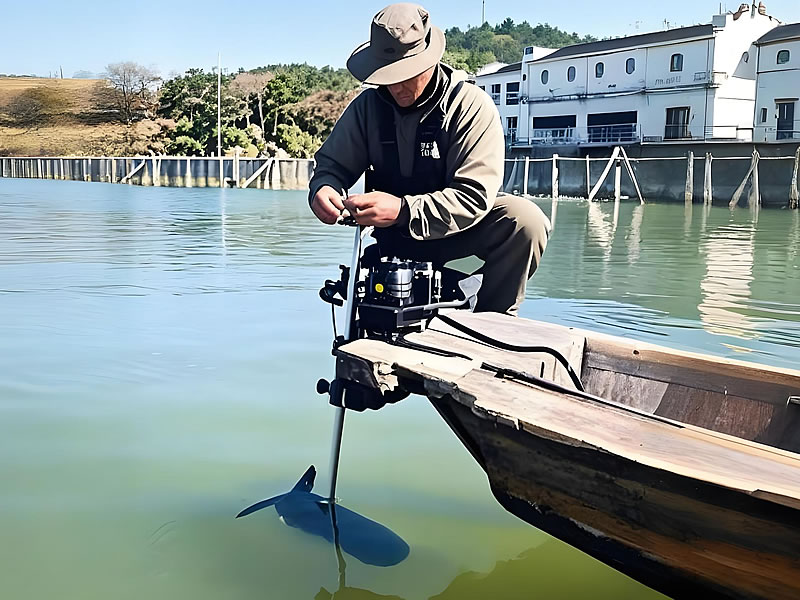
How to Install an Electric Trolling Motor: Step-by-Step Guide
Installing an electric trolling motor properly ensures optimal performance and longevity of your equipment. Whether you're mounting a bow-mount or transom-mount motor, this comprehensive guide will walk you through the entire installation process with professional tips to avoid common mistakes.

Tools and Materials You'll Need:
- Electric drill with assorted bits
- Marine-grade stainless steel bolts/nuts/washers
- Silicone marine sealant
- Wire cutters/strippers
- Crimping tool and connectors
- Multimeter (for voltage testing)
- Adjustable wrench
- Socket set
- Safety glasses and gloves
Step 1: Choose the Optimal Mounting Location
For Transom Mount:
- Select a flat, sturdy area on the stern
- Ensure clear propeller clearance (minimum 12" below hull)
- Avoid mounting near drain plugs or other hardware
For Bow Mount:
- Centerline mounting provides best control
- Verify sufficient deck reinforcement
- Consider deploying/stowing clearance
Step 2: Prepare the Mounting Surface
- Clean the mounting area thoroughly
- Use the motor's template to mark hole positions
- Check underside for wiring or structural components
- Apply masking tape to prevent gelcoat chipping
Step 3: Drill Pilot Holes
- Use a drill bit slightly smaller than mounting bolts
- Drill perpendicular to mounting surface
- For fiberglass: start with 1/8" bit, gradually increase
- For aluminum: use cutting fluid to prevent galling
Step 4: Apply Marine Sealant
- Generously apply marine sealant to all holes
- Coat both sides of mounting bracket
- Use butyl tape for additional waterproofing
- Choose sealant compatible with your hull material
Step 5: Secure the Mounting Bracket
- Insert stainless steel bolts with washers
- Tighten evenly in a crisscross pattern
- Use locking nuts or nylon insert nuts
- Torque to manufacturer's specifications
Step 6: Install the Motor Head
- Align motor head with mounting bracket
- Secure with provided pins or bolts
- Ensure smooth deployment mechanism
- Verify full range of motion
Step 7: Electrical Connections
- Route wiring to battery compartment
- Use marine-grade tinned copper wire
- Install appropriate circuit breaker (within 12" of battery)
- Connect red (+) to battery positive
- Connect black (-) to battery negative
- Secure all connections with heat-shrink connectors
Step 8: Final Testing and Adjustments
- Check all bolts for tightness
- Test motor operation at all speeds
- Verify steering smoothness
- Adjust shaft angle if needed
- Calibrate GPS/autopilot features
Pro Installation Tips:
✔ Use dielectric grease on all electrical connections
✔ Add a battery disconnect switch for safety
✔ Consider a battery monitor for runtime tracking
✔ Label all wires for future maintenance
✔ Apply anti-corrosion spray to metal components
Common Mistakes to Avoid:
✘ Overtightening mounting hardware
✘ Skipping the sealant application
✘ Using undersized wiring
✘ Improper battery connections
✘ Ignoring manufacturer's torque specs
Maintenance Recommendations:
- Inspect mounting hardware annually
- Check wiring insulation regularly
- Clean and lubricate moving parts
- Verify waterproof seals remain intact
- Test circuit protection devices
By following these detailed steps, you'll ensure a professional-quality installation that delivers reliable performance trip after trip. Remember that proper installation significantly impacts your trolling motor's efficiency and lifespan.
For complex installations or if you're unsure about any step, consult a professional marine technician. Your safety on the water depends on proper equipment installation and maintenance.


