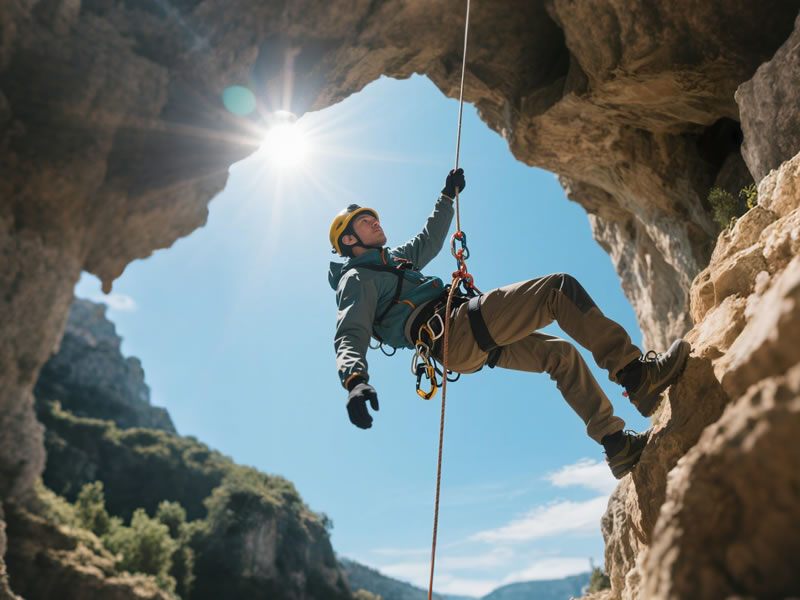
How to Rappel Smoothly with a Stop Descender
Rappelling with a stop descender like the Petzl Stop or Edelrid Madillo should feel controlled and effortless—but without proper technique, you might experience jerky movements, rope burns, or even accidental locks. Whether you're descending big walls or multi-pitch routes, mastering these professional techniques will ensure buttery-smooth rappels every time.

Why Proper Stop Descender Technique Matters
Stop descenders offer unparalleled safety with their auto-locking features, but they require different handling than traditional rappel devices:
- More friction than tube-style devices
- Instant locking if released incorrectly
- Heat buildup potential on long rappels
Follow these steps to rappel like a guide service professional.
Step 1: Pre-Rappel Safety Check
Always perform this 3-point inspection:
- Auto-lock test: Pull the rope sharply downward to ensure the cam engages
- Carabiner check: Verify your locking 'biner is properly seated
- Rope alignment: Confirm the rope runs cleanly through the device (no twists)
Pro Tip: Practice this check on the ground before your climb.
Step 2: The Smooth Descent Technique
Body Position
- Lean back aggressively to weight the system
- Keep feet shoulder-width for stability
- Maintain slight bend in knees to absorb bounce
Hand Positioning
- Brake hand: Dominant hand on brake strand (6-12" below device)
- Guide hand: Other hand lightly grips upper rope to prevent twisting
Speed Control
- Feather the rope through fingers rather than gripping tightly
- For slower descent: Spread brake hand wider along the rope
- For faster descent: Allow slight slack while maintaining control
Step 3: Advanced Control Methods
For Overhangs
- Short "pulse" pushes on the rope instead of continuous flow
- Keep hips close to the wall to prevent spinning
For Long Rappels
- Alternate brake hands to prevent fatigue
- Use a leather glove on your brake hand
- Monitor heat buildup on the device (touch test when possible)
With Heavy Packs
- Add a friction hitch (Prusik or Autoblock) below the device
- Descend in stages to rest and readjust
Common Mistakes to Avoid
❌ Death-gripping the rope (causes jerky movement)
❌ Letting the brake strand go completely (triggers abrupt lock)
❌ Rappelling too fast (overheats the device)
❌ Ignoring rope twist (leads to dangerous tangles)
Pro Tips from Mountain Guides
- "The smoother you are, the cooler your device stays" – Heat management is key
- "Practice emergency stops" – Intentionally trigger the auto-lock to learn its feel
- "Look where you're going" – Headlamp positioning matters in caves/dusk
- "Gloves are cheaper than skin grafts" – Especially important for >30m rappels
Troubleshooting Problems
Problem: Device locks unexpectedly
Solution: Maintain slight downward pressure on brake strand
Problem: Rope won't feed smoothly
Solution: Check for dirt buildup in the device; clean if necessary
Problem: Excessive swinging
Solution: Keep feet in opposition to the rock face
Final Thoughts
Mastering stop descender rappelling transforms your vertical efficiency—whether retreating from a storm or finishing a big wall climb. Remember: Smooth isn't slow; smooth is fast done safely.
What's your best rappelling tip? Share your hard-won wisdom in the comments!


