


Carabiner Pulley System DIY: Building Mechanical Advantage for Rescue & Hauling
Creating a DIY pulley system with carabiners is a fundamental skill for climbers, rescuers, and outdoor enthusiasts. It allows you to lift heavy loads or tension lines with significantly less effort by using mechanical advantage (MA). While not a replacement for professional rescue equipment in critical scenarios, a well-built DIY system is invaluable for gear hauling, campsite setups, or emergency improvised solutions.
Core Principles: How Mechanical Advantage Works
A pulley system redirects force and multiplies your input. A simple 3:1 MA system means you theoretically use one-third of the force to lift a load, though friction reduces the actual efficiency. The system works by increasing the number of rope strands directly supporting the load.
Essential Gear & Safety First
Never compromise on safety. Your system is only as strong as its weakest component.
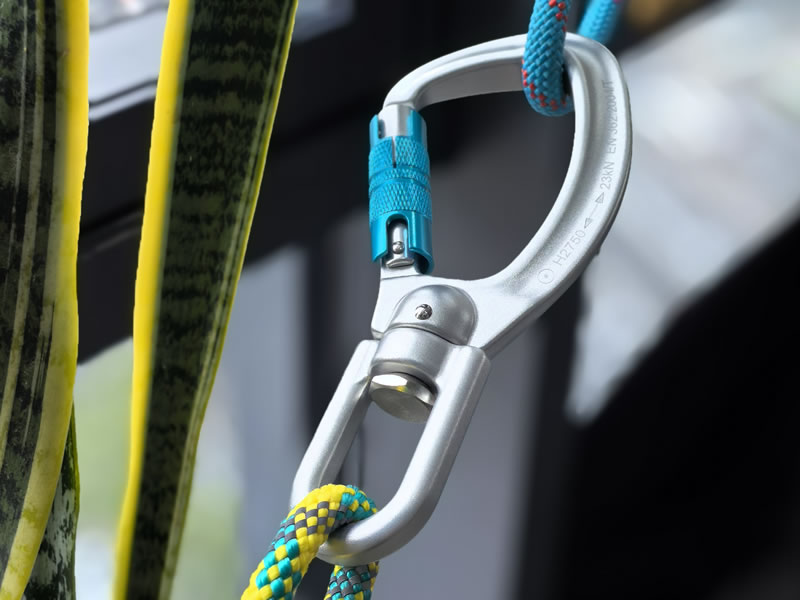
- Carabiners: Use only UIAA/CE certified, load-rated locking carabiners (screwgate or auto-locking). Avoid non-locking carabiners and never use hardware store keyrings. Their gates can open under side load, and they are not rated for dynamic forces.
- Pulleys: A dedicated ball-bearing climbing pulley is ideal. It minimizes friction, making your system far more efficient. In a true DIY pinch, a second large, robust locking carabiner can act as a "sheave," but expect high friction and accelerated rope wear.
- Rope/Cord: Use static kernmantle rope or high-strength utility cord (like 6mm-8mm accessory cord). Dynamic climbing ropes create excessive bounce and stretch.
- Anchor Points: All anchors—for the system and the operator—must be bombproof. Use trees, rock features, or vehicle points rated for far more than the expected load.
Building a Basic 3:1 Haul System (The Z-Drag)
This is the most versatile and common DIY pulley system.
You will need: 3 locking carabiners, 1 pulley (or a 4th carabiner as a friction sheave), rope, a load (e.g., a hauled backpack).
Step-by-Step Setup:
- Anchor the Load: Secure the load with a carabiner.
- Establish the Main Anchor: Set up a secure anchor point in line with but independent of the load's anchor.
- First Connection (Directional Change): Clip your pulley into the carabiner on the load. This is Pulley 1.
- Rope Setup: Tie one end of the rope directly to the main anchor.
- Thread the Rope: Run the free end of the rope through Pulley 1 (on the load).
- Second Connection (Mechanical Advantage): Pull the rope back toward the main anchor. Clip a second carabiner (or your second pulley) into the main anchor. Thread the rope through this device. This is Pulley 2.
- The Hauling Strand: The rope now forms a "Z." Pull down on the free end (the hauling strand) to lift the load. You have a 3:1 system: three strands run between the load and the main anchor.
Advanced: Converting to a 5:1 System
For heavier loads, add a progress capture device (like a Prusik knot or mechanical ascender) and another carabiner to create a 5:1.
- Build the 3:1 System as described above.
- Add a Progress Capture: Attach a Prusik loop to the hauling strand of the rope above Pulley 2. Clip the Prusik into the main anchor with a carabiner. This knot will grab the rope when you pull and hold tension when you reset.
- Add a Third Pulley: Between pulls, reset the system by moving Pulley 2 (from the main anchor) to the carabiner on the Prusik knot. Pull again. This compounds the advantage to 5:1.
Critical Safety Warnings & Best Practices
- Friction is Your Enemy: Every carabiner used as a sheave creates massive friction. Use real pulleys for efficiency.
- Mind the Angles: Sharp angles in the rope at carabiner lips cause undue wear and reduce strength.
- Progress Capture is Essential: Always use a Prusik knot or similar to hold gains and prevent catastrophic backsliding.
- Inspect Everything: Check each component for wear, cracks, or gate malfunctions before and after use.
- Communication & Control: Have a clear plan. Pull smoothly. Never stand directly under the load.
Conclusion
A DIY carabiner pulley system is a powerful application of simple physics. By understanding the principles of mechanical advantage and adhering to strict safety protocols with properly rated gear, you can build effective systems for a range of tasks. Start by practicing the 3:1 Z-drag with a light load in a non-critical environment. Master the basics, then progress to more complex systems, always prioritizing the integrity of every component and connection in your life-saving web of rope and metal.


