


Best Carabiner to Attach to a Hard Hat
Attaching a carabiner to a hard hat (or climbing helmet) for hands-free convenience is a common practice in industrial, construction, and climbing environments. However, this integration of personal protective equipment (PPE) and organizational gear must be approached with paramount respect for safety certifications and design intent. The "best" carabiner for this task is defined not by its strength, but by its light weight, secure attachment method, and absolute refusal to compromise the helmet's structural integrity.
The Fundamental, Non-Negotiable Rule
You must never drill, punch, glue, or otherwise modify the shell of a certified hard hat or climbing helmet. Doing so voids its safety certification (ANSI, CE, UIAA) by creating stress concentrators that can lead to catastrophic failure upon impact. Attachment must be made only to pre-existing, manufacturer-designed points.
Identifying Safe Attachment Points
- Designated Accessory Slots/Clips: Most modern industrial hard hats and climbing helmets have integrated plastic or rubber accessory clips or slots along the sides and rear. These are the primary and intended attachment points.
- Chin Strap Anchors: The robust points where the chin strap attaches to the shell are often suitable for clipping a small carabiner, provided it does not interfere with the strap's function or comfort.
- Brim Edge (With Extreme Caution): On some hard hats, the front brim may have a slight lip. Clipping here is less ideal as it can unbalance the helmet and is more prone to snagging. It is a last-resort option.
- Via a Secondary Retention System: The safest method is often to use a manufacturer-approved accessory rail or patch (e.g., a Velcro or adhesive-backed loop compatible with the helmet) and attach the carabiner to that, not directly to the helmet shell.
The Ideal Carabiner Profile
Given the constraints, the perfect carabiner is defined by specific traits:
- Lightweight: Must be aluminum. A heavy steel carabiner will make the helmet uncomfortably front or side-heavy, causing neck strain and encouraging the user to wear the helmet incorrectly.
- Small and Low-Profile: A mini or keychain-sized carabiner (approx. 1.5-2.5 inches) is ideal. It should carry the necessary item without becoming a snag hazard or catching on overhead objects.
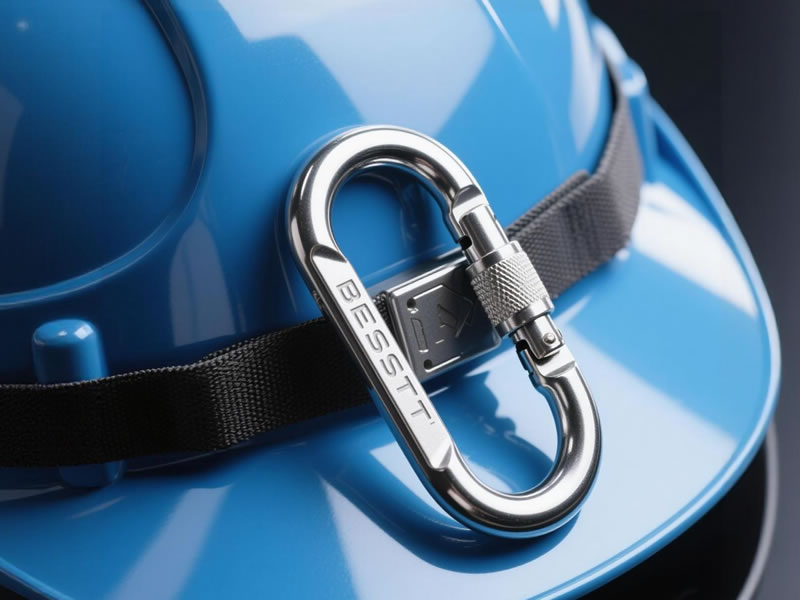
- Locking Gate: A screwgate, twist-lock, or auto-locking gate is essential. Vibration from movement or machinery could cause a non-locking snap gate to open, dropping your gear. A positive lock prevents accidental loss.
- Smooth, Snag-Free Design: A keylock (no-snag) nose and rounded edges are crucial to prevent the carabiner from catching on webbing, wires, or brush.
- Corrosion Resistant: For industrial or outdoor use, anodized aluminum or stainless steel components resist sweat and weather.
Recommended Carabiner Types & Specific Uses
- For Attaching a Headlamp, Hearing Protection, or Light Mask:Carabiner: A small, wire-gate locking carabiner like the Black Diamond Miniwire or Petzl Spirit. It's incredibly light and low-profile.Method: Clip directly to an accessory slot or chin strap anchor.
- For Carrying a Small Gear Pouch, Radio, or Water Bottle (on a climbing helmet):Carabiner: A compact screwgate like the Camp Nano 22 or DMM Revolver.Method: Attach to a rear accessory clip. Ensure the weight is balanced and does not significantly affect stability during movement.
- The "Do-Not-Ever" Configuration – A Critical Warning:NEVER use a carabiner to "biner-clip" the helmet itself to a harness or pack. This places direct impact loads on the carabiner and gate, which are not designed for that force orientation, and can violently wrench the neck in a fall.NEVER attach a carabiner as part of a fall arrest or restraint system. Hard hats are not designed for fall protection; that is the role of a full-body harness and its designated attachment points.
Practical Installation and Safety Checklist
- Inspect the Helmet: Verify the shell is free of cracks and the intended attachment point is sturdy.
- Attach the Carabiner: Clip it securely onto the manufacturer's accessory point. Ensure the gate is fully locked.
- Load Test: Gently tug the carabiner to ensure it is seated correctly and the helmet remains stable on your head.
- Function Test: Turn your head side-to-side and look up and down. The attached item should not swing excessively or obstruct your vision.
- Regular Inspection: Make checking the carabiner's lock and the attachment point's integrity part of your daily PPE check.
Conclusion: An Accessory, Not an Anchor
The best carabiner for a hard hat is a study in minimalism and respect for primary function. It is a light-duty organizational tool that defers completely to the life-saving device it is attached to.
By selecting a small, locking, lightweight aluminum carabiner and attaching it exclusively to manufacturer-designated points, you achieve convenient hands-free carry without introducing a single point of failure to your safety system. This approach upholds the highest principle of PPE use: never let a convenience modification create a new hazard. The helmet's job is to protect your head; the carabiner's job is to hold your small gear—and to do so invisibly, securely, and without ever compromising its host's vital purpose.


