


How to Adjust Trekking Poles for Your Height: A Complete Guide for Comfort and Efficiency
Properly adjusting your trekking poles is the single most important step in using them effectively. Incorrect length can lead to wrist, shoulder, or back pain, reduce the poles' benefits, and even increase fatigue. This guide provides a precise method for finding your perfect baseline length and teaches you how to dynamically adjust for different terrain.
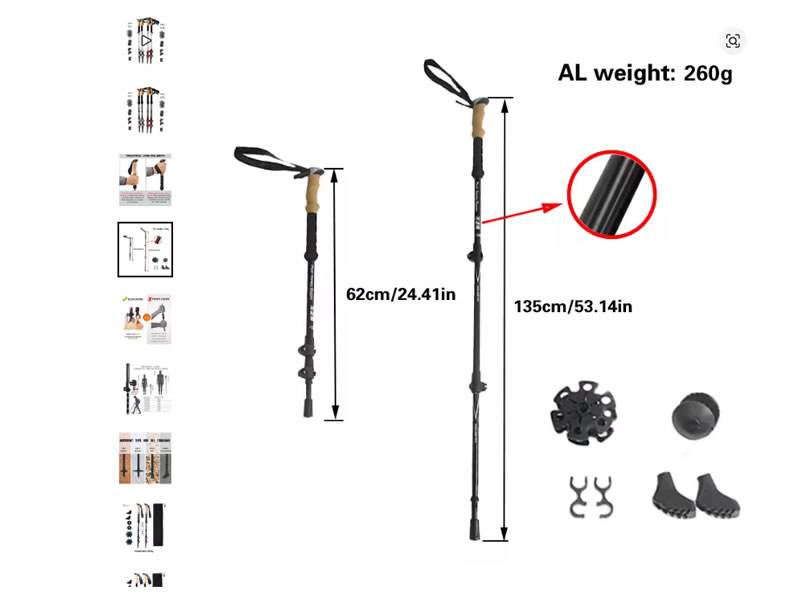
Recommended trekking pole purchase link: https://s.click.aliexpress.com/e/_c4M7OWaN
The Golden Rule: The 90-Degree Elbow Angle
This is the universal standard for establishing your correct trekking pole length on flat ground.
Step-by-Step Method:
- Preparation: Wear the shoes you'll be hiking in. Stand upright on a level, hard surface.
- Grip the Pole: Hold the pole by its grip and slide your hand up through the bottom of the wrist strap. Now, place your palm on the grip. This ensures you can transfer weight through your palm via the strap, rather than by gripping tightly.
- Plant and Check: Let your arm hang naturally at your side. Plant the pole tip on the ground directly beside your foot.
- The Key Angle: With the pole planted, your elbow should form a 90-degree angle (a right angle). Your forearm should be parallel to the ground.
The Quick Formula (For Initial Sizing)
If you're shopping online or need a starting point, use this industry-standard formula:
Your Height (in centimeters) x 0.68 = Suggested Pole Length (in cm)
- Example: A 175 cm (5'9") hiker: 175 x 0.68 = 119 cm.
- This formula gives you a ballpark figure. Always fine-tune using the 90-degree method above.
Dynamic Adjustment for Terrain
Your flat-ground length is just the starting point. Proper technique requires adjusting for slope:
- For UPHILL Hiking: Shorten your poles by 5-10 cm (2-4 inches). When climbing, the ground is closer to your hands. Shorter poles allow you to maintain an efficient, upright posture and a powerful push-off without overreaching behind you.
- For DOWNHILL Hiking: Lengthen your poles by 5-10 cm (2-4 inches). Longer poles allow you to plant the tip securely ahead of you on the slope, helping you control descent, reduce braking impact on your knees, and maintain balance without leaning back excessively.
Pro Tip: Mark your standard flat-length and adjusted positions with a small piece of tape or a permanent marker for quick, visual reference on the trail.
Technical Adjustment: Using the Locks
Most adjustable poles have 2 or 3 sections. For stability and even stress distribution:
- Loosen the locking mechanisms (flick locks or twist locks).
- Adjust the bottom sections first, making them roughly equal in extended length.
- Fine-tune the final length with the top section (near the grip).
- Tighten all locks securely. For flick locks, ensure the lever is fully closed and firm. For twist locks, tighten firmly, but avoid over-torquing.
- Test: Give the pole a gentle push against the ground to ensure no section collapses.
Common Mistakes to Avoid
- Setting Poles Too Long: This forces you to hike with your shoulders shrugged, leading to neck and shoulder tension. It also makes planting the pole ahead difficult on descents.
- Setting Poles Too Short: This causes you to hunch over, straining your back and reducing the pole's effectiveness for propulsion and shock absorption.
- Ignoring Terrain Adjustments: Using the same length all day misses one of the key benefits of adjustable poles—joint protection on slopes.
- Uneven Section Extension: Extending one section much more than others creates a weak point and can make the pole feel unstable.
Special Considerations
- Fixed-Length/Foldable (Z) Poles: You must choose the correct size from the manufacturer. Use the height chart they provide, which is based on the 90-degree rule. Try before you buy if possible.
- Heavy Backpacking: With a significant load, you may prefer to add 1-2 cm to your flat-ground length to account for the pack's weight slightly altering your posture and center of gravity.
Final Check: The Feel Test
After adjusting, take a short walk. Your stride should feel natural, with the pole planting smoothly beside or slightly behind you. There should be no feeling of reaching up or stooping down. Your shoulders and hands should remain relaxed.
By taking the time to correctly adjust your trekking poles, you transform them from simple sticks into precision tools that enhance stability, improve endurance, and protect your joints for miles to come. Remember: 90 degrees on the flat, shorten for up, lengthen for down.


