


Trekking Pole Wrist Straps: How to Adjust Them Properly?
For many hikers, trekking pole wrist straps are an afterthought—looped on and ignored. However, when adjusted correctly, they transform from mere safety leashes into powerful performance tools. Properly fitted straps significantly reduce hand and forearm fatigue, improve power transfer with each stride, and enhance overall stability on challenging terrain. This guide will walk you through the anatomy, adjustment, and technique to master this crucial component of your gear.
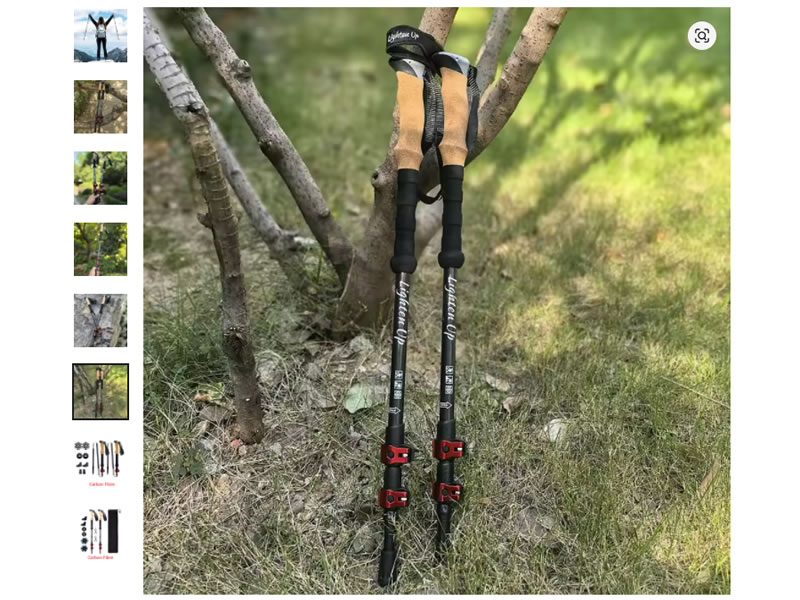
Recommended trekking pole purchase link: https://s.click.aliexpress.com/e/_c4M7OWaN
Why Your Straps Matter: More Than Just a Safety Tether
Wrist straps are engineered for efficient load transfer. On the push phase of your stride, the force should travel from your palm, through the strap, and directly to the pole shaft. This allows you to momentarily relax your grip, conserving energy over miles. An ill-adjusted strap forces you to constantly clench the handle, wasting energy and potentially causing nerve compression or blisters.
Common Mistakes to Avoid
- Wearing Them Like a Bracelet: Loosely draping the strap around your wrist offers zero performance benefit and can be a snag hazard.
- Strap Over the Back of the Hand: This places pressure on delicate tendons and limits blood flow.
- Adjusting for a Tight Grip: If you must squeeze the handle to maintain control, the strap is too loose.
The Step-by-Step Adjustment Method
Follow this process for a perfect, ergonomic fit every time.
Step 1: Initial Loosening
Start with the strap's adjustment buckle fully loosened.
Step 2: The Correct Hand Entry
This is the most critical step. Do not put your hand through the loop as if it were a bracelet.
- Open the strap to create a large loop.
- Slide your hand upward through the loop from the BOTTOM.
- Now, lower the pole's grip into your palm.
Step 3: Positioning and Securing
Once your hand is through:
- The strap should emerge from the grip and lie across the back of your hand, between your thumb and index finger.
- The main body of the strap should cradle the heel of your palm and wrap around your wrist.
- Grip the handle comfortably and pull the adjustment tail to tighten. The goal is a snug, but not restrictive, fit.
Step 4: The Fit Test
A properly adjusted strap passes these checks:
- The "Open Hand Test": With the pole planted, you should be able to open your fingers and extend your hand slightly, with the strap taking the full weight of the pole.
- Wrist Contact: The strap should make full contact with the lower part of your palm and wrist, not float above it.
- Comfort & Circulation: You should feel secure support without any pinching or restriction of blood flow.
Visual Guide: The "Ergonomic Triangle"
Imagine a triangle of force connecting three points: 1) the base of your thumb, 2) the heel of your palm, and 3) your wrist bone. The strap should sit within this triangle, distributing pressure evenly across these strong, fleshy parts of your hand, not across the bony top of your wrist.
Technique: How to Use the Adjusted Straps
Proper adjustment is half the battle; using them correctly completes the system.
- On the forward swing, use your grip to place the pole.
- As you push down during the stride, let your hand slide slightly upward against the strap, transferring force through your palm and wrist.
- At the end of the push phase, your hand will be at the top of the grip, supported by the strap. This is when your grip can relax momentarily before resetting for the next swing.
Special Considerations for Different Strap Types
- Padded vs. Unpadded: Padded straps add comfort for heavy use but follow the same adjustment rules.
- Quick-Adjust Buckles: Some modern poles feature one-pull tightening systems. Use the same hand-entry method, then pull the tail until snug.
- Fixed-Length Straps: If your straps are non-adjustable and too long, they cannot function properly. Consider replacing them with adjustable ones or having them shortened by a gear repair shop.
Maintenance & Care
Regularly inspect straps for fraying, especially near seams and buckles. Clean them with mild soap and water to remove sweat and dirt that can degrade materials. Ensure the attachment point to the pole is secure.
Conclusion
Taking two minutes to correctly adjust your trekking pole wrist straps is one of the highest-return actions you can perform for hiking efficiency and comfort. It unlocks the true "hands-free" power of your poles, allowing your larger arm and shoulder muscles to share the workload. By mastering this simple skill, you’ll hike longer with less fatigue and gain more confident stability on every trail.
Have you noticed a difference with properly fitted straps? Share your experience or any additional tips in the comments below to help fellow hikers dial in their setup!


