


DIY Trekking Pole Repair Tips
Trekking poles are surprisingly repairable. Before you consider them trash after a breakdown on the trail or at home, many common issues can be fixed with basic tools and know-how. Performing your own repairs saves money, reduces waste, and gives you the confidence to tackle longer adventures. This guide covers practical DIY solutions for the most frequent trekking pole failures, from simple wear-and-tear to trailside MacGyver fixes.
Recommended trekking pole purchase link: https://s.click.aliexpress.com/e/_c4M7OWaN
Essential Principles & Safety First
- Know Your Limits: DIY is ideal for non-structural parts (tips, baskets, straps) and cleaning. Critical structural repairs, especially on carbon fiber shafts, often require professional service.
- Assess the Risk: A pole is a load-bearing safety item. If a repair might fail under your full body weight on a steep descent, do not attempt it.
- Gather a Basic Kit: Keep these in your repair kit: multi-tool, strong adhesive (epoxy), duct/gorilla tape, spare tip & basket, zip ties, a short length of thin cord, and sandpaper.
Common Problems & DIY Solutions
1. Worn or Lost Trekking Pole Tip
This is the most common and easiest repair.
- Solution: Replacement. DIY doesn't mean resurrecting the old one.
- How-To: Grip the old tip with pliers (pad the shaft with cloth). Twist and pull it off. Clean the shaft end with sandpaper. Apply a small amount of strong epoxy (not just super glue) inside the new tip's collar and press it firmly onto the shaft. Let it cure fully. (See our detailed guide, "How to Replace Trekking Pole Tips?").
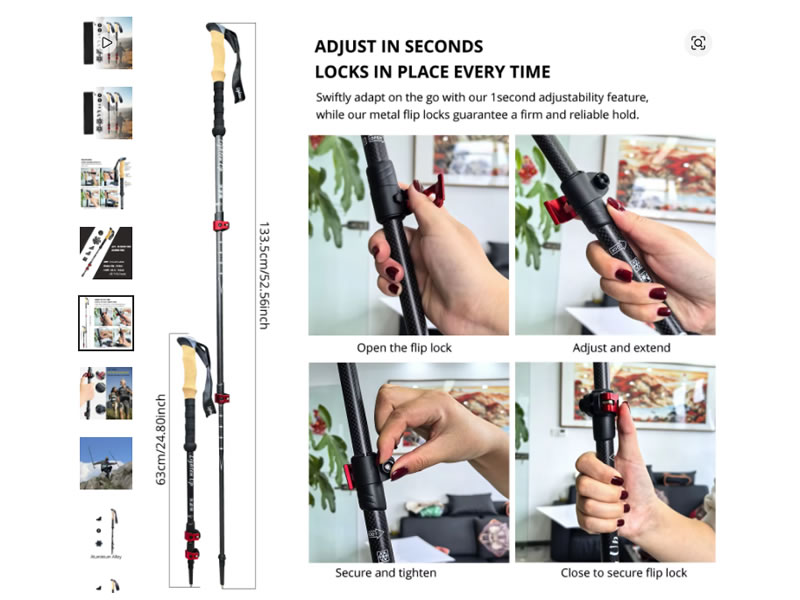
2. Slipping or Stuck Locking Mechanism
Dirt, moisture, and wear affect both twist locks and lever locks.
- For a Slipping Lever/Flick Lock:Disassemble the lock collar (often requires a small hex key).Clean all parts—the cam, the interior of the shaft, and the locking ring—with isopropyl alcohol and a cotton swab to remove grime.Lightly sand the worn shaft section under the locking ring with fine-grit sandpaper to restore grip.Reassemble and test. Avoid overtightening.
- For a Stuck Twist/Expander Lock:Apply gentle heat from a hair dryer to the stuck joint to expand the metal and break down old grease.Twist counter-clockwise with a rubber grip (jar opener) for leverage.Once apart, clean the internal expander plug and the shaft interior thoroughly. Apply a tiny dab of silicone-based lubricant to the plug before reassembling.
3. Broken or Frayed Wrist Strap
- Solution: Replacement or Re-threading.
- How-To: If the strap is just detached, rethread it following the manufacturer's pattern (often an "S" or "8" weave). Secure the end knot with a drop of glue. If it's frayed or broken, replace it entirely. You can purchase generic straps or repurpose one from an old bag. Ensure the new strap material is strong and non-stretch.
4. Cracked or Bent Shaft (The Advanced Fix)
⚠️ Caution: This is a temporary, field-expedient fix to get you home. The pole should be professionally assessed or retired afterward.
- For a Small Crack in an Aluminum Shaft:Clean and dry the area.Apply a high-strength epoxy putty (like JB Weld) around the crack, molding it to form a reinforcing sleeve.Once cured, wrap the area tightly with fiber-reinforced repair tape or multiple layers of duct tape.
- For a Bent Aluminum Shaft (Minor): Carefully straighten it by applying gentle, steady pressure. Do not do this with carbon fiber, as it will likely snap.
- For Carbon Fiber: Do not attempt a structural repair. A crack means delamination. Tape it only to prevent further splintering and seek a professional warranty replacement immediately.
5. Loose or Wobbly Pole Sections (Non-Lock Related)
If the lower shaft rattles inside the upper even when locked, it's likely due to wear.
- Solution: Create a Shim.
- How-To: Cut a very thin strip of plastic from a milk jug or an old credit card. Wrap it once around the end of the lower (male) section that inserts into the upper shaft. Trim any excess so it doesn't impede insertion. This shim takes up the extra space, creating a tighter fit for the lock to secure.
The Ultimate Trailside Quick Fix: The Tape Splint
If a shaft snaps completely on the trail:
- Find a sturdy stick or a tent pole segment that can act as a splint.
- Align the broken shaft pieces.
- Place the splint alongside the break.
- Bind everything together extremely tightly with cord, zip ties, and finally, a whole roll of duct tape.
- Use the pole sparingly, bearing as little weight on it as possible.
Preventive Maintenance: The Best DIY "Repair"
Most repairs can be avoided with consistent care:
- Clean & Dry: After every hike, wipe down poles and dry them extended.
- Prevent Grit: Wipe lower sections before collapsing them.
- Lubricate Sparingly: Use only silicone-based lubricant on locks, and only when needed.
- Store Properly: Keep them in a temperate, dry place, fully collapsed.
Conclusion: Empowering Self-Reliance
Learning DIY trekking pole repair empowers you to be more self-sufficient on and off the trail. While you shouldn't gamble with structural integrity, mastering fixes for tips, locks, and straps will keep your trusted poles in action for years. Always weigh the safety implications, and when in doubt, consult the manufacturer. With a well-stocked repair kit and these tips, you can turn a potential trip-ending problem into a minor delay.
Have you performed a successful or ingenious trekking pole repair? Share your story and advice in the comments to help build our community knowledge base!


