


Trekking Poles for Photographers: Stability Tips?
For photographers who hike, every ounce matters and every moment of golden light is precious. While a full tripod is irreplaceable for studio-like setups, trekking poles—often already in your pack—offer a dynamic, lightweight solution for achieving remarkable stability in the field. Transforming these simple tools into photo aids can mean the difference between a blurry disappointment and a tack-sharp capture.
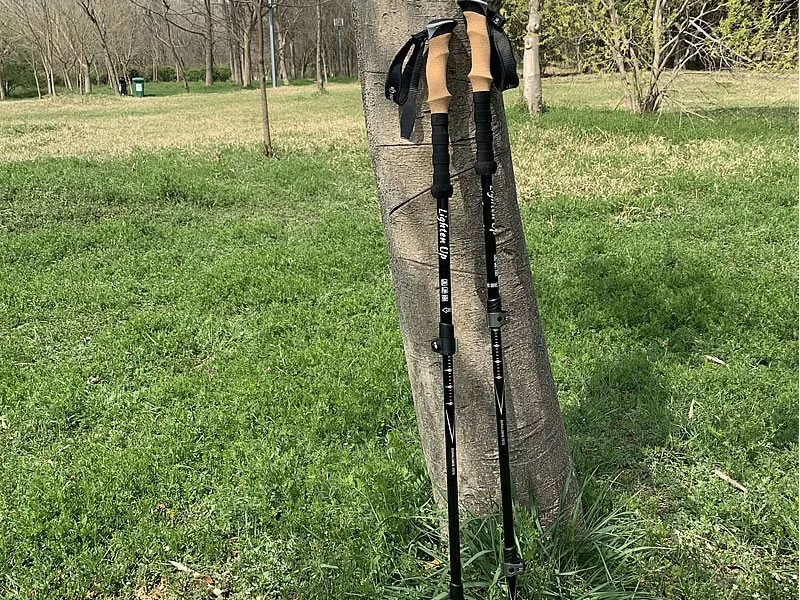
Recommended trekking pole purchase link: https://s.click.aliexpress.com/e/_c4M7OWaN
Your Instant Monopod
The most powerful trick is converting a single trekking pole into a monopod. This is ideal for stabilizing medium to telephoto lenses, shooting in low-light conditions, or creating smoother panning shots for video.
- The DIY Method: Simply unscrew the trekking pole’s wrist strap to reveal a standard ¼”-20 thread (the same as on camera tripods). You can screw a small, lightweight ball head directly onto the pole. For a minimalist approach, some photographers even attach a simple 1/4"-20 to 3/8" screw directly into the pole's handle and mount the camera, using their hand to gently control the tilt.
- Purpose-Built Poles: Several brands now offer trekking poles with integrated, retractable monopods. A section of the pole transforms into a dedicated camera support, often with a basic but effective pan-tilt head built into the grip. This seamless solution is worth the investment for serious hiking photographers.
The Human Tripod: Bracing Techniques
When you need to shoot quickly without any setup, use your poles to create a stable "human tripod" system.
- The Forward Brace: Plant both poles firmly in front of you, slightly wider than shoulder-width. Lean forward, pressing your chest or shoulders against the pole straps or grips, and bring your elbows in. This creates a stable triangle from your two poles and your two feet, anchoring your upper body and minimizing shake. It’s perfect for shooting downhill or at a slight downward angle.
- The Low Brace: For low-angle shots or macro work, reverse your grip and plant the poles' handles on the ground, using the tips as anchors. This creates a stable platform to lean over or brace your arms against.
- The Sitting Brace: When seated, place the pole tips against your feet or sturdy rocks and press the handles against your shoulders or under your arms. This turns your seated position into a remarkably stable shooting platform, ideal for waiting for wildlife.
Advanced Stability & Creative Uses
- Wind Resistance: In high winds, a monopod can be more stable than a lightweight tripod. Sink the pole tip deep and use your body as a windbreak. For added stability with a single pole, attach a mini tripod base or press the pole against a rock or log.
- Macro & Focus Stacking: The micro-adjustments possible with a monopod are excellent for fine-tuning composition in macro photography. For focus stacking sequences, a stable monopod allows for precise, incremental shifts.
- Improvised Support: Need to steady your camera on a rock or log? Use a trekking pole, propped securely, to create a padded, non-slip cradle for your lens barrel.
- Safety First: Always keep your camera strap around your neck or wrist when using a pole as a monopod, especially on uneven terrain. Ensure all connections are tight before letting go.
Gear Recommendations
- Pole Choice: Opt for poles with cork handles (better grip when sweaty) and flip-lock mechanisms (generally more reliable and easier to adjust quickly than twist locks).
- Essential Adapter: Carry a compact ball head (like those from brands such as Really Right Stuff or Sunwayfoto) or a simple 1/4"-20 screw adapter. Weighing only a few ounces, it unlocks your pole’s full potential.
- Practice: Before your critical shoot, practice attaching your camera and finding stable stances on familiar ground.
Conclusion: From Hiking Aid to Essential Kit
For the photographer on the move, trekking poles evolve from simple walking supports into versatile pillars of creativity. They bridge the gap between handheld flexibility and tripod stability, allowing you to react swiftly to changing scenes without sacrificing image quality. By mastering these bracing techniques and understanding the simple monopod conversion, you add a powerful, multi-functional tool to your photographic arsenal—one that likely already resides in your pack. Embrace the stability, and let it sharpen your vision in the wild.


