


What’s the correct height for trekking poles when hiking?
What’s the Correct Height for Trekking Poles When Hiking? The Complete Sizing Guide
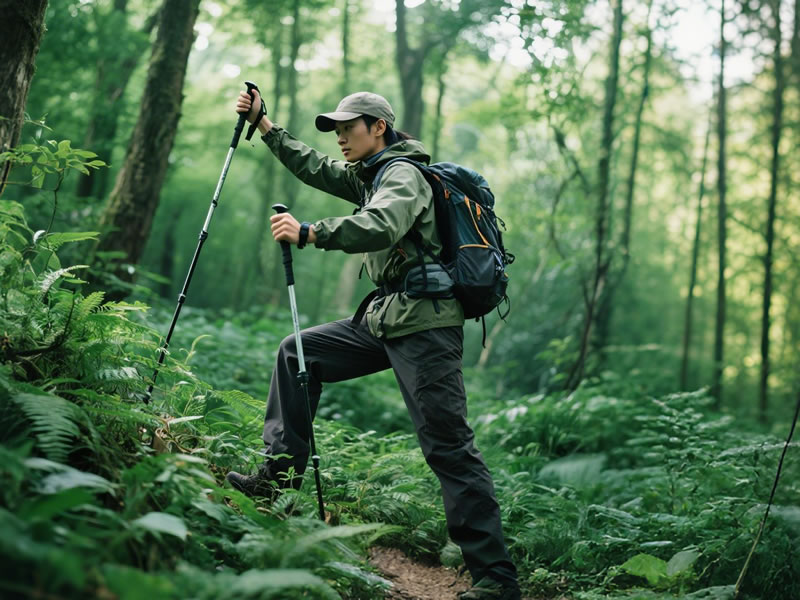
Getting your trekking pole height right makes all the difference between enjoying comfortable support and fighting against your equipment. After guiding thousands of hikers, I've seen how proper pole adjustment can transform someone's hiking experience. Let's break down the exact measurements you need for different terrain and body types.
Recommended trekking pole purchase link: https://s.click.aliexpress.com/e/_c4M7OWaN
The Gold Standard: 90-Degree Rule
For most hikers on level ground:
- Stand straight wearing your hiking shoes
- Grip the pole handle
- Adjust until your elbow forms a perfect 90-degree angle
- The tip should rest flat on the ground
This position:
• Optimizes arm leverage
• Reduces shoulder strain
• Maintains natural walking posture
• Distributes weight efficiently
Terrain-Specific Adjustments
Uphill Hiking (Shorten Your Poles)
• Decrease length by 2-5cm (1-2 inches) per 10% grade increase
• Steeper = shorter (up to 10cm reduction for very steep climbs)
• Benefits:
- Better pushing power
- Maintains upright posture
- Prevents overreaching
Downhill Hiking (Lengthen Your Poles)
• Increase length by 5-8cm (2-3 inches) from flat position
• Very steep descents may need +10cm
• Benefits:
- Earlier ground contact
- Better shock absorption
- Reduces knee impact by up to 30%
Mixed Terrain (Quick Adjust Tips)
• Mark your ideal lengths with tape
• Practice rapid adjustments
• Consider poles with numbered measurements
Body-Specific Considerations
Tall Hikers (Over 6'2")
• May need extended-length poles
• Watch for compromised stability in longest settings
• Consider brands offering XL versions
Petite Hikers (Under 5'2")
• Some women's-specific models fit better
• Avoid poles with large minimum lengths
• Test collapsibility range before buying
Special Cases
Backpacking with Heavy Loads:
• Add 2-3cm to compensate for pack weight
• Provides better stability under load
Snowshoeing:
• Additional 5-10cm length
• Compensates for snow depth
Recovery from Injury:
• Slightly longer for better support
• Consult physical therapist for specifics
Common Mistakes to Avoid
❌ Setting all poles to same length regardless of terrain
❌ Ignoring pack weight in calculations
❌ Forgetting to readjust after breaks
❌ Overextending locking mechanisms
❌ Using bent elbows as reference (should be 90° when straight)
Pro Adjustment Tips
- Test different lengths on a short hike first
- Mark your ideal settings with colored tape
- Recheck adjustment after the first mile
- Consider your dominant arm (may prefer slight variation)
- Account for shoe thickness changes
When to Re-evaluate Your Settings
• After significant weight loss/gain
• When changing pack weight dramatically
• If experiencing new joint pain
• When switching between seasons
• After pole repair/replacement
Final Recommendation
The perfect pole height:
- Starts with 90-degree flat ground position
- Adjusts for terrain changes
- Considers your unique body mechanics
- Gets fine-tuned during actual use
Remember: Properly adjusted poles should feel like natural extensions of your arms, not awkward accessories. Take time to dial in your perfect settings - your joints will thank you over miles of happy hiking!
#HikingTips #TrekkingPoles #HikingTechnique #OutdoorGear


