


How to Replace Worn-Out Hiking Pole Tips?
The carbide or rubber tip of your hiking pole is its sole point of contact with the earth, enduring immense pressure, abrasion, and torsional forces with every step. Over time, this critical component wears down, leading to reduced traction, unstable pole plants, and potential damage to the pole shaft itself. Knowing how to properly assess and replace a worn-out tip is an essential maintenance skill that extends the life of your poles and ensures your safety on the trail.
Recommended trekking pole purchase link: https://s.click.aliexpress.com/e/_c4M7OWaN
Step 1: Diagnosis and Type Identification
Before any repair, identify your tip type. This dictates the replacement method.
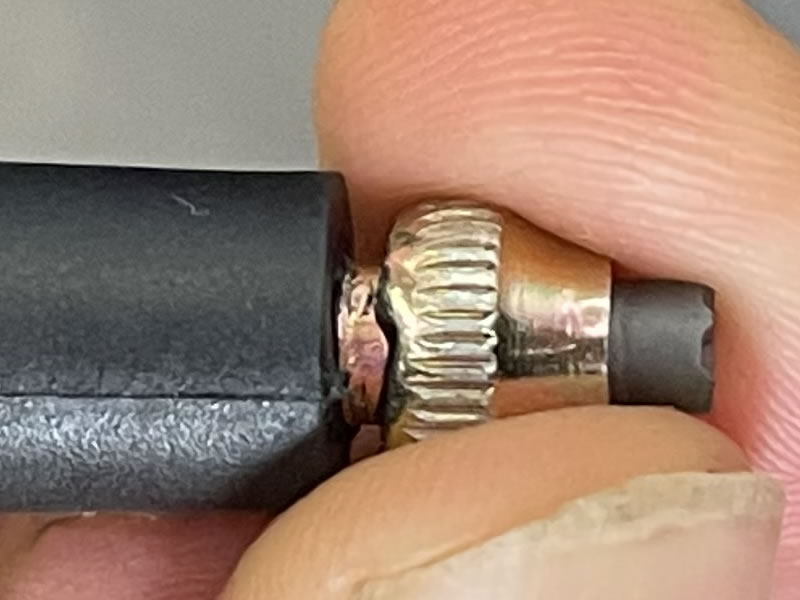
- Removable Tips (The Standard System): Most quality poles have a threaded metal stud (usually part of a "ferrule") to which the tip is bonded. The worn tip itself is a replaceable component, typically made of hard tungsten carbide. Look for visible threads just above the worn rubber or metal.
- Non-Removable Tips (Less Common): Some budget or older models have tips molded directly onto the shaft. Replacement here is more complex and may require cutting or specialized kits.
- Rubber Protective Caps (Ascenders/Paws): These are accessories that slide over carbide tips for use on pavement or sensitive surfaces. They wear out quickly and are simply pulled off and replaced.
Pro Tip: Before your next hike, always carry a spare set of tips and a rubber cap in your repair kit. They are lightweight and can salvage a trip if a tip fails miles from the trailhead.
Step 2: The Replacement Process for Standard Removable Tips
Tools Needed: Locking pliers (Vise-Grips) or a sturdy bench vise, a cloth or piece of leather, replacement tips (correct diameter for your poles), optionally a small amount of strong adhesive (epoxy or Loctite).
Safety First: Work in a well-lit area. Protect the pole shaft from scratches by wrapping the area to be gripped with cloth or tape.
Procedure:
- Secure the Pole: Firmly grip the metal ferrule (the threaded part) with the locking pliers or clamp it in a vise. Never clamp the carbon fiber or aluminum shaft itself, as this can crush or crack it.
- Remove the Old Tip: Grip the worn carbide tip with the pliers (again, using a cloth to protect the jaws if needed). Apply steady, forceful counter-clockwise rotation (lefty-loosey) while pulling away from the pole. It may require significant force if bonded with old adhesive. Avoid violent jerking motions.
- Clean the Threads: Once removed, thoroughly clean the male threads on the ferrule. Use a small wire brush, toothpick, or compressed air to remove all old dirt, rock dust, and adhesive residue. This is crucial for a secure new fit.
- Test-Fit the New Tip: Without adhesive, screw the new tip onto the cleaned threads by hand until it is snug. This ensures compatibility and thread integrity.
- Apply Adhesive and Install (Recommended): For a permanent, rattle-free bond, apply a small drop of thread-locking compound (e.g., Loctite 243) or a fast-setting epoxy to the ferrule's threads. Avoid getting adhesive on the exposed carbide tip.
- Final Tightening: Screw the new tip on firmly by hand, then give it a final quarter-turn with the pliers. Be careful not to overtighten and strip the threads. Wipe away any excess adhesive immediately.
- Cure: Allow the adhesive to fully cure according to the manufacturer's instructions (usually 12-24 hours) before subjecting the pole to trail stresses.
Special Cases and Pro Tips
- Replacing Rubber Ascenders/Paws: Simply grasp the old, worn rubber and pull it straight off the carbide tip. Slide the new one on until it seats fully. Some have a tighter fit and may benefit from a tiny drop of dish soap as a lubricant.
- Replacing a Lost Ferrule: If the entire threaded metal stud is lost, you may need a "ferrule replacement kit" specific to your pole brand (available from Leki, Black Diamond, etc.). These often require removing the old ferrule from inside the shaft and pressing or gluing a new one in.
- Dealing with Non-Removable Tips: For poles with molded tips, specialized "tip replacement kits" exist. These involve sawing off the old tip and using a heat-shrink sleeve or powerful adhesive to attach a new, universal tip. This is a last-resort fix; consider it a bridge to purchasing higher-quality, serviceable poles in the future.
Conclusion: Proactive Maintenance for Peak Performance
Regularly inspecting your pole tips for wear—such as flattened, rounded, or severely chipped carbide—is as important as checking your footwear's tread. A timely replacement restores the critical grip and predictable plant that your technique relies on, especially during steep climbs or technical descents.
Mastering this simple repair empowers you to maintain your equipment in peak condition, saves money on professional servicing, and guarantees that your poles remain the reliable, trustworthy partners they were designed to be. By integrating tip inspection into your post-hike routine, you ensure that a simple worn component never compromises your next adventure.


