


DIY Hiking Pole Maintenance Tips
Your hiking poles are resilient companions, designed to withstand significant impact and stress. However, like any precision tool, their performance and longevity are dramatically improved with regular, proactive care. A simple DIY maintenance routine—performed in your home or garage—can prevent costly repairs, ensure reliability on the trail, and extend the life of your poles by years. This guide outlines the essential steps every hiker should know.
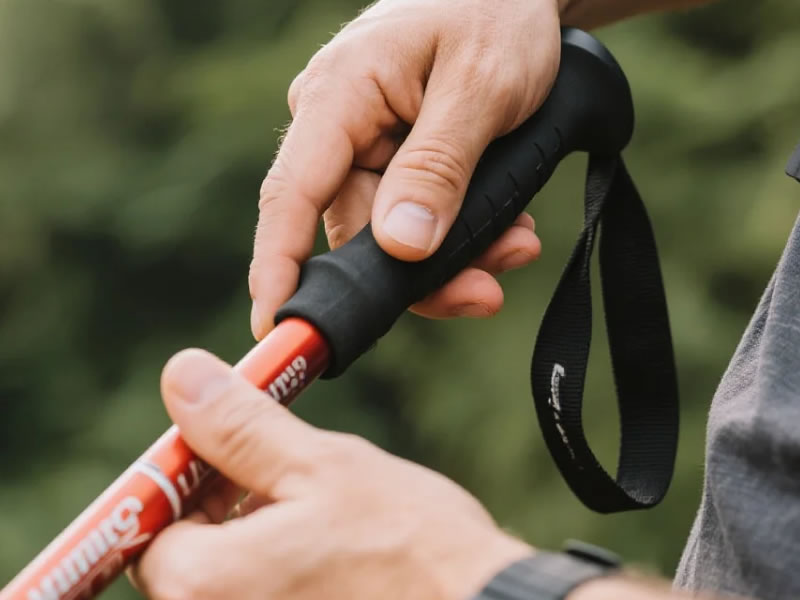
Recommended trekking pole purchase link: https://s.click.aliexpress.com/e/_c4M7OWaN
The Core Philosophy: Preventative Care
The goal of DIY maintenance is to prevent the major failures caused by neglect: seized locks, corroded shafts, and worn-out components. Dirt, sand, salt, and moisture are the primary enemies. A consistent, post-hike routine addresses these issues before they cause damage.
The Essential DIY Maintenance Kit
Gather these inexpensive items:
- A soft cloth and an old toothbrush.
- Mild dish soap.
- Dry silicone spray or Teflon-based lubricant (avoid WD-40 for regular lubrication).
- Locking pliers (for tip replacement).
- A small, clean container of fresh water.
- The manufacturer's multi-tool (usually for tightening lever locks).
The Step-by-Step Maintenance Routine
1. Post-Hike Cleaning (The Most Important Habit)
Never store poles caked in mud.
- Disassemble & Rinse: Collapse your poles fully. Rinse each section under lukewarm water to remove loose debris. For twist locks, extend and collapse them under running water to flush grit from inside.
- Scrub Gently: Use the toothbrush dipped in soapy water to scrub the shafts, especially near the locks and tips. Pay close attention to the basket area, where mud packs in.
- Clean Locking Mechanisms:For Lever Locks: Open the lever and brush away any dirt from the cam and the band inside the female shaft.For Twist Locks: Work the mechanism under water to expel grit.
- Dry Thoroughly: This is critical. Wipe all sections completely with a dry cloth. Leave the poles fully extended in a well-ventilated area for 24 hours to ensure all internal moisture evaporates. Storing them wet invites corrosion and seizing.
2. Periodic Inspection & Lubrication (Every Few Months)
- Inspect for Damage: Check shafts for deep scratches, dents, or, in the case of carbon fiber, any cracks or "crimp" marks. Examine grips and straps for wear.
- Lubricate Sparingly: Apply dry silicone spray to the male sections of the shaft. Spray a small amount onto a cloth, then wipe it onto the shaft. Extend and collapse the poles to distribute it. This minimizes friction, prevents binding in twist locks, and protects against corrosion. Never use oily lubricants, as they attract dirt.
- Tighten Hardware: Use the manufacturer's tool to check the tightness of the nut inside lever locks. A loose nut causes slippage.
3. Tip & Basket Replacement
Worn tips are a safety hazard. To replace:
- Secure the metal ferrule (not the shaft) in locking pliers.
- Grip the old carbide tip with another pair of pliers, twist counter-clockwise, and pull.
- Clean the threads, then screw on the new tip firmly. A drop of thread-locker ensures it stays secure.
- Swap baskets for the season: small solid baskets for trails, large snow baskets for winter.
4. Proper Long-Term Storage
Store poles fully extended or partially extended in a cool, dry place. This prevents the internal walls from developing a permanent set or holding moisture. Avoid leaving them in a compressed state for months.
Troubleshooting Common Problems
- Stuck Sections: If poles are jammed due to dirt or impact, do not force them. Apply a penetrating lubricant (like a 50/50 mix of vinegar and water) to the seam, let it sit, then gently twist while pulling, using rubber gloves or jar openers for grip. Heat from a hairdryer on the outer section can help expand it.
- Slipping Twist Locks: This usually means the internal expansion bushing is worn. Many brands sell inexpensive replacement kits. It’s a straightforward DIY fix: remove the old bushing and insert the new one.
- Squeaking or Creaking: Often originates from the grip or a loose connection. Remove the grip if possible (some screw off) and clean the interface. For sectional poles, ensure all pieces are snug.
Material-Specific Notes
- Aluminum Poles: Focus on preventing galvanic corrosion where steel locks meet aluminum shafts. Keeping them clean and dry is key. Small dents can be filed smooth.
- Carbon Fiber Poles: Require gentler handling. Never clamp them directly in tools. Inspect frequently for cracks; any structural damage means immediate replacement. Avoid harsh chemicals.
Conclusion: An Investment in Reliability
A comprehensive DIY maintenance routine requires minimal time and tools but pays immense dividends in safety, performance, and cost savings. By integrating these simple steps—clean after every hike, lubricate periodically, inspect before big trips—you ensure your poles are always ready to provide stable, reliable support. This proactive care deepens your understanding of your gear, builds self-reliance, and guarantees that your trusted poles will be there for you, step after step, for countless adventures to come.


