


Walking poles as emergency splints – how to use?
In the backcountry, injuries happen. A twisted ankle on a rocky trail, a fractured forearm from a fall, or a dislocated knee in remote terrain can turn a pleasant hike into a desperate situation. When you are miles from the trailhead and hours from medical care, your gear becomes your lifeline. Walking poles—already in your hands—are perfectly suited to serve as emergency splints. Lightweight, strong, and often adjustable, they can stabilize fractures and sprains, reducing pain and preventing further injury until help arrives. Knowing how to use them could make all the difference.
Recommended trekking pole purchase link: https://s.click.aliexpress.com/e/_c4M7OWaN
Why Walking Poles Make Excellent Splints
Trekking poles possess key qualities for improvised splinting:
- Rigidity – Aluminum and carbon fiber shafts provide the stable support needed to immobilize an injured limb.
- Adjustability – Telescoping poles can be lengthened or shortened to fit different body segments and accommodate swelling.
- Lightweight – Carrying them is effortless; they don’t add burden to an already difficult situation.
- Paired design – Having two poles allows for proper bracing on either side of the injury.
General Principles of Splinting
Before diving into specific techniques, understand these core principles:
- Splint as you find – Never attempt to straighten a deformed or angulated bone. Splint the injury in the position you find it.
- Immobilize above and below – A proper splint should extend past the joints above and below the fracture to prevent movement.
- Pad generously – Use clothing, a sleeping pad, a backpack, or any soft material to cushion pressure points.
- Secure firmly but not too tight – You want to immobilize, not cut off circulation. Check for warmth, color, and sensation below the splint regularly.
- Seek medical care – A splint is a temporary measure. Evacuate or call for help as soon as possible.
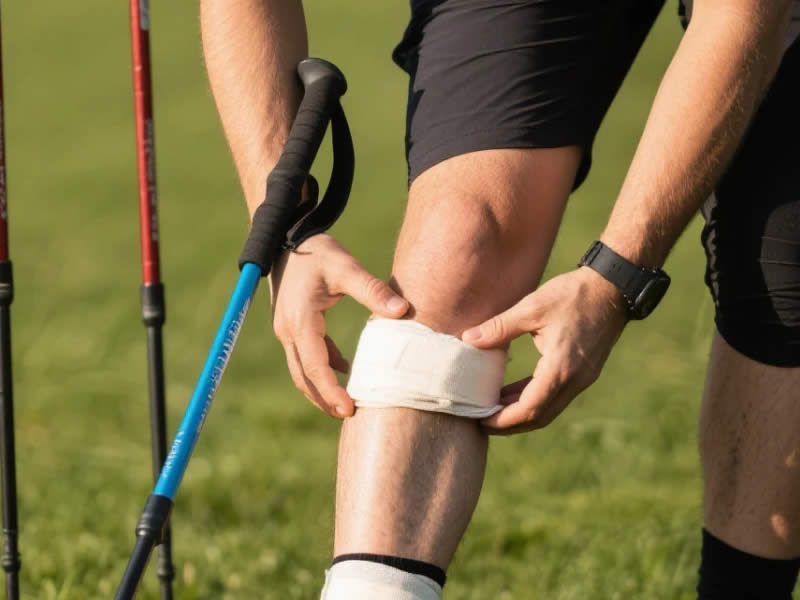
How to Splint a Lower Leg or Ankle Injury
Lower leg fractures, severe ankle sprains, and knee injuries are among the most common hiking mishaps. Here’s how to use walking poles to stabilize them:
- Position the poles – Place one pole on each side of the injured leg. Extend them from just above the knee (for a lower leg fracture) or from mid‑calf to past the heel (for an ankle injury). The goal is to immobilize the joints above and below the injury.
- Pad generously – Slide clothing, a foam sleeping pad, or even a stuff sack filled with soft gear between the poles and the leg. Pay special attention to bony areas like the ankle, shin, and knee.
- Secure the poles – Use whatever you have: shoelaces, paracord, webbing straps, torn strips of clothing, or first aid tape. Tie the poles in place with loops above and below the injury site. Avoid placing knots directly over the injury.
- Check circulation – After securing, check toes for warmth and color. If toes become cold, blue, or numb, loosen the splint and reapply.
How to Splint an Arm or Wrist Injury
Upper extremity injuries are common from falls. Walking poles can immobilize the arm or serve as part of a sling.
For a forearm or wrist fracture:
- Use one pole, adjusted to extend from the elbow to past the wrist.
- Pad the pole with clothing or a soft layer.
- Secure the pole along the injured forearm with shoelaces or straps, keeping the wrist in a neutral position.
- Create a sling using a triangular bandage, shirt, or jacket. Support the injured arm across the chest, with the pole‑splinted forearm resting in the sling.
For a shoulder or upper arm injury:
- A single pole can be used as a “coaptation” splint—placed along the outside of the arm from the shoulder to the elbow.
- Secure it with straps around the upper arm and forearm.
- Use a sling to support the arm against the chest, with an additional swathe (band around the chest) to immobilize the arm against the body.
Using Pole Straps and Adjustability
The wrist straps on walking poles are surprisingly useful in splinting:
- Strap placement – Remove straps from poles if possible and use them as tying material.
- Adjustable length – Extend or collapse poles to fit the limb length. For a child or a smaller adult, poles can be shortened accordingly.
- Rubber tips – If your poles have rubber tips, leave them on to create a blunt, padded end against the body.
Improvised Materials: What Else Can You Use?
If you have no dedicated first aid supplies, look to your gear:
- Backpack straps – Many packs have removable hip belts or sternum straps that can serve as ties.
- Hydration hose – A clean water bladder hose can be cut and used as a tie.
- Laces – Boot laces are strong and readily available.
- Clothing – Rip a shirt into strips or use a jacket as padding.
Important Safety Considerations
- Monitor for compartment syndrome – If the injured person reports increasing pain, numbness, or tingling after splinting, loosen immediately. Swelling can cause the splint to become too tight.
- Do not use carbon fiber poles for traction – Carbon fiber can splinter under unexpected stress. If you must use carbon fiber poles, handle gently and avoid placing weight on the splinted limb.
- Hypothermia risk – An injured person is at risk for shock. Keep them warm, dry, and hydrated while waiting for rescue.
Final Thoughts
Walking poles are more than tools for balance and endurance—they are versatile emergency equipment. In a remote setting where a fall leaves a companion unable to walk, knowing how to convert your poles into a splint can transform a crisis into a manageable situation. Practice these techniques before you need them, review the principles of splinting, and always carry a basic first aid kit with tape, bandages, and a triangular bandage. With a little knowledge and the gear already in your hands, you can provide critical stabilization until help arrives—turning a potential evacuation into a rescue that begins with you.


