


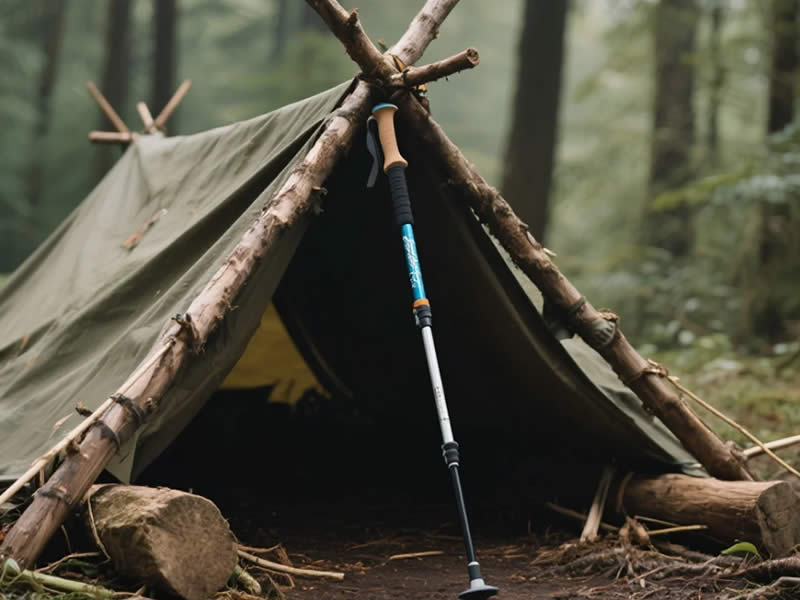
Using Walking poles for shelter building?
When you think of walking poles, stability and joint relief likely come to mind. But in the backcountry, these lightweight, sturdy tools can serve a far more critical role: emergency shelter building. Whether you’re caught in an unexpected storm, dealing with a delayed return to camp, or facing a survival situation, your trekking poles can become the structural backbone of a lifesaving shelter. With a tarp, poncho, or even just a space blanket, a pair of poles transforms from hiking aids into a versatile shelter system. Here’s how to use them effectively.
Recommended trekking pole purchase link: https://s.click.aliexpress.com/e/_c4M7OWaN
Why Walking Poles Excel at Shelter Building
Walking poles possess several features that make them ideal for improvised shelters:
- Adjustability – Telescoping poles can be extended to create height or shortened for low-profile wind shelters.
- Strength – Aluminum and carbon fiber shafts withstand tension from guylines and pressure from wind.
- Lightweight – You’re already carrying them; no extra weight for emergency gear.
- Sharp tips – Carbide tips dig into soil, providing stable anchor points (use rubber tips when working with fabric to avoid punctures).
- Straps – Built-in straps can be used as guyline attachment points.
Essential Shelter Configurations
A‑Frame Tarp Shelter
The A‑frame is the most common and versatile pole‑supported shelter. It sheds wind and rain effectively and can be scaled for one or two people.
Setup:
- Extend both poles to the desired height—typically 45–55 inches for a seated shelter, taller if you need to stand.
- Plant the poles in the ground about shoulder‑width apart, angled slightly outward for stability.
- Drape a tarp, poncho, or emergency blanket over the poles, centering it so equal material drapes on both sides.
- Stake or weigh down the four corners with rocks, logs, or gear. If staking, angle stakes away from the tarp for better hold.
- If wind is a concern, close one or both ends by folding the tarp inward or piling debris.
Tip: If you have only one pole, use it as a center support for a ridge line tied between two trees, with the tarp draped over.
Lean‑To Shelter
A lean‑to offers excellent wind protection and reflects heat from a fire when positioned correctly.
Setup:
- Find a natural windbreak—a rock face, fallen log, or dense trees—or create one by stacking debris.
- Extend one pole (or both lashed together) to create a horizontal ridge line. If trees are available, tie the pole between them at waist to chest height. If no trees exist, plant two poles as vertical supports and lay a third horizontally across them.
- Drape your tarp over the horizontal pole, angling it downward to the ground.
- Secure the upper edge of the tarp to the pole with straps or cordage. Stake or weight the lower edge.
- Pile debris (leaves, pine boughs) along the sides to block drafts.
Tipi or Pyramid Shelter
This configuration is ideal for snow, sand, or areas where staking is difficult. It sheds wind from all directions.
Setup:
- Gather three or four poles together at the top, spreading the bases in a circle to form a cone.
- If using two poles, cross them at the top and spread the bases; this creates four contact points.
- Drape your tarp over the assembled frame, centering it so material reaches the ground on all sides.
- Weight the edges with rocks, snow, or gear. Leave a small opening for entry and ventilation if needed.
- For added stability in wind, tie the pole tips together at the apex using straps or cordage.
Choosing the Right Materials
Your shelter is only as good as its cover. Walking poles provide the frame; your cover material matters equally:
- Tarp – Ideally, carry a lightweight, waterproof tarp (silnylon or Dyneema) as part of your emergency kit.
- Emergency space blanket – A mylar blanket can be draped, though it’s fragile. Use it under a more durable layer if possible.
- Poncho – Many hiking ponchos double as a tarp with integrated tie‑outs.
- Natural materials – In a true survival scenario, poles can support a frame of branches covered with pine boughs, bark, or leaves. This requires more time but can be highly effective.
Site Selection and Setup Tips
- Choose high ground – Avoid low areas where water pools.
- Face away from wind – Orient the opening of your shelter away from prevailing winds.
- Use rubber tips – If your poles have carbide tips, swap to rubber tips before working with fabric to prevent punctures. In soft ground, carbide tips provide excellent anchoring.
- Lash poles together – If you have cordage, lashing poles at the apex or ridge line increases stability. Even shoelaces or pole straps can serve.
- Test stability – Before crawling inside, give the structure a gentle shake. Adjust anchor points if needed.
Advanced Techniques
Using Pole Straps as Guyline Attachments
The wrist straps on many poles are sewn securely. You can tie guylines directly to the straps, reducing stress on the pole shafts and providing better tension distribution.
Extending Reach with Two Poles
To create a taller ridge line, lash two poles end‑to‑end using cordage or interlocking the tips. This allows you to span greater distances between anchor points.
Snow Shelters
In snow, poles serve as probes for locating buried gear and as supports for snow caves or quinzhees. Extend poles fully and insert them into a snow mound; after the snow hardens, remove poles to create ventilation holes.
Practice Before You Need It
Like any emergency skill, shelter building with poles is best practiced before you need it. Set up your tarp and poles in the backyard or on a calm camping trip. Experiment with different configurations. Learn how your specific poles and tarp interact. This practice builds confidence and speed—qualities that matter when weather turns and daylight fades.
Final Thoughts
Walking poles are among the most versatile pieces of gear you carry. While their primary role is to support your stride, they are equally capable of supporting your shelter. With a few simple techniques—A‑frame, lean‑to, or tipi—your poles become the structural foundation that keeps you dry, warm, and safe when conditions deteriorate. Carry a lightweight tarp, know your knots, and practice your setups. The next time an unexpected storm rolls in, you’ll be ready to turn your poles from walking aids into a home away from home.


