


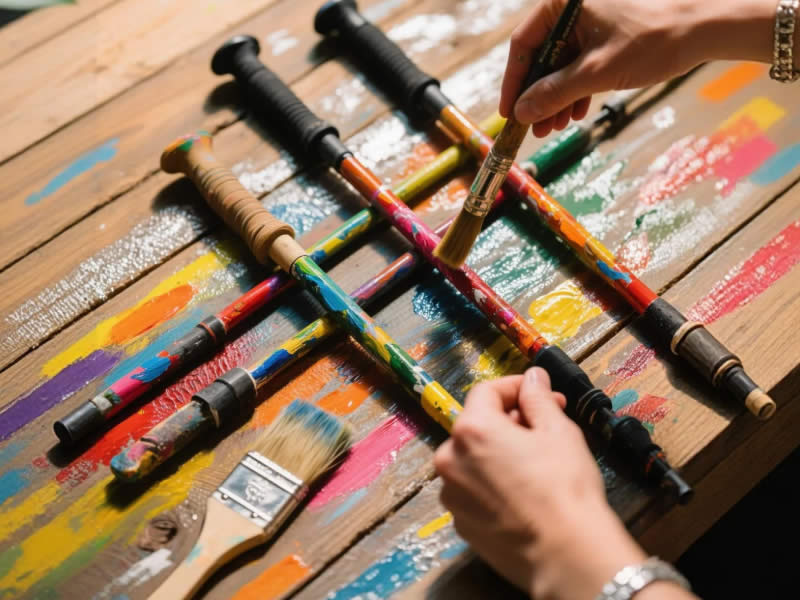
DIY Trekking Poles painting – what paints work?
Trekking poles take a beating: scraped against rocks, plunged into mud, and exposed to sun, rain, and sweat. Over time, the factory finish wears off, or you might simply want a fresh, custom color. Painting your own trekking poles is a satisfying DIY project, but it requires the right materials and techniques to ensure the paint adheres, flexes, and lasts. This guide covers which paints work best for aluminum and carbon fiber poles, step‑by‑step instructions, and common pitfalls to avoid.
Recommended trekking pole purchase link: https://s.click.aliexpress.com/e/_c4M7OWaN
Understanding Your Pole’s Material
Before buying any paint, identify your pole shafts:
- Aluminum – Most common. The surface is anodized or painted. Paint adheres well with proper preparation.
- Carbon fiber – Lightweight but more sensitive. The resin‑based surface requires paints that can flex slightly without cracking.
- Wood (rare, mostly decorative) – Can be stained or painted with wood‑specific products.
Never paint the locking mechanisms, adjustment levers, twist locks, or the lower tip section where the carbide tip and basket attach. Paint in these areas can interfere with function or create a slipping hazard.
Best Paint Types for Trekking Poles
For Aluminum Shafts
- Epoxy‑based spray paint – Extremely durable, chemical‑resistant. Brands like Rust‑Oleum Appliance Epoxy work well. Cures to a hard, glossy finish.
- Enamel spray paint – Easier to find and cheaper. Rust‑Oleum Professional or Krylon Fusion (bond to plastic and metal) are good choices. Not as tough as epoxy but adequate for light to moderate use.
- Automotive spray paint – Designed for metal, UV‑resistant. Requires a primer. Dupli‑Color or VHT brands.
Primer is essential for aluminum. Use a self‑etching primer (e.g., Rust‑Oleum Self‑Etching Primer) to create a chemical bond.
For Carbon Fiber Shafts
Carbon fiber is more delicate. Use:
- Acrylic enamel – Flexible enough to move with the shaft. Krylon Fusion for Plastic works (carbon fiber is often coated with a plastic‑like clear coat).
- Vinyl dye – Penetrates the surface rather than sitting on top. Dupli‑Color Vinyl & Fabric Coating is a good option.
- Flexible model paint (e.g., Tamiya PS series) – Designed for polycarbonate RC car bodies; very flexible.
Avoid heavy, brittle paints like appliance epoxy on carbon fiber; they may crack when the shaft flexes.
For Wood Shafts
- Wood stain – Preserves grain; apply with a cloth.
- Acrylic craft paint – Follow with a clear polyurethane sealer.
Paint Types to Avoid
- Latex or house paint – Peels easily, not weather resistant.
- Chalk paint – Absorbs moisture, not durable.
- Nail polish – Too brittle, will flake off.
- Spray paint for plastic only – May not bond to metal or carbon without proper primer.
Step‑by‑Step Painting Process
1. Disassemble the Poles
Remove rubber tips, baskets, and straps. If possible, separate the shaft sections. Mask off any areas you don’t want painted: locking mechanisms, adjustment markings, and the bottom 10 cm (4 inches) where the basket and tip go. Use painter’s tape and plastic bags.
2. Prepare the Surface
- Aluminum – Lightly sand with 220‑grit sandpaper to create a dull, scratched surface. Do not remove the anodized layer completely; just break the gloss. Wipe with rubbing alcohol to remove dust and oils.
- Carbon fiber – Very light sanding with 400‑grit (be gentle to avoid damaging fibers). Clean with isopropyl alcohol.
- Wood – Sand with 220‑grit, remove dust.
3. Apply Primer (for aluminum and carbon fiber)
- Shake primer can vigorously for 2 minutes.
- Spray light, even coats from 20–30 cm (8–12 inches) away. Apply 2–3 thin coats, allowing each to dry per manufacturer’s instructions (usually 5–10 minutes).
- Let primer cure fully (1 hour minimum, overnight better).
4. Apply Paint
- Shake paint can well.
- Spray thin coats – multiple light coats are better than one heavy coat (prevents drips and runs).
- Allow each coat to dry to the touch (typically 10–15 minutes). Apply 3–4 coats for full coverage.
- For carbon fiber, use even lighter coats and allow extra drying time.
5. Apply Clear Coat (Optional but Recommended)
A clear sealer adds durability and UV protection. Use matte, satin, or gloss clear enamel or acrylic. Apply 2 thin coats following the same technique.
6. Cure Properly
- Let the paint dry for 24 hours in a warm, dust‑free area.
- For epoxy paints, cure time may be 5–7 days before heavy use. Check can instructions.
7. Reassemble
Remove masking tape. Reattach baskets, tips, and straps. Ensure no paint has crept into locking mechanisms – if it has, carefully scrape it off with a plastic tool.
Durability and Touch‑Ups
Even the best DIY paint job will eventually scratch. To extend life:
- Store poles in a bag or separated to avoid shaft‑on‑shaft rubbing.
- Touch up with a small brush and matching paint.
- Consider a wrap – Some hikers use automotive vinyl wrap instead of paint; it’s removable and protects the original finish.
Safety and Ventilation
- Always paint in a well‑ventilated area, preferably outdoors or in a garage with the door open.
- Wear a respirator mask (N95 or organic vapor) and gloves.
- Do not spray near open flames.
Common Mistakes
- Skipping primer – Paint will peel off aluminum within weeks.
- Painting over dirt or grease – Cleanliness is critical.
- Too thick coats – Leads to drips and longer drying times.
- Painting locking areas – This can cause the locks to slip or become impossible to adjust.
- Using the pole too soon – Soft paint scratches easily; wait for full cure.
Alternative: No‑Paint Customization
If you don’t want the hassle of painting, consider:
- Vinyl decals – Cut shapes or stripes from outdoor vinyl (e.g., Oracal 651). Apply to clean shaft.
- Heat shrink tubing – Available in colors; slide over shaft and heat with a heat gun. Provides grip and color.
- Colored electrical tape – Wrapped in a spiral pattern; temporary but easy.
Final Thoughts
Painting your trekking poles is a fun way to personalize your gear, match a team color, or refresh worn‑out shafts. With the right materials – self‑etching primer for aluminum, flexible acrylic for carbon fiber, and quality spray paints – you can achieve a durable, good‑looking finish. Remember to avoid critical mechanisms, prepare the surface meticulously, and allow proper curing time. A well‑painted pole can last for years of trail use. If you prefer a simpler, reversible option, try vinyl wraps or heat shrink tubing. Either way, your poles will stand out on the trail – just be prepared for a few admiring questions about your custom job.


