


Beginner-friendly trails for Trekking Pole practice?
You’ve bought your first trekking poles, watched a few technique videos, and you’re eager to try them out. But heading straight for a rocky, steep mountain trail is a recipe for frustration – and maybe a twisted ankle. The key to building confidence and muscle memory is starting on beginner‑friendly terrain. This article explains what makes a trail ideal for pole practice, gives specific examples, and offers tips to make your first sessions productive and fun.
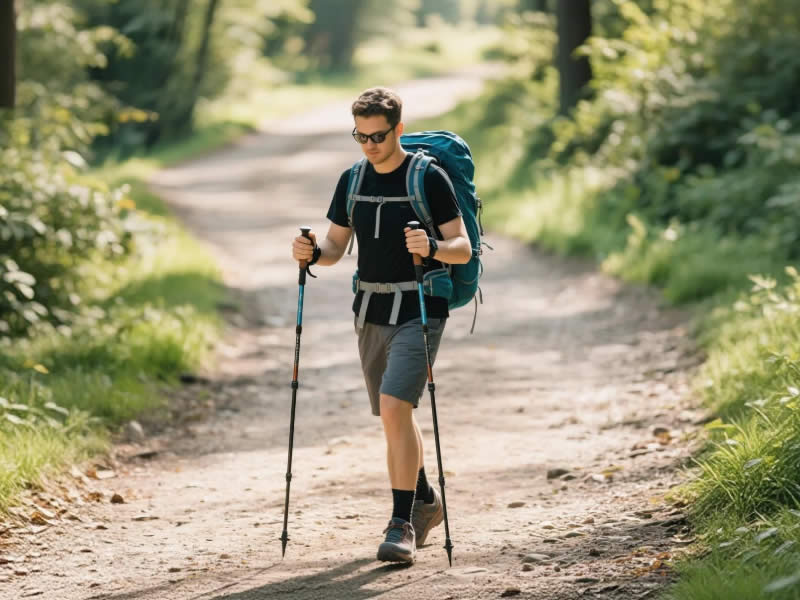
Recommended trekking pole purchase link: https://s.click.aliexpress.com/e/_c4M7OWaN
What Makes a Trail Beginner‑Friendly for Pole Practice?
Not all trails are created equal. For your first few pole walks, look for:
- Flat or very gentle grades – No significant uphill or downhill. You need to focus on rhythm, not on leaning or braking.
- Wide, clear tread – At least 3–4 feet wide, free of roots, rocks, and deep mud. Narrow, technical trails force you to look down constantly, which disrupts learning.
- Smooth surface – Hard‑packed dirt, fine gravel, or grass. Avoid loose scree, deep sand, or wet clay.
- Low traffic – Fewer cyclists, runners, or off‑leash dogs. Crowds add stress and distraction.
- Short loop or out‑and‑back – 1–2 miles is plenty for a first practice session. You can repeat sections to reinforce technique.
Top Types of Beginner Trails for Pole Practice
1. Rail‑Trails (Converted Railroad Beds)
These are flat, wide, and usually surfaced with crushed stone or hardpack. They were designed for easy walking and biking, making them perfect for pole practice. Examples:
- Minuteman Commuter Bikeway (Massachusetts)
- Burke‑Gilman Trail (Washington)
- Katy Trail (Missouri – though long, you can do short sections)
Why they work: Consistent surface, gentle curves, and ample room to walk without tripping over others.
2. Lakeside Loops or Reservoir Paths
Many parks have paved or gravel paths that circle a body of water. These are often flat, scenic, and well‑maintained. Examples:
- Lake Harriet Loop (Minneapolis, MN)
- Lady Bird Lake Hike & Bike Trail (Austin, TX) – choose less crowded sections.
- Crystal Cove State Park (CA) – some flat coastal sections.
Why they work: The flat terrain lets you focus entirely on your opposite arm/leg rhythm. The views keep you motivated.
3. Golf Course Cart Paths (with permission)
Golf courses have extensive, smooth, paved or gravel paths. Early morning or late evening, when few golfers are playing, you can often walk them. Always ask permission first – many are public during non‑peak hours.
Why they work: Extremely smooth, gentle slopes, and very wide.
4. Urban Park Trails
City parks often have groomed dirt or wood‑chip paths that loop around fields or through trees. Examples:
- Central Park’s Bridle Path (NYC) – soft surface, flat.
- Golden Gate Park’s JFK Promenade (San Francisco) – car‑free, wide.
- Stanley Park Seawall (Vancouver) – mostly flat, but can be crowded; go early.
Why they work: Easy access, restrooms, and benches for breaks.
5. School or College Campuses (on weekends)
Large campuses have wide, paved walkways and grassy areas. Weekends or summer breaks, they are nearly empty. Examples: any university campus with a perimeter loop.
Why they work: Smooth pavement (use rubber tips!), gentle grades, and plenty of space.
Specific Beginner Trails in the US (by Region)
| Region | Example Trail | Surface | Length (practice section) |
|---|---|---|---|
| Northeast | Charles River Esplanade (Boston, MA) | Paved | 1‑3 miles |
| Southeast | Silver Comet Trail (Georgia) | Crushed stone | 2‑5 miles |
| Midwest | High Line Canal Trail (Denver, CO) – flat sections | Dirt/gravel | 2‑4 miles |
| Southwest | Rio Grande Trail (Albuquerque, NM) | Paved | 1‑2 miles |
| West Coast | Balboa Park Trails (San Diego, CA) | Paved/dirt | 1‑2 miles |
| Northwest | Waterfront Trail (Portland, OR) | Paved | 1‑2 miles |
How to Structure Your First Pole Practice Session
- Warm up (5 minutes) – Walk without poles to establish natural arm swing.
- Adjust poles – Set length so the top of the grip hits your wrist crease when standing.
- Rubber tips on – Reduces noise and prevents carbide from digging into pavement.
- Practice opposite arm/leg (10 minutes) – Walk slowly, saying “right foot, left pole” out loud.
- Take a break – Shake out arms, check strap tightness.
- Practice planting (10 minutes) – Focus on planting the pole as your opposite heel touches down.
- Cool down – Walk without poles to feel the difference.
What to Avoid on Your First Practice Trail
- Steep hills – Save them for session #3 or #4.
- Narrow, rooty single‑track – You’ll be looking down, not learning rhythm.
- Busy bike paths – Cyclists can startle you, causing awkward pole movements.
- Wet or icy surfaces – Poles won’t save you if you haven’t learned to plant correctly.
When to Move On to More Challenging Terrain
After 2–3 successful practice sessions on beginner trails (total 2–3 hours of pole walking), you’re ready to add gentle hills and wider dirt trails with small rocks or roots. By then, the rhythm will feel natural, and you can focus on adjusting pole length for grades. A good progression:
- Flat, smooth (rail trail) – 2 sessions.
- Flat, natural surface (park dirt path) – 1 session.
- Gentle rolling hills (easy hiking trail) – 1 session.
- Moderate terrain – You’re no longer a beginner.
Final Thoughts
Choosing the right practice trail can make the difference between loving your trekking poles and leaving them in the garage. Start flat, wide, and smooth. Use rubber tips. Practice opposite arm/leg for 20–30 minutes at a time. Within a few short walks, you’ll feel confident enough to tackle real trails – and you’ll wonder how you ever hiked without poles. So find a local rail trail or lake loop, grab your poles, and take those first steady steps. Happy practicing.


