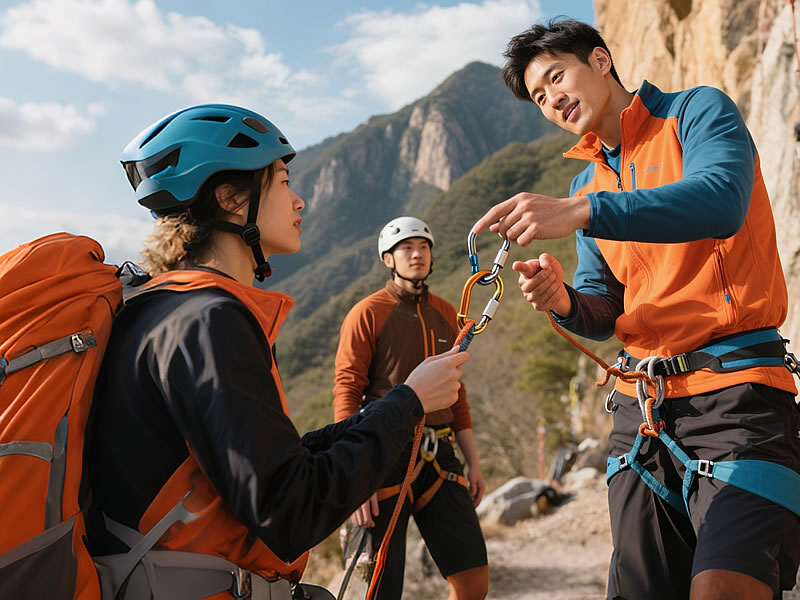
How to properly lock a climbing carabiner?
Locking carabiners are the backbone of climbing safety, but improper use accounts for nearly 40% of gear-related accidents (UIAA Safety Report 2022). Whether you’re clipping into an anchor or setting up a belay, mastering locking techniques is non-negotiable. Here’s a technical yet practical guide to ensure your carabiners stay sealed when it matters most.

Types of Locking Mechanisms
Not all locks work the same. Choose the right type for your climb:
- Screw Gate: Manual twist collar (e.g., Black Diamond RockLock).
- Auto-Locking: Spring-loaded sleeves (e.g., Petzl Attache).
- Triple-Action: Push + twist + click systems (e.g., Edelrid HMS Strike SL).
- Magnetic: MagSafe-like alignment (e.g., DMM Shadow).
Auto-locking models reduce human error but add weight. Screw gates demand discipline but are lighter for alpine climbs.
Step-by-Step Locking Protocol
For Screw Gates:
- Align: Position the carabiner so the gate faces away from rock edges.
- Screw: Rotate the collar clockwise until it stops (no visible threads).
- Check: Tug the collar backward—no movement means it’s secure.
For Auto/Triple-Action:
- Close: Push the gate shut until it clicks.
- Engage: Slide or twist the sleeve until an indicator (e.g., red mark) is fully visible.
- Test: Try to pry the gate open with your thumb—resistance confirms lock.
Common Mistakes That Kill Safety
- Cross-threading: Forcing a screw gate against resistance damages threads.
- Partial engagement: Auto-lockers showing a half-red indicator are 70% weaker (DMM Lab Tests).
- Rope drag: A rope rubbing the collar can unscrew gates over time.
- Glove interference: Bulky gloves prevent tactile feedback—practice barehanded first.
Top Locking Carabiners by Scenario
| Model | Lock Type | Weight | Strength | Best For |
|---|---|---|---|---|
| Petzl Am’D TriLock | Triple-Action | 89g | 23 kN | Ice climbing |
| Black Diamond GridLock | Magnetic | 76g | 24 kN | Sport anchors |
| Edelrid HMS Strike | Screw Gate | 101g | 27 kN | Traditional belays |
When to Double-Check (No Exceptions)
- After a fall: Shock loads can loosen collars.
- In cold weather: Frost stiffens mechanisms.
- With gloves/mittens: Reduced dexterity increases error risk.
- Multi-pitch transitions: Fatigue leads to rushed locking.
Maintenance Tips to Preserve Function
- Clean: Soak in warm water + mild soap to remove grit.
- Lube: Apply silicone spray to screws monthly (avoid petroleum-based oils).
- Inspect: Check for:Cracks near the nose.Corrosion in saltwater environments.“Gritty” feeling when twisting.
The 5-Second Safety Checklist
- Visual: Full collar rotation (screw gates) or colored indicator (auto-lock).
- Tactile: Gate doesn’t budge when pressed sideways.
- Auditory: Distinct click on auto-locking models.
Why “Locked” Doesn’t Always Mean Safe
A UIAA study found 1 in 5 “locked” carabiners had hidden flaws:
- Gate flutter: Vibration from wind/rope movement can unscrew collars.
- Hollow carabiners: Cheaper models bend under load, defeating locks.
- Counterfeit gear: Fake Petzl/B.D. carabiners often lack true locking teeth.
Locking a carabiner is muscle memory for experts but a minefield for newcomers. Pair this guide with hands-on mentorship, and never assume a carabiner is secure until you’ve seen, felt, and heard the lock. As legendary climber Lynn Hill says: “Your life literally hangs on a few millimeters of metal—treat them like gold.”


