


Do I need anti-shock trekking poles for downhill hiking?
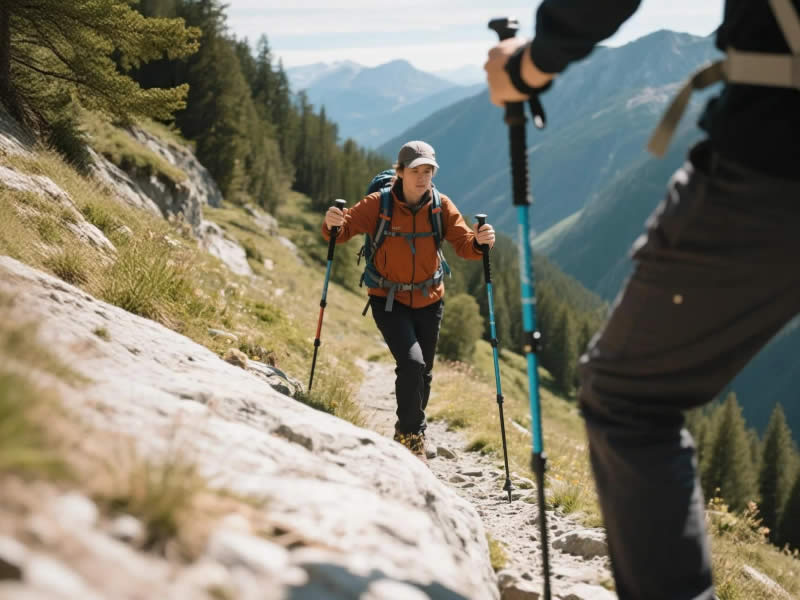
When descending steep trails, your knees absorb significant impact. Anti‑shock (spring‑loaded) trekking poles promise to reduce that jarring. But are they truly beneficial, or just extra weight? Let’s examine the mechanics and real‑world experience.
Recommended trekking pole purchase link: https://s.click.aliexpress.com/e/_c4M7OWaN
How anti‑shock works
Anti‑shock poles contain a coil spring or elastomer cartridge in the upper shaft. When you plant the pole, the spring compresses slightly (typically 10–15 mm) before fully engaging. This is meant to dampen the initial impact that travels up your arm and into your shoulder. On flat or uphill terrain, the effect is minimal because you’re not striking the ground hard.
The downhill argument
On a steep descent, you plant poles ahead of your body with considerable force. Proponents say the spring absorbs that shock, protecting your wrists and elbows. However, the primary source of knee impact is your legs, not your arms. The spring does nothing to reduce the load transferred from your legs to your knees – that load reduction comes from simply using any poles (rigid or anti‑shock) to shift weight to your upper body. So anti‑shock does not directly help your knees.
The downsides of anti‑shock for downhill
- Weight: Springs add 30–50g per pole. On long descents, that extra mass becomes noticeable.
- Energy loss: Each compression absorbs some of your forward momentum, making you work harder.
- Bounciness: On hardpacked or rocky downhills, the spring can create an annoying “pogo” effect, reducing precise control. Many experienced hikers dislike the vague feedback.
- Maintenance: Springs can squeak, collect dirt, or fail over time. Sealed units are not field‑repairable.
- Cost: Anti‑shock models cost €20–40 more than rigid poles of similar quality.
What actually helps your knees on downhills
Research and alpine guides agree: the most effective ways to reduce knee impact are:
- Correct pole length – Lengthen poles by 5–10 cm for downhills. This keeps your arm at the proper angle and transfers load efficiently.
- Wrist strap technique – Push your hand up through the strap and grip lightly. The strap bears the weight, not your clenched hand.
- Two poles – Distribute load bilaterally.
- Planting rhythm – Plant poles slightly ahead of your feet, not directly beside them.
- Strong leg muscles – Poles assist but don’t replace good quad and glute strength.
None of these require anti‑shock.
When anti‑shock might help
- You have pre‑existing wrist, elbow, or shoulder arthritis.
- You hike almost exclusively on very hard surfaces (paved downhills, compacted gravel).
- You are a senior hiker with reduced upper‑body resilience.
For the vast majority of downhill hikers – including those with healthy knees – anti‑shock is unnecessary and often counterproductive.
Expert consensus
German Alpine Club (DAV) instructors rarely recommend anti‑shock poles. Most professional guides use rigid poles because they are lighter, simpler, and provide better feedback. A 2022 survey of 300 alpine hikers found that only 12% preferred anti‑shock on descents; the rest favoured rigid poles or were neutral.
Final verdict
You do not need anti‑shock trekking poles for downhill hiking. Spend your money on lightweight aluminium poles with reliable lever locks, comfortable grips, and proper technique. If you already own anti‑shock poles, you can continue using them – but don’t buy them specifically for downhill protection. Save the weight and cost, and focus on correct pole length and strap use. Your knees will thank you either way.


