


How to store trekking poles in winter when not in use?
When winter arrives and the trails are buried under snow or ice, many hikers pack away their trekking poles until spring. However, improper storage can damage your poles, leading to seized locks, corroded shafts, and premature failure. Winter storage isn’t just about finding a corner in the garage – it’s about preserving your investment. This guide explains the correct way to store trekking poles during the off‑season, ensuring they emerge ready for next year’s adventures.
Recommended trekking pole purchase link: https://s.click.aliexpress.com/e/_c4M7OWaN
Why proper winter storage matters
Trekking poles face three enemies during long‑term storage: moisture, temperature extremes, and prolonged stress.
- Moisture causes rust on steel components (screws, springs) and promotes aluminum oxidation.
- Freeze‑thaw cycles in an unheated garage can force water into locks, damaging internal expanders.
- Leaving poles extended puts constant tension on locking mechanisms, causing them to take a permanent set or weaken over time.
A few minutes of care before storage can add years to your poles’ lifespan.
Step 1: Clean thoroughly before storing
Never store dirty poles. Residual mud contains salts and acids that corrode metal over months of inactivity.
- Extend the poles fully – This opens the gaps between sections so water can flush out dirt.
- Rinse with fresh water – Use a hose or a bucket. Avoid pressure washers.
- Scrub locks and baskets – Use an old toothbrush to remove packed mud from flick‑lock pivots and basket grooves.
- Wipe shafts dry – Use a microfiber cloth to dry every section. Pay attention to the inside of twist‑lock outer tubes (use a dowel with a cloth).
- Air dry for 1–2 hours – Leave poles extended in a warm, ventilated area. Do not collapse until completely dry.
For a deep winter clean, consider disassembling the poles (remove sections, take apart twist‑locks) and washing with mild soap.
Step 2: Lubricate before storage (optional but recommended)
A light application of dry silicone spray to twist‑lock expanders and flick‑lock pivots prevents sticking during the off‑season. Avoid oil or grease – they attract dust. Apply sparingly, work the mechanism, then wipe excess.
Do not lubricate shaft surfaces – they need friction for locking.
Step 3: Collapse fully – never store extended
This is the most critical rule. Always fully collapse your trekking poles before storing. Why?
- Removes tension from locking mechanisms
- Prevents accidental damage (someone leaning on an extended pole)
- Saves space
- Reduces the chance of bending the shafts
For folding Z‑poles, fold them into their compact bundle and secure the Velcro strap.
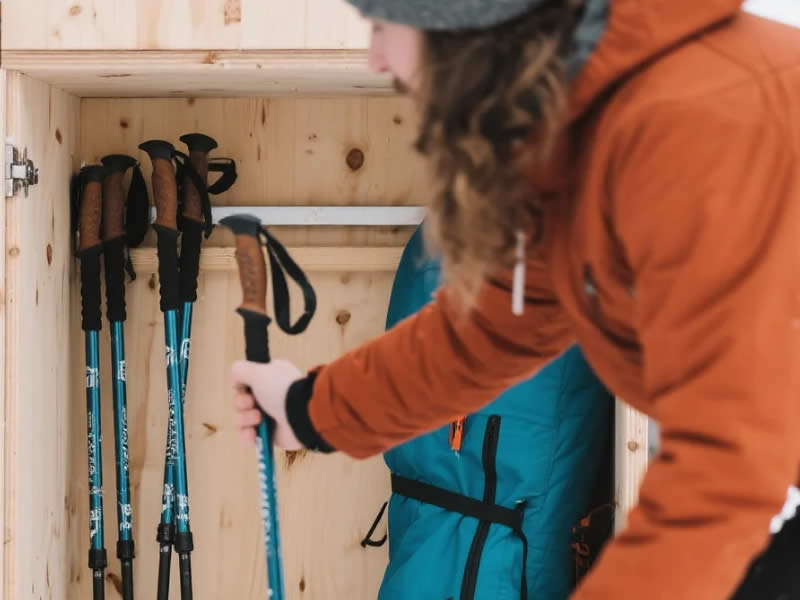
Step 4: Choose the right storage location
| Location | Suitable? | Reason |
|---|---|---|
| Heated indoor closet | ✅ Best | Stable temperature, low humidity |
| Under a bed | ✅ Good | Dry, protected |
| Living room corner | ✅ Good | Visible, easy to access |
| Unheated garage | ❌ Avoid | Freeze‑thaw cycles, moisture, rodents |
| Damp basement | ❌ Avoid | High humidity causes corrosion |
| Car trunk | ❌ Never | Extreme temperature swings, moisture |
Ideal conditions: 50–75°F (10–24°C), relative humidity below 50%. A closet or spare room works perfectly.
Step 5: Protect from dust and impact
- Place poles in a storage bag – Use the original stuff sack or a simple cloth bag. This prevents dust from settling into locks.
- Keep away from heavy items – Don’t stack boxes or tools on top of poles. Even collapsed, excessive weight can bend aluminum shafts.
- Hang if possible – Hanging poles by their wrist straps from a hook keeps them off the floor and prevents accidental crushing.
Step 6: Monthly check (optional but wise)
If you’re storing poles for 4–6 months, take them out once a month. Extend and collapse each section a few times. This keeps the locking mechanisms from “freezing” in place and allows you to spot any developing rust or corrosion early.
Special considerations for carbon fiber poles
Carbon fiber poles are less prone to corrosion but more sensitive to UV light and impact. Store them away from direct sunlight (UV can degrade the resin over years). Also, never hang carbon poles by the shafts – the weight can cause micro‑cracks if stored improperly. Lay them flat or hang by the straps only.
What about storing poles with removable tips?
If your poles have screw‑on carbide tips, consider removing them and storing separately. Apply a tiny amount of anti‑seize compound to the threads to prevent galling. Store tips in a small bag.
Common winter storage mistakes
- Storing poles in a car – Winter temperature swings from freezing to warm inside a car create condensation inside the shafts, leading to rust.
- Leaving baskets on – Baskets can deform if pressed against other gear. Remove baskets or store poles with baskets facing upward.
- Using WD‑40 before storage – WD‑40 is a solvent, not a lubricant. It evaporates and leaves a sticky residue that gums up locks. Use dry silicone only.
- Wrapping in plastic bags – Trapped moisture leads to mold and corrosion. Use breathable fabric bags or no bag at all.
Spring awakening: checking poles after storage
When you retrieve your poles for the first hike of spring:
- Extend each section and inspect for rust or oxidation.
- Test each lock – if a flick‑lock feels stiff, open and close it several times. If a twist‑lock grinds, disassemble and clean.
- Check wrist straps for fraying (rodents love chewing straps during winter).
- Apply a fresh coat of dry silicone to twist‑locks if needed.
- Take a short test walk before committing to a long hike.
Final thoughts
Storing trekking poles for winter is simple: clean, dry, collapse, and store indoors. Avoid garages, basements, and cars. Take five minutes to prepare your poles before putting them away, and they will reward you with reliable service for many seasons. Conversely, neglect can turn a $150 pair of poles into a rusted, stuck mess. Treat your poles with respect during the off‑season, and they’ll be ready when the snow melts and the trails call your name.


