


How to store trekking poles on your backpack when not in use?
There are many times on a hike when you don’t need your trekking poles: scrambling over rocks, walking on flat pavement, or taking a break. Knowing how to store them securely on your backpack – without snagging on branches or swinging into your legs – is essential for safety and convenience. Here are the best methods for different pack designs, along with tips to keep your poles and gear safe.
Recommended trekking pole purchase link: https://s.click.aliexpress.com/e/_c4M7OWaN
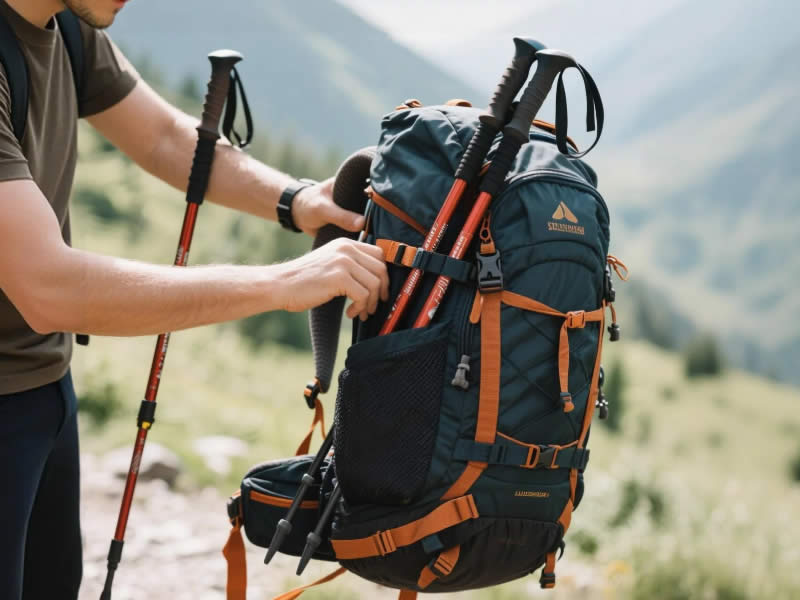
Method 1: Side compression straps (most common and fastest)
Most backpacks have two or three compression straps on each side. This is the simplest way to carry collapsed poles.
- Collapse your poles completely (telescopic) or fold them (Z‑poles).
- Slide them vertically between the pack body and the compression straps, with tips pointing down (to avoid poking your face).
- Tighten the straps so the poles are held firmly against the pack. Use both upper and lower straps if available.
- If your pack has only one strap per side, position it around the middle of the poles; friction will keep them from slipping. For extra security, add a velcro strap or a simple rubber band.
- Pros: Fast, no extra gear, works with any pack.
- Cons: Poles may shift if straps are loose; tips can still poke out.
Method 2: Daisy chain or gear loops
Many packs have daisy chains (webbing loops) on the front or sides. You can thread the pole tips through a loop and secure the top with a bungee or strap.
- Collapse the poles and gather them together.
- Insert the tips through a low daisy chain loop on the side or front of the pack.
- Use a cord or a stretchy toggle (e.g., a rubber loop) to hold the upper section against a higher loop.
- Angle the poles diagonally across the pack – this keeps them out of the way of your arms.
- Pros: Very secure, keeps poles flat against the pack.
- Cons: Requires a daisy chain; a bit slower to deploy.
Method 3: Dedicated trekking pole holders (best for quick access)
Accessories like the Zpacks Stick Holder, Gossamer Gear Pole Carrier, or Osprey’s Stow‑on‑the‑Go system are small elastic or cord loops that attach to your pack’s shoulder strap or hip belt.
- Attach the holder to your shoulder strap (or use the pack’s built‑in system).
- Collapse your poles and insert the tip into the holder.
- Secure the top with a magnetic clip, velcro, or a bungee cord (some systems use a simple toggle).
- Pros: Instant access – you can stow or deploy poles without removing your pack. Extremely popular with ultralight hikers and trail runners.
- Cons: Requires buying an accessory (€10–25) or a backpack with a built‑in system.
Method 4: Ice axe loop and top strap
If your pack has an ice axe loop at the bottom and a strap higher up, you can use it to carry one pole (or two poles bundled together).
- Collapse the poles and bundle them with a rubber band or a short cord.
- Insert the tip into the ice axe loop.
- Secure the upper section using the top strap or a compression strap.
- Pros: Uses existing features, very secure.
- Cons: Best for one pole; two poles can be awkward. Not all packs have ice axe loops.
Method 5: Inside the pack (for air travel or short carries)
If you need to protect your poles completely (e.g., on a bus or plane), store them inside the main compartment.
- Collapse or fold poles to their shortest length.
- Cover the carbide tips with rubber covers or a few layers of tape to prevent punctures.
- Place them vertically against the back panel – this keeps weight close to your spine.
- Use a stuff sack or wrap them in clothing to prevent rattling.
- Pros: Maximum protection, no external snagging.
- Cons: Takes up internal space, slower to access.
Important tips for any storage method
- Cover the tips – even when stored externally, carbide tips can scratch you or your gear. Use rubber tip covers or a piece of tape.
- Remove snow baskets – they add bulk and can catch on straps. Store them in a small pocket.
- Secure loose wrist straps – flapping straps can get caught in branches. Tuck them under compression straps or wrap them around the poles.
- Check for balance – heavy poles on one side can make your pack feel lopsided. If possible, store one pole on each side.
- Practice at home – before your trip, try each method to see what works with your pack. You don’t want to be fumbling on the trail.
What to avoid
- Tucking poles under the top lid without securing – they will fall out when you bend over.
- Carrying poles horizontally across the top of the pack – they become “branch magnets” and can hit other hikers.
- Leaving tips exposed in a crowd – you could accidentally poke someone.
- Using elastic bands alone – they break. Use proper compression straps or webbing.
Final verdict
The best way to store trekking poles on your backpack depends on your pack and how often you need them. For quick access on day hikes, use side compression straps or a dedicated shoulder‑strap holder. For rugged scrambling or bushwhacking, use daisy chain loops or an ice axe loop for more security. For travel, pack them inside. Always cover the tips, secure loose straps, and practice at home. With the right storage method, your poles will be out of the way when you don’t need them – and instantly ready when you do.


