


How to use trekking poles on icy and snowy trails in the Lake District?
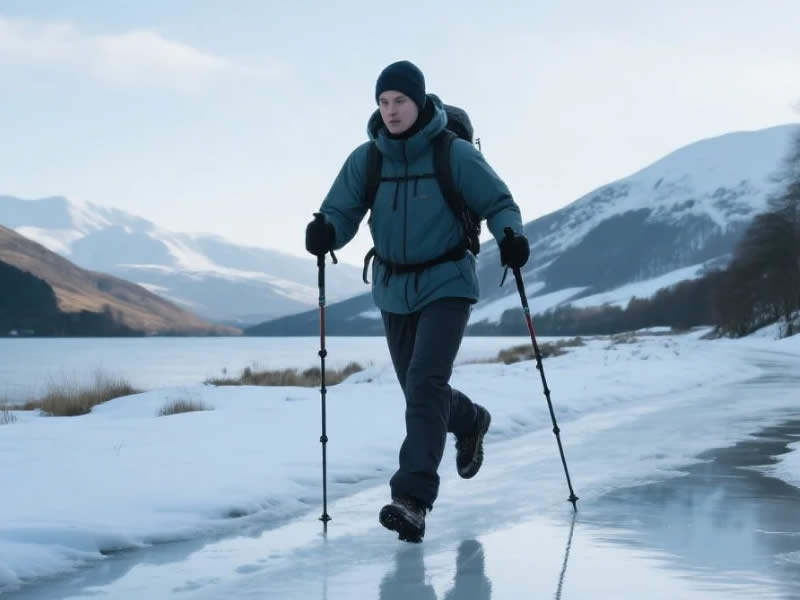
Winter in the Lake District transforms familiar paths into treacherous sheets of ice and deep, soft snow. From the summit of Helvellyn to the pass of Striding Edge, having the right technique with your trekking poles can mean the difference between a confident descent and a dangerous slide. Here’s how to adapt your poles and your movement for icy and snowy Lake District trails.
Recommended trekking pole purchase link: https://lightenup.aliexpress.com/store/1101521655
Before you go: equip your poles for winter
- Large snow baskets (7–10 cm) are essential. They stop the pole from sinking deep into soft snow. Standard summer baskets (4–6 cm) will plunge, tiring your arms and offering no support.
- Ice grips (spiked rubber covers) for hard ice. Carbide tips alone can skid on polished ice. Spiked grips (e.g., Leki Ice Grips, Black Diamond Ice Tip) provide traction. Carry them in your pack and fit them when you hit icy sections.
- Aluminium poles with lever locks are more reliable than carbon or twist locks in freezing conditions. Carbon can snap; twist locks freeze.
- Rubber tips are deadly on snow and ice – remove them.
Technique for soft, deep snow
- Lengthen your poles by 5–10 cm compared to your summer length. The snow surface is higher than the ground; longer poles reach the firm layer below.
- Plant vertically – an angled plant slices through the snow. Push the pole straight down until the basket rests on the surface.
- Use double planting – plant both poles together ahead of you, then step. This creates a stable platform and prevents one pole from sinking more than the other.
- Take short, flat‑footed steps and keep your weight centred. Wide snowshoes help, but even without them, poles assist balance.
Technique for hard ice and icy paths
- Add ice grips over your carbide tips. Ensure they are securely seated.
- Keep poles at normal length or slightly lengthened for better reach.
- Plant firmly and vertically – a light tap will skid. Push down until you feel the spikes bite.
- Use double planting on descents – plant both poles ahead, then step down. This transfers braking from your knees to your arms.
- On flat icy sections, use an alternating rhythm (opposite pole to forward foot) but keep the plants deliberate and vertical.
Adjusting for changing conditions
The Lake District is notorious for mixed conditions – soft snow one minute, bare rock the next, then a sheet of ice. Learn to adapt quickly:
- Soft snow → use large baskets, double planting, longer poles.
- Hard ice → add ice grips, plant vertically, use double planting on descents.
- Bare rock (e.g., after a thaw) → remove ice grips, revert to small baskets, use alternating rhythm.
Common mistakes on Lake District winter trails
- Using summer baskets in deep snow – you will sink, tire, and lose stability.
- Planting at an angle on ice – the pole skids sideways, offering no support.
- Relying only on poles for grip – also wear microspikes or crampons on your boots.
- Keeping poles at summer length – too short for deep snow, too long for hard ice? Actually for ice, normal length is fine; adjust as needed.
- Using rubber tips – they are dangerously slippery.
Safety tips specific to the Lakes
- On icy ridges (e.g., Striding Edge, Sharp Edge): Consider stowing your poles and using an ice axe for self‑arrest. Poles can be a hazard if you slip.
- In deep snow, mark your poles – if you drop one, it can disappear. Use brightly coloured baskets or tape.
- After a fall, check your poles – a bent or snapped pole is useless. Straighten aluminium gently.
- Carry spare ice grips – they can crack in cold weather.
Final checklist for a Lake District winter hike
- Large snow baskets attached
- Ice grips in your pack
- Lever locks clean and dry
- Carbide tips sharp
- Spare baskets and a repair kit
- Microspikes on your boots
Final verdict
Using trekking poles on icy and snowy Lake District trails requires the right equipment (large baskets, ice grips) and adjusted technique (vertical planting, double planting, longer poles). Practice on gentle slopes before tackling exposed ridges. When conditions turn to solid ice, add spikes to your poles and your boots. With the correct setup, your poles will be indispensable – helping you balance, brake, and enjoy the stunning winter landscape safely.


