


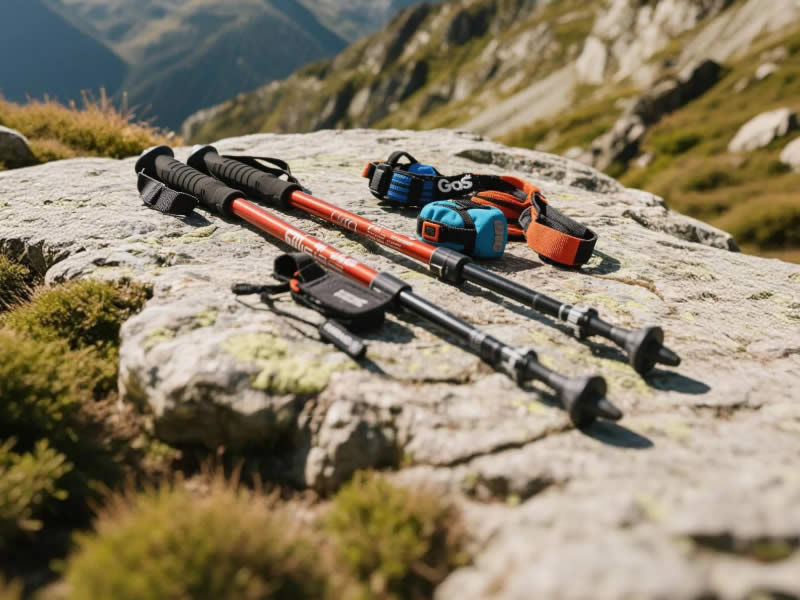
What accessories should I buy with my first pair of trekking poles?
Congratulations on your first pair of trekking poles! To get the most out of them – and to keep them working safely for years – you will want a few essential accessories. Some may be included with your poles; others you will need to buy separately. Here is a complete list of what to buy, with explanations of why each item matters.
Recommended trekking pole purchase link: https://lightenup.aliexpress.com/store/1101521655
1. Rubber tips (paw covers) – absolutely essential
Trekking poles come with sharp tungsten‑carbide tips designed for dirt, rock, and ice. On pavement, asphalt, or indoor floors, carbide tips are slippery, noisy, and wear down quickly. Rubber tips slip over the carbide and provide excellent grip on hard surfaces. They also protect your floors at home when practising. Buy them: Most brands sell rubber tips (e.g., Leki Paw, Black Diamond Tech Tip) for £5–10 per pair. Make sure they fit your pole’s tip diameter.
2. Spare carbide tips – for longevity
Carbide tips eventually wear down, especially if you hike on abrasive rock (granite, limestone). A blunt tip skids and reduces safety. Most quality poles have replaceable tips. Buy a spare set (or two) when you buy the poles. Cost: £8–15 per pair. Keep them in your repair kit for when the originals need replacement.
3. Snow baskets (large) – for winter or muddy conditions
Your poles likely came with small summer baskets (4–6 cm) that prevent sinking into soft dirt. For deep snow, sand, or thick mud, you need large snow baskets (7–10 cm). They stop the pole from plunging, saving your arms and improving stability. Buy them: Most brands sell winter baskets separately (£6–10 per pair). Swap them on when snow depth exceeds 10 cm.
4. Spare baskets (small) – for when originals break or get lost
Small summer baskets can crack or fall off, especially in cold weather. Having a spare pair in your pack ensures you are never without flotation. Cost: £4–8 per pair.
5. Storage bag or pole sack – for protection and travel
A lightweight fabric bag keeps your poles from scratching other gear, and prevents the tips from poking through your backpack. Many poles come with a sack; if not, buy a universal stuff sack or a dedicated pole bag. Cost: £5–15. Also useful for air travel – pack poles in the sack inside your checked suitcase.
6. Carbide tip file or sharpener (optional, but handy)
A diamond‑coated file can refresh slightly blunt tips, extending their life. Not essential, but useful if you hike on abrasive rock often. Cost: £10–20.
7. Replacement wrist straps – for when originals fray
Straps wear out from sweat and friction. Having a spare pair means you can replace them immediately, rather than trying to sew or improvise. Cost: £10–20 per pair (brand‑specific).
8. Lever lock repair kit (if your poles have lever locks) – For brands like Leki or Black Diamond, you can buy replacement lever assemblies. Cheap insurance against a broken lock on a long trip. Cost: £10–15 per lock.
9. Ice grips (spiked rubber covers) – for winter ice
If you plan to hike on hard ice (frozen lakes, icy paths), add‑on ice grips (e.g., Leki Ice Grips, Black Diamond Ice Tip) fit over the carbide tip and provide metal spikes for traction. Cost: £10–15 per pair.
10. Carry strap or magnetic keepers (for foldable poles)
If you have foldable Z‑poles, a small elastic or magnetic keeper lets you attach the collapsed poles to your backpack’s shoulder strap for quick access. Some brands include them; otherwise buy universal ones. Cost: £5–10.
What about anti‑shock springs? – Not an accessory; either your poles have them or not. For most hikers, they are unnecessary.
What about a spare section (aluminium or carbon)? – For expensive poles, you can buy replacement lower sections. Overkill for a first pair, but good to know.
Final recommendation for first‑time buyers
At a minimum, buy rubber tips and spare carbide tips immediately. If you walk in winter or on muddy trails, add snow baskets. A storage bag is convenient but not strictly necessary. Over time, as you use your poles, you will discover which accessories suit your hiking style. Start with the essentials, and you will be well prepared for many happy miles on the trail.


