


How to use trekking poles to maintain proper posture during long descents?
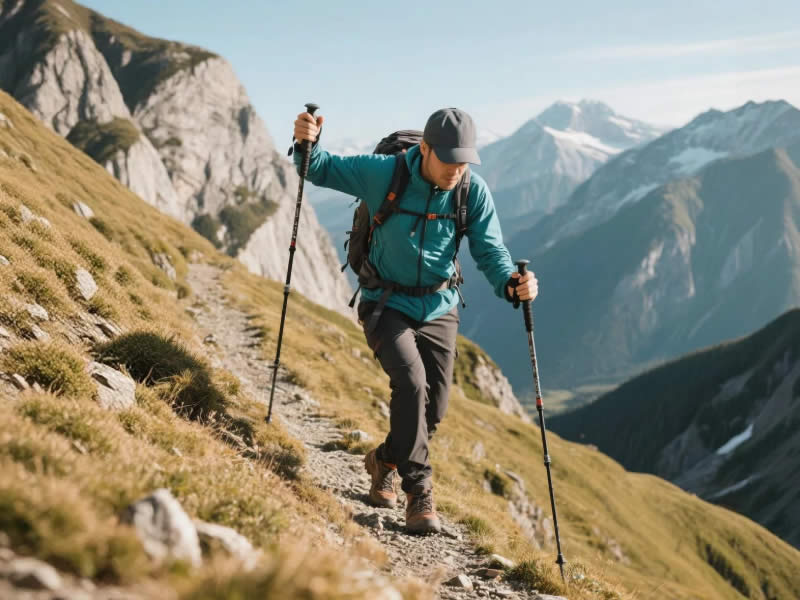
Long descents are the most physically demanding part of any hike. Without proper technique, you’ll find yourself hunching forward, straining your lower back, and increasing the risk of knee injury. Trekking poles, used correctly, are your best ally for maintaining an upright, efficient posture. Here’s exactly how to use them on steep, prolonged downhills.
Recommended trekking pole purchase link: https://lightenup.aliexpress.com/store/1101521655
Why posture matters on descents
When you walk downhill, gravity pulls your body forward. To compensate, most hikers instinctively lean into the slope, rounding their shoulders and dropping their chest. This “hiking slouch” compresses the lumbar spine, overworks the erector spinae muscles, and shifts excessive load onto your quadriceps and kneecaps. Good posture – an open chest, neutral spine, and slight backward lean – reduces back pain, improves breathing, and protects your knees.
Step 1: Lengthen your poles
On flat ground, your poles should be adjusted so your elbow is at 90° when the tip touches the ground. For a descent, add 5–10 cm (2–4 inches). A longer pole allows you to plant it ahead of your body, creating a braking effect that naturally encourages an upright torso. If your poles are too short, you’ll have to reach down, forcing you to hunch forward.
Step 2: Plant ahead, not beside
Plant both poles together about 30–50 cm (12–20 inches) ahead of your forward foot. Avoid planting them directly beside your feet – that provides no braking and encourages a forward lean. By reaching ahead, you automatically straighten your spine and open your chest.
Step 3: Push down, not just poke
Active pushing is the secret to good posture. As you plant the poles, push down firmly into the ground. This action transfers weight from your legs to your arms, relieving your lower back and knees. When you push, your shoulders naturally settle back, and your chest lifts. You should feel your triceps and lats engaging – that’s the load being taken off your spine.
Step 4: Lean back from your ankles
Many hikers lean forward from the waist. Instead, lean back slightly from your ankles – imagine your body as a straight plank tilted backwards. Your upper body should remain upright, with your hips below your shoulders. The poles will help you resist gravity; you should feel a slight pull on your wrist straps, not a forward pitch.
Step 5: Engage your core and keep your chest open
A powerful cue: “Proud chest”. Keep your sternum lifted and your shoulders rolled back. Your chin should be level, eyes looking ahead (not down at your feet). Engage your abdominal muscles lightly – this stabilises your spine and prevents excessive arching.
Common posture mistakes to avoid
- Hunching over the poles – This happens when poles are too short or you’re not pushing down. Fix it by lengthening poles and actively pushing.
- Locking your elbows – Keep a slight bend; locked elbows transfer shock to your shoulders and can make you pitch forward.
- Looking down – Staring at your feet rounds your upper back. Glance down occasionally, but keep your head up.
- Gripping too tightly – A death grip tenses your shoulders and neck. Use wrist straps correctly (hand up from below) and relax your fingers.
Drill to improve descent posture
Find a gentle grassy slope. Walk down without poles, noticing your forward lean. Then walk down with poles lengthened, planting ahead and pushing down. Focus on keeping your chest proud. You’ll feel an immediate difference in back comfort and knee load.
Why this technique protects your back and knees
- Reduces lumbar compression – By transferring weight to your arms, you unload your spinal discs.
- Prevents quadriceps overuse – Active braking with your arms takes the edge off your quads.
- Encourages a neutral spine – The forward plant naturally pulls you into alignment.
Additional tips for long descents
- Mark your “descent length” on the pole shaft with tape or a marker, so you can adjust quickly.
- Take micro‑breaks – Every 10–15 minutes, stop, plant both poles, and stand upright to reset your posture.
- Use a light pack – The heavier your pack, the more you’ll tend to lean forward. Keep pack weight low.
- Choose the right poles – Lever locks (Leki SpeedLock, Black Diamond FlickLock) are easier to adjust on the fly than twist locks. Cork grips help with sweaty hands.
Final checklist for a comfortable descent
- Poles lengthened by 5–10 cm
- Wrist straps correctly adjusted (hand up from below)
- Planting both poles ahead, not beside
- Pushing down actively
- Chest proud, shoulders back
- Leaning back from ankles
- Relaxed grip
Conclusion
Maintaining proper posture during long descents is not just about looking good – it’s about hiking pain‑free for years to come. By lengthening your poles, planting ahead, pushing down, and keeping your chest open, you transform your poles from simple walking sticks into powerful tools for spinal health and knee protection. Practice these techniques on every downhill, and you’ll finish your hikes with a straight back, fresh legs, and a smile.


