


How to make a walking stick from a tree branch?
Crafting a walking stick from a tree branch combines practicality with creativity. Whether for hiking, cosplay, or gifting, this guide covers ethical foraging, carving techniques, and professional finishing tips to create a durable, personalized mobility aid or hiking staff.
Recommended trekking pole purchase link: https://s.click.aliexpress.com/e/_c4M7OWaN
1. Ethical Branch Selection & Preparation
Choosing the Right Wood:
- Best Species: Hardwoods like oak, hickory, or ash (durable, straight grain). Avoid toxic woods (yew, oleander).
- Size: Aim for 1.5–2 inches thick and 48–55 inches long (adjust to your height).
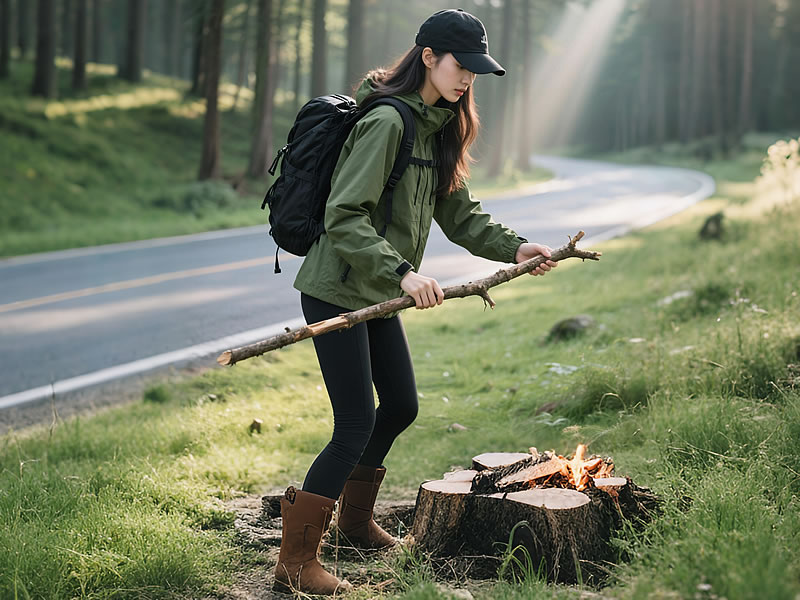
- Ethical Foraging: Use fallen branches or obtain landowner permission. Never cut live trees.
Seasoning the Wood:
- Air-Dry: Hang horizontally in a shaded, ventilated area for 6–12 months.
- Kiln-Dry Alternative: Use a food dehydrator on low heat (120°F) for 2–3 days.
2. Essential Tools & Safety Gear
| Tool | Purpose | Budget Option |
|---|---|---|
| Drawknife | Bark removal | Mora Basic ($25) |
| Carving Knife | Detailing | Flexcut Detail Knife ($20) |
| Sandpaper | Smoothing | 80–400 grit ($8) |
| Wood Finish | Protection | Boiled Linseed Oil ($10) |
Safety Must-Haves:
- Cut-resistant gloves (NoCry)
- Dust mask and goggles
3. Step-by-Step Carving Process
Step 1: Remove the Bark
- Use a drawknife to strip bark away from your body.
- Scrape stubborn bits with a spoon or chisel.
Step 2: Shape the Handle
- Carve an ergonomic grip (pistol, T-shape, or spiral).
- For comfort, ensure the handle is 1–1.5 inches thick.
Step 3: Sand Smooth
- Start with 80-grit paper to eliminate splinters.
- Progress to 220-grit for a polished finish.
Step 4: Decorate (Optional)
- Pyrography: Burn patterns with a wood-burning pen ($30 kits).
- Carvings: Etch symbols or animal motifs.
Step 5: Apply Protective Finish
- Soak a cloth in boiled linseed oil; rub into the wood.
- Let dry for 24 hours, then add 2–3 more coats.
Step 6: Attach a Tip
- Rubber Tip: Glue on a 1-inch ferrule for traction.
- Metal Spike: Ideal for hiking on soft terrain.
4. Common Mistakes & Fixes
- Cracks During Drying: Fill with epoxy mixed with sawdust.
- Uneven Handle: Re-carve using a rasp tool.
- Splintering: Sand with the grain, not against it.
5. Maintenance for Longevity
- Monthly: Wipe with a beeswax-cloth to repel moisture.
- Yearly: Reapply linseed oil; replace worn tips.
- Storage: Keep upright or hang to prevent warping.
6. Advanced Customization Ideas
- Leather Wrap: Braid a leather strip around the grip.
- Gemstone Inlay: Embed small stones with epoxy.
- Glow-in-the-Dark Paint: Add safety accents for night hikes.
7. Safety First: Pro Tips
- Test Strength: Apply gradual weight (lean on it) before full use.
- Avoid Green Wood: Fresh branches are prone to cracking.
- Disinfect: Treat insect-infested wood by baking at 200°F for 1 hour.
Expert Insight:
*“A well-seasoned stick becomes an extension of your body. My 10-year-old hickory staff has weathered hundreds of miles because I oil it monthly.”*
– Elias Carter, Wilderness Survival Instructor
Final Checklist:
✔ Ethically sourced, seasoned wood
✔ Ergonomic handle tailored to your grip
✔ Non-slip tip for safety


