


Are trekking poles good for rehabilitation after ankle sprain in Brazilian trails?
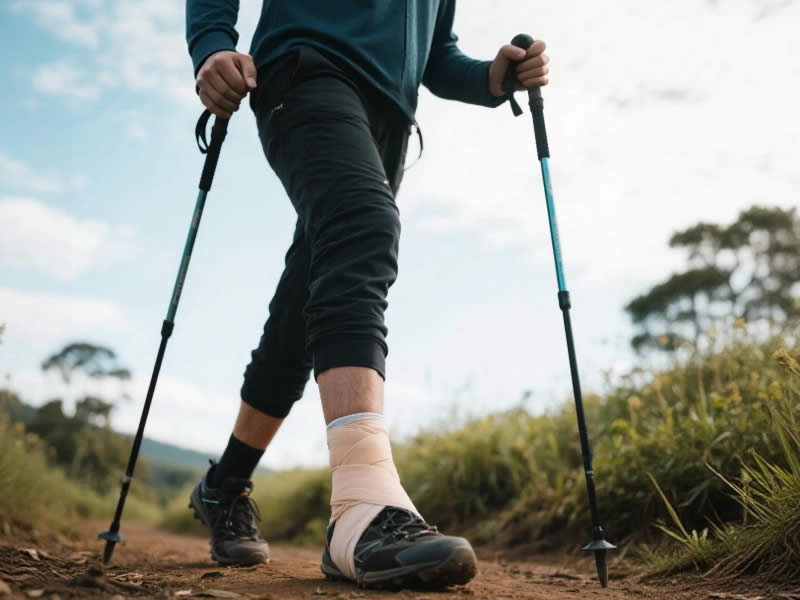
An ankle sprain is one of the most common injuries among hikers, especially on Brazil’s diverse terrain – from the uneven cobblestones of Paraty to the slippery roots of the Atlantic Forest and the loose scree of the Serra do Mar. After the acute swelling subsides, rehabilitation begins. Getting back on the trails too soon can lead to re‑injury, but staying inactive slows recovery. This is where trekking poles come in. The short answer is yes, trekking poles are excellent for rehabilitation after an ankle sprain, provided you use them correctly and follow medical advice. Here’s how and why they help, and what to keep in mind for Brazilian trails.
Recommended trekking pole purchase link: https://lightenup.aliexpress.com/store/1101521655
How trekking poles aid ankle sprain recovery
- Unload the injured ankle – By transferring a significant portion of your body weight to your arms and shoulders, poles reduce the load on the healing ligaments. Studies suggest poles can offload 20‑30% of body weight, allowing you to walk with less pain and lower risk of overstressing the ankle.
- Improve balance – An ankle sprain impairs proprioception (the body’s ability to sense joint position). Poles provide two extra points of ground contact, widening your base of support. This compensates for the reduced stability from the injured ankle, reducing the chance of re‑rolling.
- Create a protective gait – With poles, you can adopt a slower, more deliberate walking pattern. Planting a pole before each step gives you a “tripod” effect, allowing you to test the ground and shift weight gradually.
- Reduce fear of falling – Fear can cause you to walk stiffly, which actually worsens balance. Poles build confidence, enabling you to move more naturally and engage the ankle in a controlled manner – essential for retraining the ligaments and muscles.
Why Brazilian trails are ideal for pole‑assisted rehab
Brazil offers a wide range of trails, many of which are perfect for progressing your rehabilitation:
- Flat, well‑maintained trails (e.g., parts of Tijuca Forest’s lower loops, Parque Ibirapuera in São Paulo, or the beachside promenades of Copacabana) – Start here with poles to get used to weight distribution.
- Gentle uneven terrain (e.g., coastal paths in Paraty, the lower sections of Chapada Diamantina) – Poles help you navigate small roots and stones without sudden ankle twists.
- Soft surfaces – Dirt and packed earth are more forgiving than pavement. Poles provide extra grip and confidence.
Step‑by‑step rehab plan using trekking poles
Phase 1 (weeks 1‑2 after sprain, under physio guidance) – Do not hike yet. Use poles for walking at home or on flat, hard surfaces (sidewalks). Set poles to correct height (elbow 90°). Practice “three‑point” gait: two poles + one foot (the uninjured leg), letting the injured foot lightly touch or hover.
Phase 2 (weeks 3‑4) – Move to flat, soft trails (e.g., a soccer field or flat park path). Use both poles. Walk for 10‑15 minutes, focusing on an even gait. If you feel pain, shorten your stride.
Phase 3 (weeks 5‑8) – Progress to gentle, uneven Brazilian trails (e.g., the easy loop at Poço das Antas in Paraty, or the lower part of the Pedra Bonita trail in Rio). Keep poles actively planted. Avoid steep climbs or descents.
Phase 4 (after full clearance) – You can resume normal hiking, but continue using poles as a preventive measure. Many hikers keep them permanently to reduce future injury risk.
Choosing the right poles for ankle rehab
- Flick‑lock adjustable poles – Allows fine tuning of length to match your gait.
- Lightweight aluminium – Strong and vibration‑absorbing without being heavy.
- Cork or foam grips – Reduce hand fatigue and provide secure hold.
- Rubber tip covers – Use on pavement or hard packed trails; remove for dirt.
- Avoid anti‑shock poles? – They can create an unpredictable bounce, which may be disconcerting during rehab. Rigid poles give better feedback.
Proper technique for ankle rehab
- Set poles slightly longer than normal – Lengthening by 2‑3 cm shifts more weight to your arms, offloading the ankle even more.
- Plant the pole opposite the injured foot – For a right ankle sprain, plant the left pole as you step forward with the right foot. This creates a diagonal brace.
- Do not plant the pole too far ahead – Keep it near your body to avoid pulling or twisting the ankle.
- Use the wrist strap correctly – Hand goes up through the loop, then down. The strap carries weight, not your grip.
Precautions and when not to use poles
- Acute phase (first 48‑72 hours) – Rest, ice, compression, elevation. Do not hike.
- If walking with poles causes sharp pain – Stop and consult your physiotherapist.
- On steep, unstable slopes – Avoid until your ankle has regained strength and stability. Poles alone cannot prevent a severe roll on loose scree.
- Do not use poles as a crutch to ignore proper rehab – Continue prescribed exercises (range of motion, strengthening, balance training).
Additional benefits for Brazilian hikers
- Humidity and sweat – Cork grips stay grippy, reducing accidental pole drops that could cause a stumble.
- Insects and spiders – You can tap poles ahead to clear webs, reducing sudden, jerky movements.
- Stream crossings – Poles provide immense stability when wading through water, preventing slips that would re‑injure the ankle.
Final verdict
Trekking poles are not only good but highly recommended for rehabilitation after an ankle sprain – especially for Brazilian trails, where natural surfaces vary constantly. They offload the injured joint, improve balance, and allow you to return to hiking sooner and safer. Always progress gradually, use proper technique, and combine pole use with a structured physiotherapy program. With patience and the right poles, you’ll soon be exploring the wonders of Brazil’s landscapes again – with a stronger ankle and a new appreciation for these simple yet powerful tools.


