




How to adjust trekking pole length for descending muddy slopes?
For descending muddy slopes, lengthen your poles by 5–10 cm compared to your flat‑ground setting. This allows you to plant the tip ahead of your feet, creating a braking effect that reduces knee impact and helps prevent slips on slippery, uneven ground. Plant the pole firmly, pushing down through the wrist straps, and keep your weight slightly back to maintain stability. Shorten the poles back for the next ascent. Always test the ground with the tip before committing your weight—mud can hide deep ruts or loose stones. This simple adjustment can significantly improve your confidence and safety on wet, muddy descents. This article explains the technique, the biomechanics, and how to adapt to different muddy conditions.
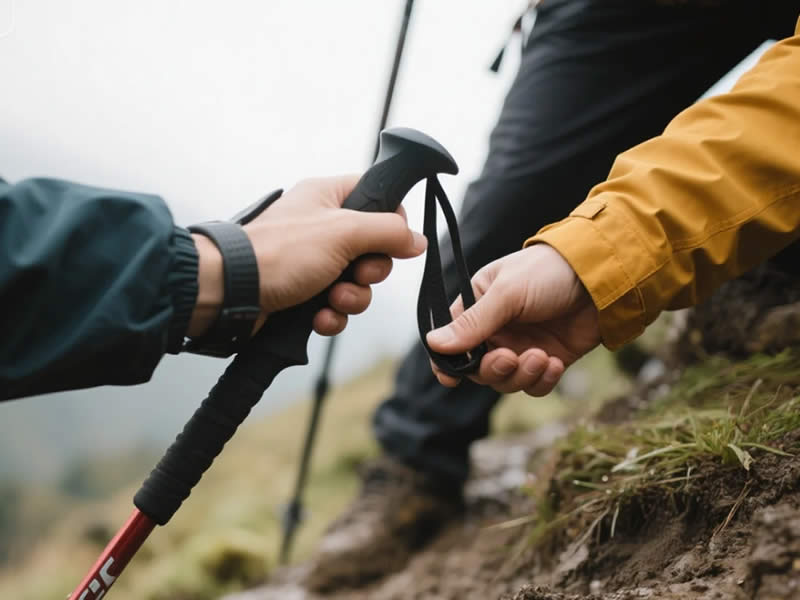
1. Why lengthening helps on descents
When you walk downhill, your centre of gravity shifts forward, and your knees absorb more impact with each step. A longer pole allows you to plant the tip ahead of your foot, creating a braking effect that slows your descent and reduces the load on your knees. This is particularly important on muddy slopes, where footing is uncertain and a slip is more likely.
- Braking – The pole acts as an anchor, transferring some of your forward momentum into the ground.
- Balance – A longer pole gives you a wider base of support, improving stability on slippery ground.
- Knee protection – By reducing the impact force on your knees, you can descend more comfortably and for longer.
2. How much to lengthen
The exact amount depends on the steepness and slipperiness of the slope:
- Gentle muddy slope – Lengthen by 3–5 cm.
- Moderate muddy slope – Lengthen by 5–8 cm.
- Steep, very slippery slope – Lengthen by 8–10 cm or more.
A good rule of thumb: on a steep, muddy descent, your poles should be at their maximum comfortable length—just short of the point where you cannot comfortably reach the grip.
3. Step‑by‑step technique
- Lengthen the poles – Before starting the descent, extend both poles by 5–10 cm. If you use lever locks, this takes seconds.
- Check the length – Plant one pole ahead of you and take a step. Your elbow should be slightly bent (not fully extended) when the tip contacts the ground.
- Plant ahead – On each step, plant the pole tip ahead of your front foot, about 20–30 cm in front.
- Push down – Apply firm downward pressure through the wrist strap, not your grip. The strap does the work.
- Keep weight back – Slightly lean back from the slope, keeping your centre of gravity over your feet. This reduces the chance of slipping forward.
- Test the ground – Before committing your weight, test the ground with the pole tip. Mud can hide deep puddles or loose stones.
4. Common mistakes
- Not lengthening enough – If your poles are too short, you cannot plant ahead effectively, reducing the braking effect.
- Lengthening too much – Over‑lengthening forces you to reach too far, compromising your balance and reducing leverage.
- Gripping tightly – A tight grip fatigues your forearms. Use the wrist straps to transfer load.
- Not testing the ground – Muddy slopes can have hidden holes or roots; test before planting.
- Rushing – Descents on muddy slopes require patience. Take short, controlled steps.
5. Adjusting for different types of mud
- Wet, slippery clay – The pole may slide on the surface. Plant at a slight angle to increase grip.
- Deep, soft mud – The pole may sink. Lengthen slightly more to compensate for the sinkage.
- Mud over hard ground – The pole will not sink much. Lengthen as normal for braking.
6. When to shorten back
After the descent, when the ground levels out or you start climbing again, shorten the poles back to your flat‑ground or ascent length. Walking with poles that are too long on flat ground will cause you to hunch forward and tire your shoulders.
7. Practice on easier slopes
Before tackling a steep, muddy descent, practice the technique on a gentle slope. Focus on the rhythm of planting ahead, pushing down, and taking short steps. Within a few descents, it will become automatic.
8. Final tips for UK muddy conditions
- Use lever locks – Twist locks can slip in muddy, wet conditions. Lever locks (cam locks) are more reliable.
- Fit mud baskets – Small baskets prevent the pole from sinking too deep into soft mud.
- Carry spare tips – Mud is abrasive; tips wear down over time.
- Clean after the walk – Mud and grit can damage locks. Rinse with fresh water and dry.
9. Final verdict
For descending muddy slopes, lengthen your poles by 5–10 cm to create a braking effect, reduce knee impact, and improve stability. Plant the tip ahead of your front foot, push down through the wrist straps, and keep your weight slightly back. Adjust the length according to the steepness and slipperiness of the slope, and shorten back when the terrain levels out. With this simple adjustment, you can descend muddy slopes more confidently, safely, and comfortably—saving your knees and reducing the risk of slips. Practice on gentle slopes first, and you will soon master the technique.




