




Can trekking poles be used to offload weight from a painful hip joint?
Yes—and it is one of their most effective and underrated benefits. Trekking poles can significantly offload weight from a painful hip joint, making walking more comfortable and allowing you to cover greater distances with less pain. By transferring up to 30% of your body weight from your lower limbs to your upper body, poles reduce the compressive force on the hip joint, easing the strain on the articular cartilage, the labrum, and the surrounding muscles. This is a game‑changer for walkers with hip osteoarthritis, labral tears, or post‑injury rehabilitation. This article explains the biomechanics, provides a step‑by‑step technique guide, and discusses the limitations and complementary strategies.
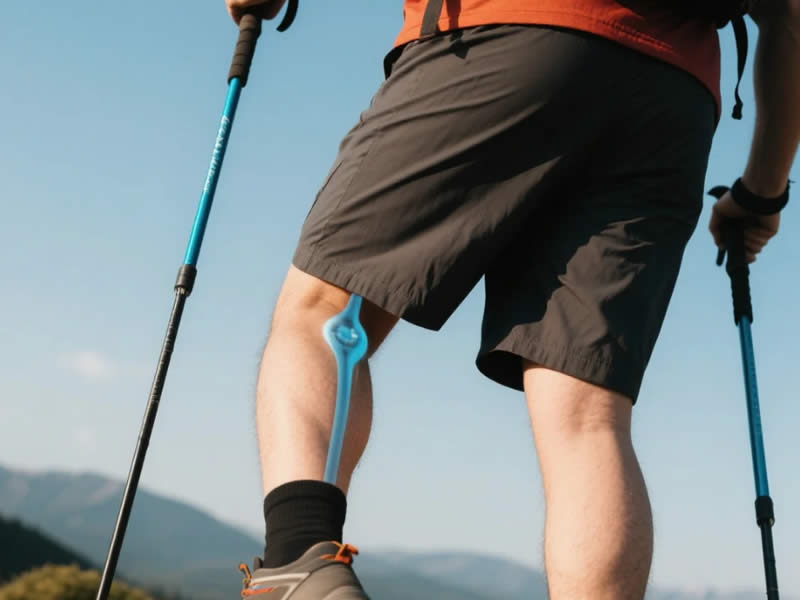
Understanding hip joint pain and weight‑bearing
The hip joint is a ball‑and‑socket joint, designed to bear the weight of the body during walking. When the joint is healthy, the smooth cartilage allows for friction‑free movement. However, when the cartilage wears thin (osteoarthritis), or when the labrum is torn or inflamed, the joint becomes painful under compression. Each step during walking subjects the hip to a ground reaction force of approximately 2‑3 times your body weight on flat ground, and up to 4‑5 times body weight on a descent. This repetitive loading aggravates the pain, leading to a limp and reduced activity.
Trekking poles intervene in this cycle by reducing the load that must be borne by the hip. The effect is similar to reducing your body weight: if you can offload 30% of your weight to your arms, your hip experiences only 70% of the impact. This can be the difference between a painful, limited walk and a comfortable, sustainable one.
How trekking poles offload the hip: the biomechanics
1. Load transfer through the upper body
When you plant a trekking pole and push down, you generate an upward reaction force through your arm, shoulder, and torso. This force effectively "lifts" a portion of your body weight, reducing the force that travels down your spine, through your pelvis, and into your hip. Studies using force‑plate technology have shown that the use of two poles can reduce the peak ground reaction force at the hip by up to 30% on a descent, and by 15‑20% on a flat surface.
2. The role of the wrist strap
The wrist strap is essential for effective load transfer. When the strap is correctly adjusted, it bears the weight of the push, not your grip. This allows you to push down with your entire arm and shoulder, generating a significant upward force. Without the strap, your grip would tire quickly, and the load transfer would be less effective.
3. The importance of a long, deliberate plant
On a descent, you can create a powerful braking effect by planting the pole ahead of your foot and pushing down. This force is absorbed by your arms and shoulders, reducing the jarring impact on your hip. On a flat surface, a rhythmic plant‑push‑step motion creates a steady, continuous offloading effect with each stride.
Practical technique for hip pain relief
1. Use two poles, not one
Using a single pole creates an asymmetrical load distribution, which can actually increase stress on the opposite hip. Use two poles of equal length to ensure balanced offloading.
2. Set the correct flat‑ground length
Stand upright, with the pole tip on the ground beside your foot. Adjust the length so your elbow is at a roughly 90° angle. This is your neutral length. Mark this setting on the shaft.
3. Lengthen poles for descents
On a steep descent, lengthen the poles by 5‑10 cm. This allows you to plant the pole ahead of your foot and push down, creating a braking effect that offloads more weight from your hip.
4. Shorten poles for ascents
On a steep ascent, shorten the poles by 5‑7 cm. This keeps your arms close to your body, allowing you to push vertically without overreaching.
5. Master the wrist strap
Hand up through the strap from underneath, then bring your hand down so the strap rests across the back of your hand. Grip the handle loosely—the strap does the work. This ensures the load is transferred through the strap to your arms, not your grip.
6. Plant ahead, push down
On each step, plant the pole slightly ahead of your foot. Push down firmly with your arm, transferring weight to your upper body. This is the key to offloading the hip.
The research evidence
Several studies have investigated the effect of poles on joint loading. A 2000 study by Bohne et al. found that using walking poles reduced the vertical ground reaction force by 20% on a decline. A 2019 study in the Journal of Clinical Rheumatology looked specifically at patients with hip osteoarthritis. Participants who used trekking poles for 6 weeks reported a significant reduction in pain and an increase in walking distance compared to a control group. These findings align with anecdotal evidence from walkers and physiotherapists: poles are a safe, non‑invasive tool for managing hip pain.
Limitations and important caveats
1. Poles are a support tool, not a cure
Trekking poles can manage the symptoms of hip pain, but they do not treat the underlying condition—whether it's osteoarthritis, a labral tear, or another pathology. You should always consult a healthcare professional for a proper diagnosis and a comprehensive management plan.
2. They require upper body strength
Pole walking requires shoulder, arm, and core strength. If you have significant shoulder or wrist issues, you may not be able to generate the necessary force to offload the hip effectively. Start with shorter walks and build up gradually.
3. They do not replace strengthening exercises
A weak gluteus medius (the key hip stabiliser) is a major contributor to hip pain. Poles can reduce the pain, but they cannot strengthen the muscle. You must combine pole use with targeted exercises (clamshells, side‑lying leg lifts, bridges) to address the root cause of the instability.
Summary: integrating poles into a hip pain management plan
- Get a diagnosis: See a physiotherapist or orthopaedic specialist to understand the cause of your hip pain.
- Use two poles: This ensures balanced load distribution.
- Adjust the length: Shorten for uphill, lengthen for downhill. Use the 90° rule for flat terrain.
- Master the wrist strap: This is critical for effective load transfer.
- Push down: Plant the pole ahead of you and push down firmly with each step.
- Strengthen your glutes: Complement pole use with exercises that strengthen the stabilising muscles around the hip.
- Start gradually: Begin with short walks and increase distance as you build strength and confidence.
The verdict
Trekking poles can significantly offload weight from a painful hip joint, reducing the compressive forces and allowing you to walk with less pain. The biomechanical mechanism is well‑established, and clinical studies support their use as part of a hip pain management strategy. However, they are not a cure—they are a tool to be used alongside a proper diagnosis, appropriate exercises, and a holistic rehabilitation plan. For anyone with hip pain who wants to keep walking, poles are a wise, evidence‑based investment.




