




How do I choose trekking poles for my height?
Walk into any outdoor shop, and you’ll see rows of gleaming trekking poles – but picking the right pair isn’t about brand colour or weight alone. Getting the length right for your height is the single most important step for comfort, efficiency, and injury prevention. Too short, and you’ll hunch, overworking your lower back. Too long, and your shoulders will rise, straining your neck and reducing your grip strength. This guide gives you a fool‑proof, field‑tested method to dial in your perfect pole length – plus how to adjust on the fly for hills, descents, and long days.
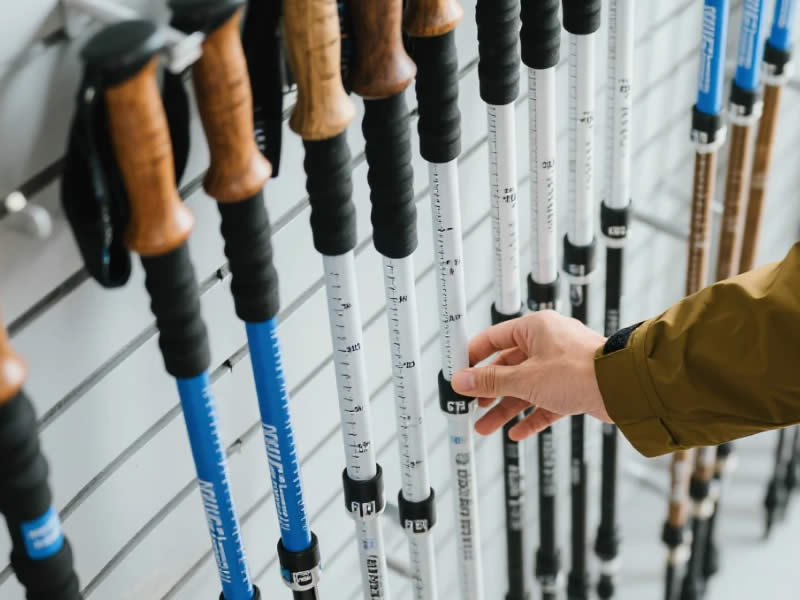
The golden rule: the 90° elbow test
Forget complicated formulas – the simplest and most accurate way starts with your body. Put on the boots you’ll actually hike in (thicker soles raise your stance). Stand up straight, hold a pole upright, and place the tip on the floor beside you. Now bend your elbow to a clean 90° angle, with your forearm horizontal. Adjust the pole length until your hand comfortably grips the handle with your wrist straight and the tip firmly on the ground. That neutral position gives you the base length for flat, even terrain.
This method automatically accounts for your unique arm length, torso proportion, and footwear – much more reliable than a generic chart.
The quick‑fire height‑to‑length formula
If you need a starting number before visiting a shop, use this rule of thumb: multiply your height in centimetres by 0.68. For example:
- 160 cm → ~109 cm
- 175 cm → ~119 cm
- 190 cm → ~129 cm
Many manufacturers offer size guides:
- 100–120 cm suits 150–170 cm
- 115–135 cm suits 170–190 cm
- 125–145 cm suits 185–200 cm
These are approximations. Always treat them as a starting point, not a final decision. The 90° test trumps any calculator.
Why your pole length should change with terrain
A single fixed length is fine for a flat canal path, but UK hills demand dynamic adjustment. Here’s the rule:
- Uphill – shorten your poles by 5–10 cm. Why? A shorter pole lets you plant higher up the slope without lifting your shoulder, keeping your torso upright and your breathing efficient. It also reduces the load on your triceps.
- Downhill – lengthen by 5–10 cm. Longer poles reach further down the slope, giving you a forward‑leaning brace that absorbs impact and saves your knees. Your elbows will naturally be less bent, which actually helps with shock absorption.
- Traversing (side‑hill) – keep one pole shorter (uphill side) and the other longer (downhill side) to maintain a level upper body. This is a pro technique that greatly improves stability on cambered trails.
How to verify your fit – the wrist strap test
Many people overlook the strap. A correctly sized pole should let the strap bear most of your weight, not your fingers. Here’s the check: put your hand up through the loop, grip the handle, and let your arm hang relaxed. The pole tip should just touch the ground with your wrist straight. If you have to bend your wrist upward to reach, the pole is too long; if you have to reach down, it’s too short. When you walk, the strap should transfer load from your palm to your forearm, reducing hand fatigue.
Common mistakes and how to avoid them
- Using a single length all day – ignoring uphill/downhill adjustments leads to shoulder and neck pain. Stop for 10 seconds and twist your locks – it’s worth the pause.
- Relying on your height alone – people with long torsos and short legs need shorter poles than the formula suggests; long arms require longer ones. Always test in your boots.
- Buying a fixed‑length pole – these are rare nowadays, but some lightweight poles have limited adjustment. For your first pair, choose telescopic or Z‑fold with at least 20 cm of adjustment range – you’ll need that flexibility.
- Forgetting to adjust when you change packs – a heavier backpack shifts your centre of gravity; you may prefer a slightly longer pole for extra stability, especially on descents.
What about children and older walkers?
For younger or shorter users, the same 90° rule applies, but many adult poles start at 100 cm, which may be too long for under‑150 cm. Look for junior‑specific models (shorter minimum length) or four‑section Z‑poles that collapse further. For older walkers, a slightly longer pole can reduce stooping, but always stick to the elbow test – comfort is king.
A step‑by‑step fitting routine
- Wear your hiking boots and stand on a level surface.
- Hold a pole with the tip on the floor, about 15 cm out from your foot.
- Bend your elbow to 90° – have a friend measure the shaft length from tip to top of the handle. Note that number.
- Walk 10 steps on flat ground – does your wrist stay neutral? If your hand tilts up, shorten; if it tilts down, lengthen.
- Find a gentle slope – shorten 5 cm and climb 20 steps, then lengthen 5 cm and descend. Adjust until both feel natural.
- Mark your preferred lengths with a permanent pen on the lower shaft – that saves time on future trips.
The final word – choose adjustability over perfect numbers
No single number is “correct” because terrain, fatigue, and pack weight all change your optimal height throughout the day. That’s why the best pole for your height is one that offers smooth, reliable locking and a wide adjustment range – typically 100–130 cm or 115–145 cm. Brands like Black Diamond, Leki, and Pacerpoles all provide generous ranges. When in doubt, size up – you can always shorten a longer pole, but you can’t lengthen a too‑short one.
Finally, visit a specialist retailer where you can handle different models. Hold them, lock them, and simulate a stride. Your body will tell you more than any chart. Once you find that sweet spot – where your arms swing naturally, your shoulders stay relaxed, and your stride feels buoyant – you’ve found your perfect fit.
Remember: Your height is a starting point, not a prison. Adjust often, listen to your joints, and your poles will become invisible extensions of your arms – the sign that you’ve chosen wisely.




