


How to share gear to lighten group hiking loads
Group hiking offers a unique blend of camaraderie, shared experiences, and enhanced safety on the trails. However, one common challenge that groups often face is the cumulative weight of individual gear, which can quickly turn an enjoyable adventure into a strenuous ordeal. Sharing gear strategically is a practical solution that not only lightens the load for each hiker but also fosters cooperation within the group. This article will delve into effective strategies on how to share gear to make group hiking more comfortable and sustainable.
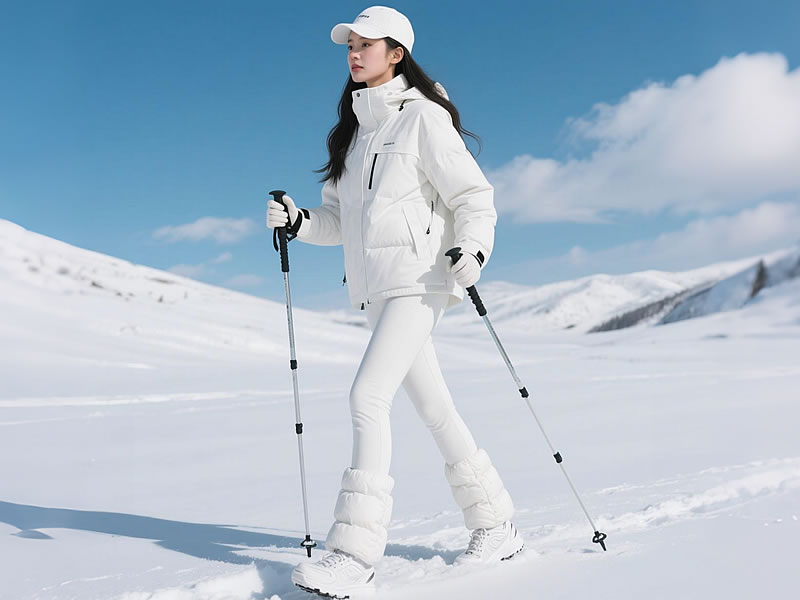
Recommended trekking pole purchase link: https://s.click.aliexpress.com/e/_c4M7OWaN
Pre - hike Planning: The Foundation of Gear Sharing
The first step in successful gear sharing is meticulous pre - hike planning. Before the trip, the group should come together to discuss the itinerary, terrain, and expected weather conditions. Understanding these factors helps determine the essential gear required for the hike. For example, a multi - day hike in a mountainous region with unpredictable weather demands more comprehensive gear, including waterproof tents, insulated sleeping bags, and cooking equipment.
Create a detailed gear checklist that includes both individual essentials and shared items. Individual items typically consist of personal clothing, footwear, and hygiene products, which are non - negotiable for each hiker. Shared items, on the other hand, can be divided among the group members. These may include tents, stoves, cooking utensils, first - aid kits, and navigation tools. By clearly defining what needs to be shared, the group can avoid duplication and unnecessary weight.
Assessing Gear Compatibility and Capacity
When sharing gear, it's crucial to assess the compatibility and capacity of each item. For instance, if the group decides to share a tent, ensure that it has enough space to comfortably accommodate all members. A tent designed for two people may not be suitable for a group of four, even if it's shared. Similarly, consider the fuel capacity of the shared stove. If the hike is long, make sure there's enough fuel for all meals.
Another aspect to consider is the durability and functionality of the gear. Shared items should be in good condition to withstand the rigors of the hike. Check for any signs of wear and tear, such as holes in tents or malfunctioning zippers. It's also beneficial to choose gear that is easy to use and assemble, especially if multiple members will be handling it. This reduces the chances of confusion and frustration on the trail.
Dividing the Load Based on Ability and Preference
Not all hikers have the same physical strength or carrying capacity. When sharing gear, take into account each member's ability to carry weight comfortably. Stronger hikers can be assigned heavier items, such as tents and cooking stoves, while those with less strength can carry lighter items like first - aid kits or navigation tools. This approach ensures that the load is distributed evenly and that no one is overburdened.
Personal preferences also play a role in gear sharing. Some hikers may be more experienced with certain types of gear, such as setting up a tent or using a particular stove model. Allowing these individuals to take charge of those items not only lightens their load but also ensures that the gear is used correctly. For example, if a hiker is proficient in using a portable gas stove, they can be responsible for cooking duties, while others can help with food preparation or cleaning.
Communication and Coordination on the Trail
Effective communication is key to successful gear sharing during the hike. Establish a system for sharing and retrieving gear at rest stops and campsites. For example, designate a specific person to be in charge of the tent, who is responsible for setting it up and taking it down. Clearly communicate who is carrying which shared items so that everyone knows where to find what they need.
During the hike, be flexible and willing to adjust the gear - sharing arrangement if necessary. If a hiker is struggling with a particular item, offer to redistribute the load. Also, regularly check in with each other to ensure that everyone is comfortable with the gear they are carrying. Good communication and coordination not only lighten the physical load but also enhance the overall group experience.
Examples of Shared Gear and Their Benefits
Tents
Sharing tents significantly reduces the weight each hiker has to carry. Instead of each person bringing their own tent, a few high - quality, spacious tents can be shared among the group. This not only saves weight but also conserves space at the campsite. Additionally, sharing a tent promotes social interaction and a sense of community within the group.
Cooking Equipment
Carrying a full set of cooking equipment for each hiker is unnecessary. A single portable stove, along with a few pots, pans, and utensils, can be shared. This reduces the overall weight of cooking gear and makes meal preparation more efficient. Group members can take turns cooking, which adds an element of fun and teamwork to the hiking experience.
Navigation Tools
Navigation tools such as maps, compasses, and GPS devices can be shared among the group. As long as there are enough people with basic navigation skills, having one or two sets of these tools is sufficient. This not only lightens the load but also ensures that the group stays on the right path.
In conclusion, sharing gear is an effective way to lighten the load during group hiking. By carefully planning, assessing gear compatibility, dividing the load based on ability and preference, and maintaining good communication on the trail, groups can enjoy a more comfortable and enjoyable hiking experience. Remember, the goal is to work together as a team, share the burden, and create lasting memories on the trails.


