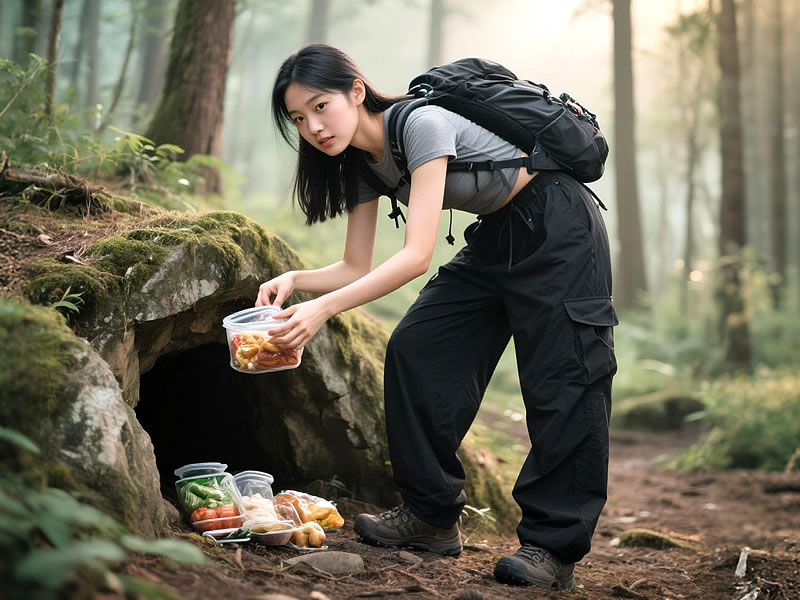
How to keep food cold camping without electricity
Ditching the grid doesn’t mean sacrificing food safety or cold drinks. Mastering off-grid cooling is essential for preventing foodborne illness and maximizing backcountry comfort. Forget lukewarm beer and risky chicken! This guide dives deep into the physics, gear, and field-tested strategies to keep your cooler reliably cold for days – no outlets required.

Why Temperature Matters (Beyond Comfort):
The "Danger Zone" (40°F to 140°F) is where bacteria multiply rapidly. Keeping perishables below 40°F drastically reduces the risk of food poisoning. Reliable cooling isn't a luxury; it's critical safety protocol.
The Foundation: Choosing & Prepping Your Cooler
- Invest in Performance:Rotomolded Coolers: The undisputed champions (Yeti, RTIC, Orca, Cabela's Polar Cap). Thick, seamless polyurethane insulation, freezer-grade gaskets, and robust latches create near-airtight, super-insulated environments. Expect 5-10+ days of ice retention with proper technique.Quality Injection-Molded: (Coleman Xtreme, Igloo BMX) offer a budget-friendly step up from basic coolers. Better than nothing, but expect 2-4 days max.Avoid Cheap Styrofoam/Basic Hard Sides: Poor insulation and fragile. Ice vanishes in hours.
- Pre-Chill RELIGIOUSLY:Cooler Itself: Fill your empty cooler with bagged ice or ice packs 24-48 hours BEFORE packing. This chills the insulation's thermal mass. Dump meltwater just before packing.Contents: Refrigerate all food/drinks for at least 24 hours prior. Freeze as much as possible: Gallon jugs of drinking water, pre-made meals (chili, stews), juice boxes, even blocks of cheese. These become giant ice packs.
The Ice Strategy: Maximizing Longevity
- Block Ice is King:Freezes slower, melts slower than cubes. Use:Reusable plastic ice blocks (fill with water, freeze).Frozen gallon water jugs (double as drinking water later!).Freeze water in rectangular food storage containers.Fill 60-70% of cooler capacity with block ice.
- Dry Ice (Handle with Extreme Care!):Sublimates (turns directly to gas) at -109°F. Provides intense, long-lasting cold.Safety First: Wear gloves! Never touch skin. Wrap dry ice in cardboard or newspaper. Place on TOP of food layer. Do NOT let it directly contact food (freezer burn) or cooler walls (can crack plastic). Ensure ventilation – never seal in airtight container.Ideal for deep-freezing items or extending trips beyond 7 days. Use sparingly.
- Cubed Ice:Primarily for filling air gaps and quick chilling drinks. Less efficient long-term. Use pre-frozen cubes.
Packing Your Cooler: The Art of Thermal Layering
- Bottom Layer: Solid foundation of block ice (or frozen jugs).
- Middle Layer: Perishable Food:Group items by meal to minimize rummaging.Raw Meat/Poultry/Fish: Double-bag in leakproof bags/containers. Place DIRECTLY ON BOTTOM ICE. This keeps them coldest and prevents cross-contamination.Place frequently accessed items (drinks, snacks) near the top.
- Top Layer: Cover everything with more block ice or dry ice (on top!). Fill every air gap with bagged cubed ice or flexible ice packs. Air = warm space!
- Minimize Empty Space: Crumpled newspaper, towels, or extra ice packs fill voids, reducing warm air circulation.
Cooler Management in the Field: The Real Game
- Location & Insulation:Keep it SHADED 24/7: Under a canopy, tarp, or trees. Sun exposure is the #1 killer.Cover & Reflect: Drape a wet towel over the cooler – evaporation provides cooling. Add a reflective emergency blanket shiny-side-up over the towel for solar deflection.Ground Contact: If possible, partially bury the cooler in cool soil or sand (protect from critters!). Elevate slightly off hot ground if burying isn't feasible.
- The Discipline of Access:Plan Meals: Know exactly what you need before opening.Open MINIMALLY & QUICKLY: Retrieve everything for one meal at once. Seconds count!Organize: Keep like items together. Avoid the "cooler dig."
- Drainage Dilemma:General Rule: LEAVE MELTWATER. Cold water is denser and actually helps insulate the remaining ice. Draining it replaces cold water with warm air.Exception: Drain only if you can immediately replace the lost volume with fresh ice (e.g., you packed extra blocks). Or if food is becoming waterlogged.
- Monitor & Rotate:Use a cooler thermometer to track internal temp (keep probe in middle).As top ice melts, move remaining block ice down and shift food up. Replenish top layer with cubed ice if available.
Food Selection & Handling Wisdom:
- Pre-Cook & Freeze: Chili, stews, pasta sauces freeze well and help cool the cooler.
- Repackage: Remove bulky cardboard packaging. Use zip-top bags or vacuum seal.
- Freeze Dairy: Milk, hard cheeses, butter freeze solid.
- The "Eat First" Plan: Plan perishables (meat, dairy) for early trip days. Shift to shelf-stable foods later.
- Separate Coolers (Ideal): Dedicate one cooler solely for drinks (opened frequently), another for perishable food (opened minimally).
Beyond the Cooler: Alternative Methods (Use with Caution):
- Zeer Pot (Pot-in-Pot Cooler): DIY evaporative cooler using terracotta pots and sand. Effective in very hot, dry climates only. Limited capacity.
- Springs/Streams: Only for chilling sealed drinks briefly. Never store food unprotected in natural water – contaminates water and attracts wildlife! Use a mesh bag secured well.
The Golden Rules Recap:
- Buy the best rotomolded cooler you can afford.
- PRE-CHILL everything (cooler & contents) for 24-48 hours.
- Pack with dense block ice on bottom & top.
- Minimize empty space and openings.
- Keep the cooler shaded, covered, and cool 24/7.
- Know your safe temps (below 40°F!).
By treating your cooler like a precision instrument – understanding insulation, thermal mass, and heat transfer – you unlock days of safe, refreshing cold in the wilderness. Ditch the cooler anxiety and savor that crisp, cold beverage miles from the nearest outlet. Your food (and stomach) will thank you!


