


Where to attach a rescue whistle on your backpack for quick access?
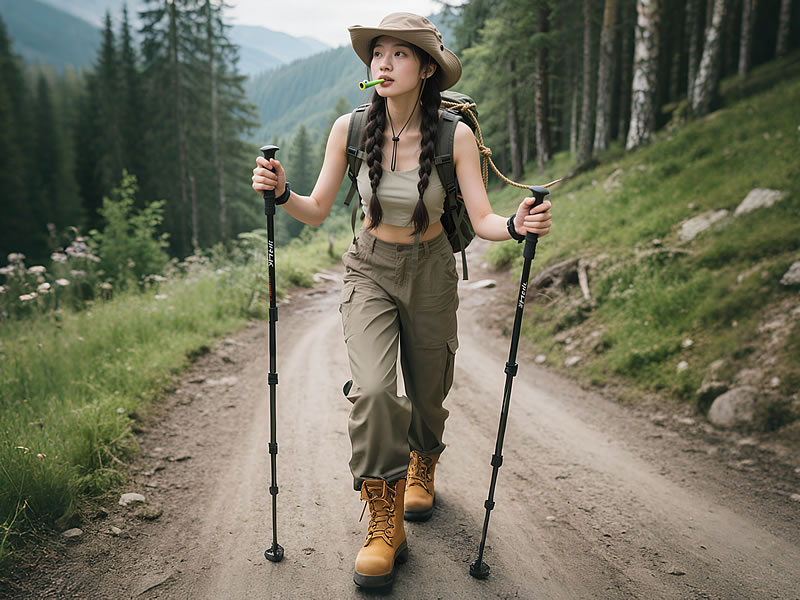
When venturing into the great outdoors, especially for activities like solo hiking, having a rescue whistle within easy reach can be a literal lifesaver. A whistle can help you signal for help in case of an emergency, whether it's getting lost, encountering wildlife, or sustaining an injury. But the question remains: where is the best place to attach this crucial item on your backpack for quick and convenient access?
Shoulder Straps: A Popular Choice
Many hikers prefer attaching the rescue whistle to one of the shoulder straps of their backpack. This location offers several advantages. Firstly, it's close to your upper body, making it easy to reach up and grab the whistle without having to fumble around the sides or bottom of the pack. For example, if you find yourself in a situation where you need to signal for help immediately, like being chased by a wild animal, you can quickly reach for the whistle on your shoulder strap.
Some backpacks even come with built - in features on the shoulder straps to facilitate whistle attachment. Certain models have small loops or clips specifically designed for this purpose. If your backpack doesn't have such a feature, you can use a carabiner or a small piece of cord to tie the whistle to the shoulder strap. Just make sure to position it in a way that it doesn't dangle too much and cause discomfort while you're hiking. However, one potential drawback of attaching the whistle to the shoulder strap is that if you're wearing a thick jacket or multiple layers of clothing, it might be a bit more difficult to access the whistle quickly.
Chest Strap: An Accessible Option
The chest strap of your backpack is another great location to attach a rescue whistle. This area is easily visible and accessible. You can quickly locate the whistle by simply looking down and reaching across your body. In fact, some backpacks are designed with a small pocket or attachment point on the chest strap precisely for items like whistles.
If you're using a backpack with a chest strap that has adjustable buckles, you can attach the whistle to one of the ends of the buckle. This way, it's always within arm's reach. The chest strap location also ensures that the whistle is not affected by the movement of your arms while hiking, which could potentially knock a whistle attached to the shoulder strap out of place. On the downside, if the chest strap is too loose or if you adjust it to a position that's too low or too high on your chest, it might take a fraction of a second longer to reach the whistle in an emergency.
Backpack Hip Belt: A Secure but Less - Common Choice
Attaching the rescue whistle to the hip belt of your backpack can also be a viable option. The hip belt is often a stable part of the backpack, and the whistle will be secure in this location. This can be particularly useful if you're engaged in activities that involve a lot of arm movement, as the whistle on the hip belt won't be jostled around as much as it might be on the shoulder or chest strap.
For example, if you're using hiking poles or climbing, the hip belt - attached whistle will stay put. However, accessing the whistle from the hip belt might take a bit more effort compared to the shoulder or chest strap. You'll need to reach down towards your side, which could be a bit cumbersome if you're in a hurry or if you're in an awkward position, such as when you've fallen and are trying to signal for help.
External Backpack Attachments: Utilizing MOLLE or Bungee Systems
Some backpacks are equipped with MOLLE (Modular Lightweight Load - Carrying Equipment) webbing or bungee cords on the exterior. These provide excellent opportunities for attaching a rescue whistle. With MOLLE webbing, you can use specialized MOLLE - compatible pouches or clips to secure the whistle. This gives you the flexibility to place the whistle in a location that suits you best, whether it's on the side, front, or even the top of the backpack.
Bungee cords can also be used to quickly attach and remove the whistle. You can loop the whistle through the bungee cord in a way that it's easily accessible. The advantage of using external attachments is that they keep the whistle visible and easy to find. However, if the backpack is over - stuffed or if there are a lot of items attached to the exterior, it might be a bit more challenging to get to the whistle quickly.
Near the Top Lid or Pocket: Quick Glance and Reach
If your backpack has a top lid or a front - facing pocket that's easily accessible, attaching the whistle near these areas can be beneficial. For instance, if you attach the whistle to a small loop or clip on the side of the top lid, you can quickly open the lid and grab the whistle. This location is also convenient because you're likely to be looking at the top of your backpack when you're getting ready to access other items, so you'll be able to spot the whistle easily.
Similarly, if there's a pocket on the front of the backpack that you frequently use, placing the whistle near the pocket opening means you can quickly reach for it while retrieving other items. However, if the top lid or pocket is full or if the zipper gets stuck, it could delay your access to the whistle.
In conclusion, the best place to attach a rescue whistle on your backpack for quick access depends on your personal preferences, the type of backpack you have, and the nature of your hiking activities. Experiment with different locations before your next hike to find the one that allows you to reach the whistle the fastest in various scenarios. Remember, in an emergency situation, every second counts, and having your rescue whistle in the right place can make all the difference.


