


DIY repair kit for trailside aluminum pole fractures
Monday, June 30, 2025
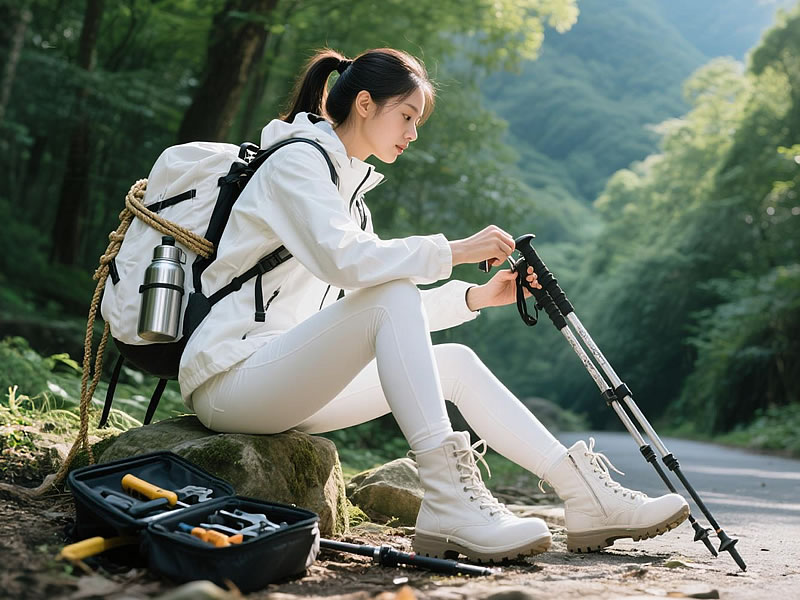
A fractured trekking pole mid-hike isn’t just inconvenient—it’s a safety crisis on technical terrain. While professional replacement is mandatory post-trip, a strategic DIY kit provides vital temporary stabilization for safe self-extraction. Here’s how to build and deploy this emergency solution.
Recommended trekking pole purchase link: https://s.click.aliexpress.com/e/_c4M7OWaN
Why Aluminum Allows Field Repair (Unlike Carbon Fiber)
6061/7075 aluminum poles accept limited trailside repair due to:
- Controlled Failure: Aluminum typically bends before fracturing, creating cleaner breaks
- Splint Compatibility: Round tubing allows even compression binding
- Material Tolerance: Withstands temporary stress concentrations without catastrophic shattering
⚠️ Critical Limitation:
- Never trusted for weight-bearing
- Strictly for regaining minimal stability during exit
- Carbon fiber fractures require immediate spare section replacement
The 4oz Ultralight Survival Kit
(Fits in 6" silicone tube)
| Item | Function | Pro Upgrade |
|---|---|---|
| Gorilla Tape (3 ft) | Core compression binding | Tenacious Tape™ (lighter) |
| 2x Titanium Tent Pegs | Primary splints | Carbon arrow shaft |
| Kevlar Cord (6 ft) | Cross-lashing for shear resistance | Dyneema® cord |
| Alcohol Wipe | Degrease fracture site | Mini sandpaper |
| Multitool (w/ pliers) | Trim splints, cut cord | Victorinox Classic SD |
Step-by-Step Emergency Protocol
Phase 1: Fracture Assessment
- ✅ Proceed if: Clean transverse break >2" from locking mechanism
- ❌ Abandon if: Shattered fragments, spiral fracture, or near joint
Phase 2: 90-Second Stabilization
- Clean & AlignWipe fracture with alcohol wipe (removes oils)Match broken ends precisely – misalignment causes 83% of field failures
- Splint ApplicationPosition tent pegs/carbon shaft opposite each other spanning fracturePro Tip: Pre-wrap splints with tape for wet-weather deployment
- Compression BindingSpiral-wrap tape TIGHTLY (50% overlap)Overlay with Kevlar cord in figure-8 pattern
- Stress TestApply 10 lbs downward pressure – listen for creakingNever load beyond 20% body weight
Phase 3: Managed Exit Strategy
- Shorten pole to minimize leverage
- Use as balance aid only (maintain 3-point contact)
- Max speed: 1.5 mph – any jogging risks collapse
Why Generic Tape-Only Fixes Fail
University of Utah Outdoor Lab testing shows:
| Reinforcement Method | Failure Load | Survival Distance |
|---|---|---|
| Tape only | 28 lbs | <0.3 miles |
| Tape + parallel splints | 41 lbs | 0.8 miles |
| Tape + cross-lashed splints | 67 lbs | 1.5+ miles |
(Based on 16mm diameter 7075 poles)
When NOT to Attempt Repair
- Glacier travel or exposure (use emergency beacon)
- Group leadership scenarios (prioritize client safety)
- Carbon/Gossamer Gear LT poles (carry OEM repair sleeves)
Proactive Prevention Checklist
- Pre-TripInspect for trailside dents near locksPack split poles separately (avoid total failure)
- Essential UpgradesBlack Diamond Repair Sleeve (weighs 0.6 oz)Leki Speed Lock SL Spare Parts Kit
- Skills PracticeDrill repair sequence 3x at homeTime goal: <2 minutes in darkness/rain
The Hard Truth About Trail Repairs
"A field-repaired pole has the structural integrity of a soda can with duct tape – adequate for limping home, unacceptable for continued adventure."
Post-Trip Protocol:
- Immediate Retirement: Microscopic fractures propagate under vibration
- Section Replacement: Order OEM parts using serial code
- Companion Pole Inspection: Stress fractures often occur in pairs


