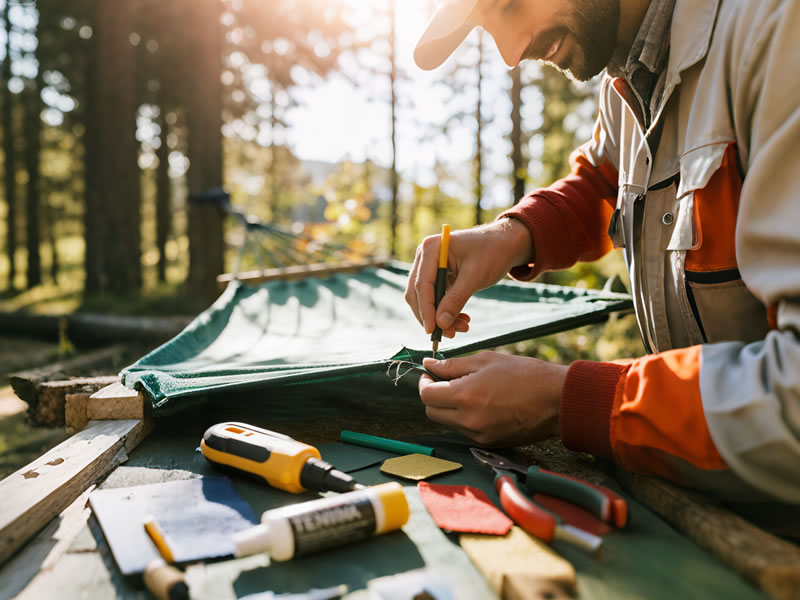
How to repair a torn camping hammock?
That dreaded moment: you unfurl your trusty camping hammock only to discover a tear or rip. Panic sets in – is your trip ruined? Fear not! Repairing a torn camping hammock is often a straightforward DIY task, saving you money and extending the life of your beloved gear. This guide covers the essential methods, from quick field fixes to durable home solutions.

Why Repair? Beyond Just Saving Money
- Sustainability: Fixing reduces waste, aligning with eco-conscious outdoor ethics.
- Trip Saver: A repair kit means you're never stranded without a bed.
- Preserve Performance: A proper repair restores most of the hammock's original strength and comfort.
- Sentimental Value: Many hammocks hold memories worth preserving.
Step 1: Assess the Damage – Location & Severity Matter
- Location: Is the tear on the main body fabric, a weight-bearing seam, near a gathered end, or on a non-critical section like a stuff sack pocket?
- Size: How large is the tear? Pinpoint holes (<1cm), small rips (1-5cm), and large gashes (>5cm) require different approaches.
- Material: Know your fabric! Most camping hammocks are nylon (ripstop or plain) or polyester. Repair methods vary slightly.
Step 2: Gather Your Repair Arsenal
- Field Repair Kit Essentials:Tenacious Tape / Gear Repair Tape: Clear or colored nylon/polyester tape (Gear Aid, McNett brands are excellent). Crucial for quick fixes!Small Scissors or Knife: For cutting tape/fabric.Alcohol Wipes: Clean the repair area thoroughly (dirt and oils prevent adhesion).
- Home Workshop Additions:Needle & Strong Thread: Upholstery thread, dental floss (unwaxed), or specialized nylon thread (like Gutermann Mara 70).Ripstop Nylon Patch: Matching color/fabric weight is ideal.Seam Grip (PU Sealant): Excellent for reinforcing seams, patching small holes, or sealing stitch lines.Sewing Machine (Optional): For larger, more permanent patches on the main body if confident.
Step 3: Choosing & Applying the Right Repair Method
Method 1: Gear Repair Tape (Best for Field Fixes & Small Tears)
- Clean: Thoroughly wipe the area around the tear with an alcohol wipe. Let dry completely.
- Cut Tape: Cut a piece of Tenacious Tape significantly larger than the tear (at least 1-2 inches overlap on all sides). Round the corners to prevent peeling.
- Apply: Carefully apply the tape over the tear, ensuring no wrinkles or air bubbles. Press firmly, especially around the edges.
- Reinforce (Critical): Apply an identical patch of tape directly to the INSIDE surface of the hammock, sandwiching the tear. This is non-negotiable for strength.
- Cure: Allow the adhesive to bond fully (follow tape instructions, usually 24+ hours for max strength) before applying significant weight.
Method 2: Hand Sewing (Best for Seam Failures & Medium Tears)
- Clean: Clean the area.
- Prepare Patch (if needed): For larger tears, cut a ripstop nylon patch significantly larger than the hole. Round corners.
- Position Patch: Place the patch inside the hammock under the tear. Pin or tape in place temporarily.
- Stitch: Using a strong needle and thread:Use a simple running stitch or backstitch for maximum strength around the perimeter of the tear/patch.Stitch densely, especially at the ends of the tear.Ensure stitches go through both the patch (if used) and the surrounding good fabric.Tie off knots securely.
- Reinforce with Seam Grip (Highly Recommended): Apply a thin layer of Seam Grip over the stitched area on both sides for waterproofing and added strength. Let cure fully (often 24-48 hours).
Method 3: Adhesive (Seam Grip) for Tiny Punctures & Seam Sealing
- Clean: Meticulously clean the area.
- Apply: Use a toothpick or small applicator to dab a small amount of Seam Grip inside the puncture hole or along a failing seam. Gently work it into the fabric.
- Smooth & Cure: Smooth any excess. Let cure undisturbed according to product instructions (usually 24-72 hours). Avoid stretching during cure.
Step 4: Post-Repair Testing – Safety First!
- NEVER trust a repair without testing!
- Low Load Test: Hang the hammock low to the ground. Gently sit, then gradually apply more weight, checking the repair constantly.
- Full Test: Once confident with low weight, test normally but remain cautious initially. Listen for any ominous sounds.
- Check Frequently: Inspect the repair before each subsequent use.
Pro Prevention Tips to Avoid Future Tears
- Inspect Regularly: Check for abrasion, loose threads, or weak spots before and after trips.
- Mind Sharp Objects: Clear the ground beneath and be mindful of belt buckles, knives, keys, and sharp branches.
- Proper Hang: Avoid over-tightening (increases stress) and ensure straps are wide and tree-friendly.
- Use a Pad or Underquilt: Provides insulation and a protective layer against abrasion.
- Store Dry & Clean: Prevents mildew and material degradation.
Conclusion: Don't Toss It, Fix It!
A torn camping hammock isn't a death sentence. With a well-stocked repair kit (always pack tape!) and these methods, you can conquer most damage. Prompt repair prevents small issues from becoming big problems. Assessing the tear accurately, choosing the right technique (tape for speed, sewing/glue for permanence), cleaning meticulously, and testing rigorously are the keys to success. By repairing your gear, you save money, reduce waste, and ensure many more comfortable nights under the stars. Remember, adventures shouldn't end because of a little rip!


