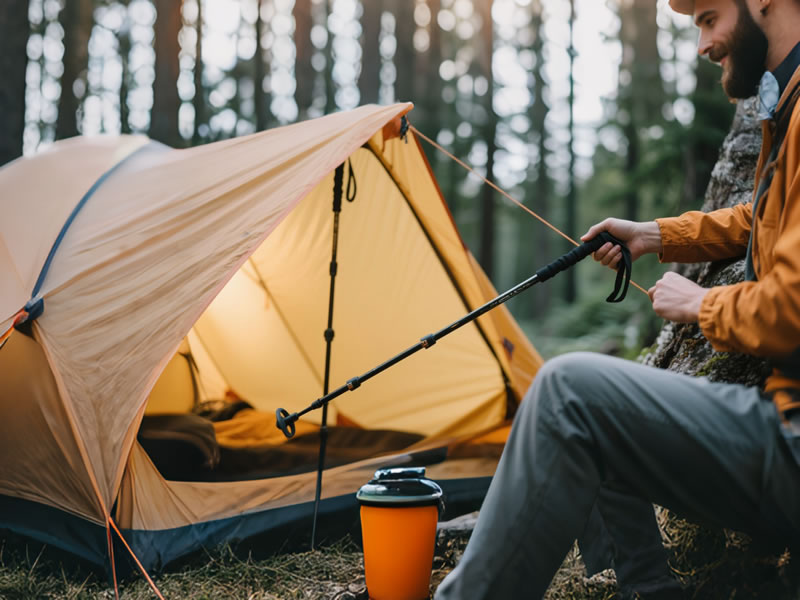
Can Trekking Poles Be Used for Tent Setup?
Absolutely! Trekking poles aren't just for stability on the trail – they’re a cornerstone of modern ultralight backpacking when used as primary support for specialized shelters. This ingenious dual-use significantly reduces pack weight and bulk, but success hinges on understanding compatibility, setup nuances, and limitations.

Why Use Trekking Poles for Your Tent?
- Dramatic Weight Savings: Eliminating dedicated tent poles can save 8oz to over 1lb (225g to 450g+) – a game-changer for long distances.
- Reduced Pack Bulk: Poles stow vertically in/on your pack, freeing up internal space.
- Versatility: One piece of gear serves two critical functions.
- Simplicity: Often simplifies the pitching process once mastered.
Crucial Compatibility: Not All Tents Work!
This is paramount. Only specific shelters are designed for trekking pole use:
- Trekking Pole Tents (Tarptents): Many popular models (e.g., from brands like Zpacks, Tarptent, Gossamer Gear, Six Moons Designs) rely entirely on your poles.
- Mid-Style Shelters (Pyramids): Tents like the MLD Duomid or HMG Ultamid use a single central pole, perfect for one extended trekking pole.
- Some Ultralight Tarp & NetTent Combos: Poles support the tarp ridgeline or apex points.
- Hybrid Shelters: A few designs use short poles plus trekking poles for key points.
❗ Always verify your tent's specific requirements before relying on your poles. Never assume compatibility!
Mastering the Setup: Key Steps & Tips
- Adjust to Exact Height: Consult your tent's manual for the critical pole length. Extend poles precisely (often locking sections individually). Being even 2-3cm off can compromise tension and stormworthiness. Tip: Mark your pole sections with tape for quick setup.
- Secure the Tip:Ground Insertion: For apex grommets, firmly push the carbide tip directly into the ground beneath the grommet. On soft ground, keep the small trekking basket attached to prevent excessive sinking.Grommet/Groundsheet Insertion: Some tents have reinforced grommets on the tent body or groundsheet. Insert the tip securely here.Tip Protectors: Avoid using rubber tip protectors during setup; they reduce grip and stability. Use the exposed carbide tip.
- Handle Orientation:Grip Up (Most Common): The handle typically pushes upwards into a fabric "peak loop" or plastic apex connector at the tent's top, transferring force.Grip Down (Less Common): Some specific designs might orient the grip downwards, but this is rare. Always follow your tent's instructions.
- Achieve Proper Tension: Once poles are positioned, tension the guylines and adjust pole placement slightly if needed to ensure the fly is taut and wrinkle-free. Proper tension is vital for weather resistance and interior space.
- Consider Ground Conditions:Hard/Rocky Ground: Use a small rock or stick to create an anchor point if you can't penetrate the surface deeply. Ensure the tip is very secure.Sandy/Loose Soil: Baskets help, but you may need to dig a slight depression, plant deep, and pile loose soil around the base for support. Consider wider snow baskets if consistently on soft terrain.Snow: Plant poles deep and pack snow firmly around them. Use large snow baskets.
Potential Drawbacks & Considerations
- Setup Dependency: You must have your poles to pitch the tent. Damaged or lost poles mean no shelter.
- Learning Curve: Pitching can be slightly trickier initially than with dedicated poles, especially in wind.
- Durability Concerns (Rare): While poles are strong, constant vertical loading could theoretically increase long-term wear on locks, though major brands design for this. Avoid excessive force.
- Handle Dirt: Grips pushing into the tent apex can transfer dirt/mud to the tent interior. Clean handles if possible.
- Height Adjustment: Taller hikers using very long shelters might need extenders if their poles don't reach the max required height.
Maximizing Success: Pro Tips
- Practice at Home: Dial in the length and technique in your backyard before hitting the trail.
- Use Pole Jacks (Optional): Small plastic or carbon fiber "jacks" sit under the pole tip inside a grommet, providing a wider base and preventing wear on the tent floor. Useful for some shelters.
- Carry a Mini Repair Sleeve: A small carbon fiber or aluminum sleeve and tape can splint a broken pole section in an emergency.
- Know Your Pole Locks: Ensure twist locks or lever locks are clean and functioning perfectly before relying on them for shelter.
Conclusion: A Smart Strategy for the Weight-Conscious
Using trekking poles for tent setup is a brilliant, proven strategy embraced by ultralight backpackers and thru-hikers. It delivers substantial weight savings without sacrificing essential shelter function – when done correctly. The keys are unwavering attention to tent compatibility, meticulous pole length adjustment, secure tip placement, and practice. If your shelter is designed for it and you master the technique, your trekking poles transform from mere hiking aids into the essential backbone of your backcountry home, letting you hike farther and faster with less burden. Always prioritize a secure pitch for safety in variable conditions.


