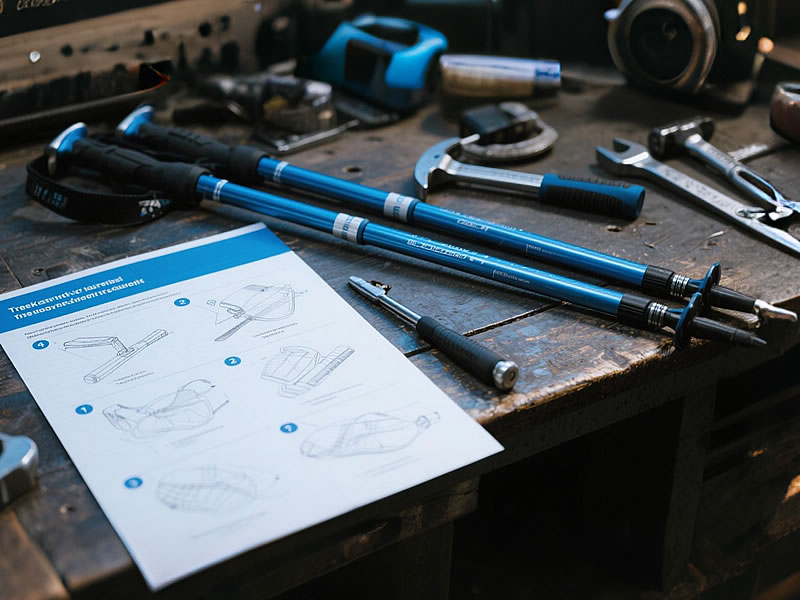
Trekking Pole Maintenance & Repair Tips: Extend Lifespan & Prevent Trail Failures
Trekking poles are essential for stability and efficiency, but they endure immense stress from rocks, mud, water, and constant impacts. Proper maintenance prevents costly replacements and ensures reliability when you need it most. Follow this comprehensive guide to keep your poles performing like new for thousands of miles.

🔧 Routine Maintenance: The Foundation
- Post-Hike CleaningRinse Immediately: Remove dirt, sand, and salt with fresh water. Focus on locks, tip connections, and section joints.Dry Thoroughly: Extend poles fully and disassemble sections. Air-dry overnight (especially critical for aluminum poles to prevent internal corrosion). Never store poles collapsed!
- Locking Mechanism CareLever Locks (FlickLocks):Brush grit from hinges and cam grooves.Apply silicone spray (not oil/WD-40) to moving parts 2x/year.Twist Locks:Clean threads with a toothbrush and soapy water.Lubricate sparingly with dry Teflon lubricant to avoid grit adhesion.
- Grip & Strap HygieneCork Grips: Wipe with damp cloth; avoid chemicals that dry out natural cork.Foam Grips: Rinse gently and squeeze out moisture to prevent mildew.Straps: Hand-wash with mild soap; hang dry to retain shape.
⚠️ Common Repairs & Trail Fixes
1. Worn/Damaged Tips
- Symptoms: Slipping on rock, exposed metal core.
- Fix:Twist off old carbide tip with pliers (protect shaft with cloth).Press-fit new tip firmly into place.Pro Tip: Carry 2+ spare tips! Rubber tip protectors double as emergency bushings.
2. Loose or Broken Baskets
- Symptoms: Spinning baskets, cracks in plastic.
- Fix:Secure loose baskets with duct tape (trail hack).Replace broken baskets by snapping new ones onto the tip collar.
3. Failing Locking Mechanisms
- Lever Locks Won’t Tighten:Tighten the lock’s central bolt with a hex key (check manufacturer size).
- Twist Locks Slip:Clean debris from threads. If persistent, replace the lock assembly.
4. Bent/Cracked Shafts
- Aluminum:Minor bends can be straightened gently with padded pliers.Cracks require immediate replacement.
- Carbon Fiber:Never bend back! Splint cracks with hose clamp + tape or a carbon repair sleeve for emergency field use.
5. Stuck Sections
- Apply heat (hot water or hairdryer) to the outer section.
- Grip inner section with rubber gloves and twist counter-clockwise while pulling.
🛡️ Prevention Strategies
- Storage: Hang vertically or store extended in a dry place.
- Avoid: Using poles as tent anchors on rocky ground or prying rocks.
- Pre-Hike Check:Test all locks and extension ranges.Inspect tips and stress points for cracks.
🎒 Essential Repair Kit for Backpackers
Pack these in a ziplock:
- Spare carbide tips + rubber protectors
- 3ft duct tape (wrap around a pole section)
- Mini hex key set (for lever lock bolts)
- Small hose clamp (shaft splint)
- Dental floss (re-threading broken strap loops)
💡 When to Retire Your Poles
Replace poles if:
- Carbon shafts show spiderweb cracks or deep gouges.
- Aluminum shafts have corrosion holes or severe dents.
- Locks fail repeatedly after cleaning.
Pro Insight: High-quality poles (e.g., LEKI, Black Diamond, Komperdell) offer replacement parts. Repairing is often cheaper and more sustainable than buying new!
Final Takeaway:
Consistent maintenance doubles your poles’ lifespan. Spend 5 minutes post-hike cleaning and inspecting to avoid trailside disasters. Remember: Dry poles are happy poles! Store them extended, lubricate locks annually, and always carry critical spares – your future self on a rain-slicked mountain pass will thank you.


