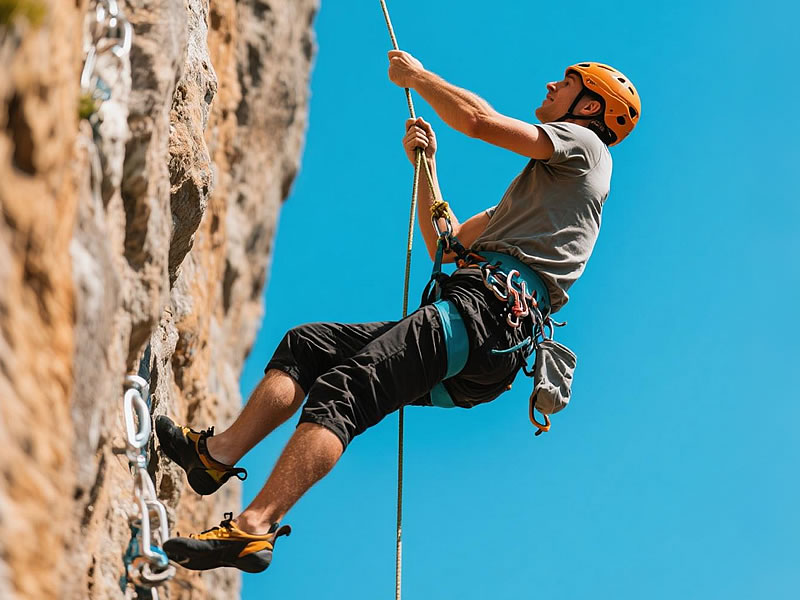
Climbing Descent STOP Lowering Technique: A Safe Belayer's Guide
Mastering the Climbing Descent STOP lowering technique is essential for climbers using Petzl's iconic auto-locking device. While primarily designed for rappelling, the STOP can be configured for safely lowering a climber, offering unique control and backup. This guide details the proper setup and execution, critical for multi-pitch descents or rescues.

Understanding the STOP for Lowering (vs. Rappelling):
- Core Difference: When lowering, the belayer controls the descent from above (e.g., at an anchor station), using the STOP's mechanism to manage the climber's weight. This contrasts with rappelling where the user controls their own descent.
- The Auto-Lock Advantage: The STOP's cam provides an automatic braking backup. If the belayer releases the handle completely or loses control, the device instantly locks, preventing catastrophic falls.
Step-by-Step Lowering Procedure:
- Secure the STOP to the Anchor:Crucially: Attach the STOP directly to a secure anchor point (e.g., master point, solid carabiner) using a locking carabiner through its large central hole. Do not attach it to your harness belay loop. The anchor bears the climber's weight.
- Thread the Rope Correctly:Pass the rope coming from the climber through the STOP's central slot from the smooth side (marked "ROPE").Ensure the rope runs cleanly over the internal cam and exits the bottom. Verify the rope diameter is within the STOP's specified range (typically 8.7mm - 11mm for single rope lowering - CHECK YOUR MANUAL).
- Belayer Positioning & Setup:Stand securely near the anchor. The rope strand going down to the climber is your "live" strand.The rope strand going back towards the rope bag/storage is your "brake" strand. Keep this organized and free of knots/kinks.Wear gloves. Friction generates significant heat.
- Initiating and Controlling Lowering:To Start Lowering: Firmly grip the STOP's handle and pull it UPWARDS (towards the sky/away from the device body). This disengages the cam.Control Descent Speed: Slowly and smoothly lower the handle DOWNWARDS towards the device body. The angle of the handle controls friction:Handle fully UP = Minimal friction (fastest descent - use cautiously!).Handle partially lowered = Increased friction (slower descent).Handle fully DOWN = Cam re-engages, LOCKING the rope (stopped).Modulate Speed: Continuously adjust the handle angle based on the climber's weight, rope diameter, and desired descent speed. Use small movements. Never fully release the handle until lowering is complete.
- Stopping:Simply allow the handle to return fully DOWN to its resting position. The cam instantly locks the rope.Communicate clearly with the climber ("Stopping!").
- Emergency Stop: If immediate stoppage is needed, release the handle instantly. The auto-lock will engage.
Critical Safety Considerations & Best Practices:
- Anchor is Paramount: The anchor must be absolutely bombproof. It holds the entire load. Double-check.
- Rope Diameter is Non-Negotiable: Using a rope thinner than the STOP's minimum for lowering can cause it to slip through the cam uncontrolled. NEVER use ropes outside the specified range. Consult the manual.
- Handle Control is Life: Never let go of the handle while lowering. Partial release controls speed; full release locks it. Practice the handle motion without weight first.
- Gloves are Essential: The brake strand and handle can become extremely hot, especially during long lowers. Protect your hands.
- Clear Communication: Use unambiguous commands ("Lowering!", "Slower!", "Stop!"). Ensure the climber understands the system.
- Avoid Rope Twists: Ensure the rope runs cleanly through the device without twists crossing the cam.
- Manage Rope: Keep the brake strand organized and free to run. A tangled rope can cause sudden stops or loss of control.
- Practice Off-Height: Rehearse the entire setup and handle control with a weighted bag (e.g., rope bag) near the ground before relying on it on a cliff.
- Know the Limitations: The STOP is not always the most efficient device for pure lowering (an assisted-braking device like a GriGri might be smoother). Its strength lies in combining lowering with its auto-lock feature for complex scenarios. Understand when an alternative device is better suited.
- Partner Check: Always have a second competent person visually inspect your setup (anchor attachment, rope threading, carabiner locking) before starting the lower.
Conclusion:
The Climbing Descent STOP lowering technique provides a powerful, auto-locking method for safely lowering a climber from an anchor station. Success hinges on meticulous setup – attaching the STOP directly to a secure anchor, using the correct rope diameter, and flawless handle control. Mastering the subtle motion of raising and lowering the handle to modulate friction is key. By prioritizing rigorous safety checks, clear communication, and practice, belayers can leverage the STOP's unique capabilities for controlled descents in demanding situations. Always prioritize manufacturer guidelines (consult your Petzl STOP manual!) and conservative judgment over assumptions.


