Climbing Descent STOP for Top Belaying: Mastering Secure Anchor Belaying
While assisted-braking devices like the GriGri dominate single-pitch top belaying, the Petzl STOP offers unique advantages for complex multi-pitch scenarios, rescue operations, or belaying heavy followers. Its auto-locking cam provides critical backup but demands precise setup. Here’s how to deploy it safely.

⚠️ Core Principle: Anchor Attachment is Mandatory
Never attach the STOP to your harness. It must be anchored directly:
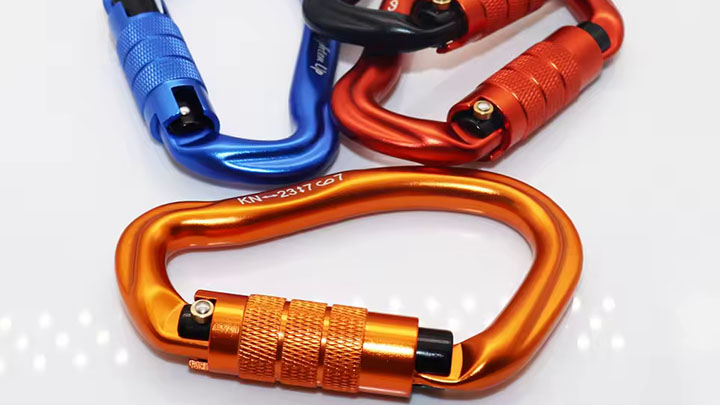
- Secure a locking carabiner through the STOP’s large central hole.
- Clip this carabiner to the anchor master point (tested, equalized anchors only).Why? The anchor absorbs the full force of a fall; your harness cannot control the handle safely under high load.
🔄 Step-by-Step Setup & Operation
- Threading:Pass the rope from the climber → through STOP’s central slot (smooth/"ROPE" side facing up).Ensure the rope runs cleanly over the cam → to the belayer’s brake strand.Critical: Rope diameter must be 8.7–11mm (verify your STOP model’s manual).
- Catching a Fall:When the climber weights the rope, PULL THE HANDLE UP (toward the anchor).The cam instantly pinches the rope, locking it. No belayer grip required.
- Lowering the Climber:Pull handle UP to disengage the cam.Slowly LOWER THE HANDLE DOWNWARD to modulate friction:Handle fully UP = Minimal friction (fastest descent).Handle partially lowered = Increased friction (controlled slow descent).Handle fully DOWN = Auto-lock engaged (STOP).Never release the handle mid-lower. Modulate speed with handle angle.
- Stopping:Release the handle → it snaps DOWN, locking the cam instantly.
🔥 Critical Safety Protocols
- Gloves Required: Friction heats the handle/rope dangerously on long lowers.
- Hand Clearance: Never touch the cam area – pinch/crush risk.
- Rope Management: Keep brake strand untangled; a snag can jerk the handle from your grip.
- Pre-Use Test:With minimal slack, simulate a fall: Yank the climber’s strand while holding the handle UP → confirm cam locks.Test lowering/locking at ground level with weight.
- Partner Check: Verify anchor attachment, threading, carabiner lock, and rope diameter.
⚖️ When to Use STOP vs. Other Devices
| Scenario | STOP Advantage | Limitation |
|---|---|---|
| Belaying heavy climber | Auto-lock prevents pull-up | Slower rope feed than GriGri |
| Multi-pitch rescue | Hands-free locking during transitions | Complex setup vs. tube device |
| Icy/wet ropes | Aggressive cam engagement | Higher rope wear |
| Long lowers | Smooth speed control via handle | Heat buildup requires pauses |
✅ Pro Tips
- Communication is Key: Use clear commands ("Take!", "Lowering!", "Stop!").
- Short Rope Tether: Clip yourself independently to the anchor to prevent leaning.
- Pulley Advantage: For heavy rescues, pair the STOP with a redirect pulley.
- Practice Off-Height: Rehearse handle control with a weighted pack.
🛑 The Non-Negotiables
- ANCHOR ONLY attachment.
- Rope diameter within spec (e.g., 8.7-11mm for STOP P).
- Handle UP = unlock, Handle DOWN = lock (reverse of rappelling!).
- Never release handle while lowering.
Conclusion
The STOP excels in anchor belaying where its auto-lock provides critical security for complex vertical terrain. By anchoring the device directly, mastering handle control (UP = unlock, DOWN = brake), and respecting rope diameter limits, you add a powerful tool to your technical toolkit. However, its complexity demands rigorous practice – always verify setup with a partner and prioritize manufacturer guidelines. For standard single-pitch top-roping, an assisted-braking device remains simpler and often safer. Reserve the STOP for situations where its unique auto-lock and lowering control justify the operational complexity.


