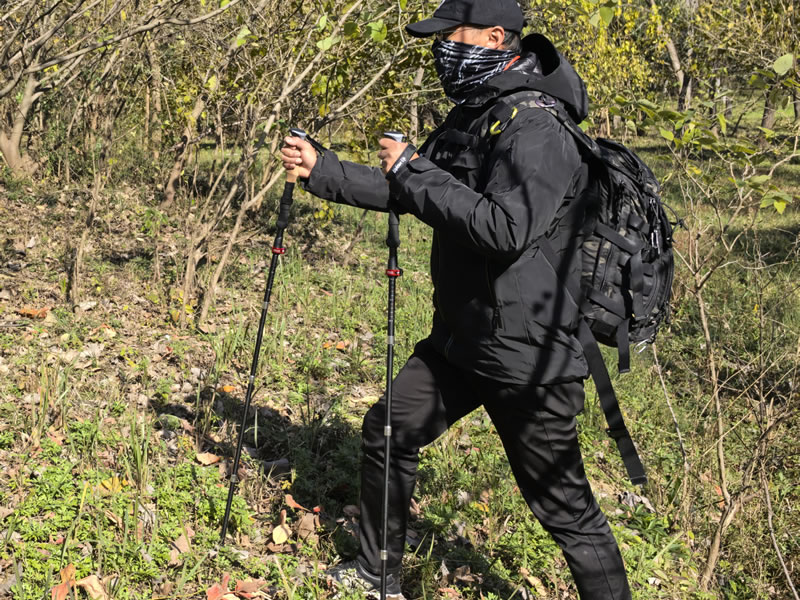
How to Use Trekking Poles Correctly When Hiking?
Trekking poles are more than just fancy sticks; they are powerful tools that can enhance your stability, reduce joint impact, and boost your endurance on the trail. However, to unlock these benefits, you need to use them correctly. Improper use can lead to fatigue or even injury. This guide will walk you through the essential steps to master your poles.

1. Adjusting the Length: The Foundation of Proper Use
Getting the right length is the most critical first step.
- Flat Ground & Uphill: Your elbow should form a 90-degree angle when the tip of the pole is on the ground beside your foot.
- Downhill: Lengthen your poles by 5-10 cm (2-4 inches) to provide better support and keep your body upright as you descend. Shorter poles on a descent can cause awkward leaning and strain on your knees.
- Manufacturer Tip: Most poles have length markers. Note your ideal flat-ground setting for quick future adjustments.
2. Using the Wrist Straps Correctly
The straps are for support, not just for preventing drops.
- The Right Way: Slide your hand up through the strap from below. Grip the handle so the strap runs between your thumb and index finger, across your palm. Then, close your hand over the strap. This allows you to transfer weight through your wrist to the pole without gripping tightly, reducing hand fatigue.
- The Wrong Way: Don't simply grab the handle with the strap dangling. This forces you to grip tightly and can lead to blisters.
3. Mastering the Rhythm and Technique
The natural walking motion is key.
- Opposite Arm, Opposite Leg: This is the golden rule. As your right foot steps forward, your left pole should plant forward, and vice versa. This creates a natural, stable rhythm that improves your pace and balance.
- Planting the Pole: Plant the pole tip at a slight angle behind you, level with your other foot. Push down and back on the strap to propel yourself forward. You are not planting it directly in front of you.
4. Technique for Different Terrains
- Uphill: Shorten poles slightly. Plant the pole for each step to help "push" you up the incline, engaging your upper body muscles.
- Downhill: Lengthen poles. Plant them firmly ahead of you to absorb shock and take significant weight off your knees and quadriceps. This is where poles are true joint-savers.
- Side Hills & Stream Crossings: Use two poles on the downhill side for a super-stable tripod stance. For water crossings, plant poles upstream to break the current and provide stable points to move between.
Common Mistakes to Avoid:
- Planting Poles Too Far Forward: This disrupts your natural gait.
- Death Grip: Holding the handle too tightly causes fatigue. Use the straps for support.
- Ignoring Adjustments: Not adapting pole length for terrain changes misses a major benefit.
By properly adjusting your poles, using the straps efficiently, and syncing your pole plants with your steps, you’ll transform your hiking experience. You’ll travel farther with less fatigue and protect your joints for countless future adventures.


