


Where are Lighten Up trekking poles made?
Descending steep trails can be punishing on your knees, quads, and joints. However, with the right trekking pole techniques, you can transform your downhill hikes, enhancing stability, controlling speed, and significantly reducing impact. Mastering downhill pole use is arguably where they provide the greatest benefit. Here’s how to do it correctly.
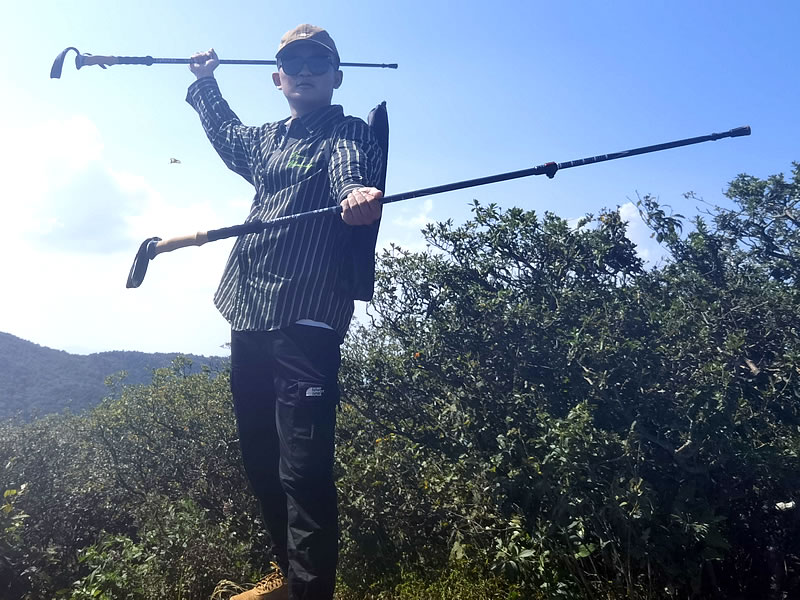
Recommended trekking pole purchase link: https://s.click.aliexpress.com/e/_c4M7OWaN
1. The Critical First Step: Lengthen Your Poles
Adjusting your poles is the most important preparation for a descent.
- Optimal Length: Lengthen your poles by 5-15 cm (2-6 inches) compared to your flat-ground setting. Your goal is to maintain an upright, neutral spine without having to bend excessively at the waist or reach down to plant the pole.
- Why It Works: Longer poles allow you to plant the tip firmly on the trail ahead of you while you are still standing upright. This creates a stable point of contact that you can use to control your descent and absorb shock before your downhill leg even takes the weight.
2. The Planting Technique: Ahead and Angled
Where you plant your poles is the key to braking and stability.
- Plant Position: Plant your pole tips slightly ahead of your body and at a shallow, forward angle. Do not plant them directly beside your feet or straight up and down.
- The Motion: As you step down, lean slightly forward (from the ankles, not the waist) and transfer a meaningful amount of your weight through your wrists and straps onto the poles. This allows your arms and shoulders to absorb the impact instead of your knees and joints. Think of it as using your poles to “catch” your body weight with each step.
3. Rhythm and Coordination: Creating a Stable Tripod
Maintain a rhythm to ensure constant stability.
- The Pattern: Continue the opposite arm/opposite leg rhythm (right pole with left foot, etc.). This provides continuous, balanced support and prevents you from leaning too heavily on one side.
- The "Double Plant" for Steep or Loose Terrain: On very steep, technical, or scree-covered sections, use a "double plant" for maximum security. Plant both poles firmly ahead of you, creating a stable, temporary "tripod" with your two poles and your feet. Then, step carefully down between them. Repeat this process for controlled, secure movement.
4. Body Positioning and Cadence
- Stay Upright: Resist the urge to lean back on your heels. This puts you off-balance and can lead to slipping. Keep your torso centered over your feet.
- Bend Your Knees: Keep your knees slightly bent to act as natural shock absorbers, working in tandem with your poles.
- Take Shorter Steps: Short, deliberate steps give you more control and reduce the jarring impact of a long stride.
Common Mistakes to Avoid:
- Poles Too Short: This is the most common error, forcing you into a hunched position and rendering the poles almost useless for shock absorption.
- Death Grip: Clutching the handles tightly causes forearm fatigue. Use the straps to bear the weight.
- Planting Behind You: Planting poles beside or behind your body offers no braking power or stability for the next step.
By lengthening your poles, planting them purposefully ahead of you, and trusting them to bear weight, you will descend with newfound confidence and control. Your knees will thank you for miles to come.


