


How to Replace Trekking Pole Tips
Worn-out trekking pole tips are inevitable after miles on the trail. A smooth, rounded carbide tip loses its grip on rocks and ice, and an exposed metal ferrule can damage sensitive trail surfaces. Knowing how to replace them is an essential—and easy—maintenance skill that will save you money and keep your poles performing safely and effectively for years to come.
Recommended trekking pole purchase link: https://s.click.aliexpress.com/e/_c4M7OWaN
Why and When to Replace Your Tips
The primary reason to replace a tip is traction. A fresh, sharp carbide tip bites into rock and ice, providing stability and security. A worn tip is slippery and dangerous. The second reason is trail etiquette. Worn-down tips expose the hard metal ferrule beneath, which can scrape and damage rock surfaces and leave unsightly marks.
Signs you need a replacement:
- The tungsten carbide tip is completely worn away.
- The metal ferrule (the base) is visibly exposed and making contact with the ground.
- The tip is loose, wobbly, or cracked.
- You notice a significant decrease in grip, especially on hard surfaces.
Tools You'll Need
Replacing a tip requires minimal tools:
- Pliers: Adjustable pliers or locking pliers (Vise-Grip) work best.
- Cloth or Rag: To protect the tip and the jaws of your pliers.
- Replacement Tips: Crucially, you must know your pole's ferrule diameter. The standard is 8mm, but some heavy-duty poles use 10mm or 12mm. Check your manufacturer's specifications.
- (Optional) Vice: Helpful for holding the pole securely, but you can manage without it.
Step-by-Step Removal and Installation Guide
Step 1: Remove the Old Tip
This is the hardest part. Most tips are press-fitted with adhesive at the factory.
- Secure the Pole: If you have a vice, gently clamp the pole just above the tip. If not, hold it firmly in your hand.
- Grip and Twist: Wrap the old tip with your cloth to get a better grip and protect it from the pliers. Firmly grip the tip with the pliers and twist it counterclockwise while pulling straight down. The twisting motion is key, as it helps break the adhesive seal. It may require significant force. Avoid bending the pole shaft.
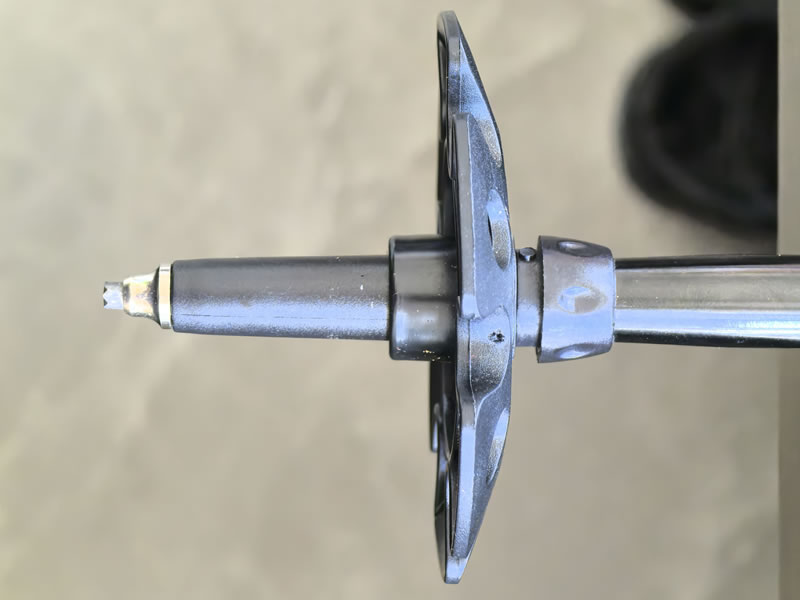
Step 2: Prepare the Ferrule
Once the old tip is off, you’ll see the metal ferrule. Clean it thoroughly with the cloth. Remove any old adhesive, dirt, or debris to ensure a tight fit for the new tip. A clean surface is essential for security.
Step 3: Install the New Tip
- Align: Place the new tip directly onto the clean ferrule. Ensure it is perfectly straight.
- Press: Using your hand, push the tip onto the ferrule as far as you can. For the final seat, you can use your pliers (again, protected with a cloth) to squeeze and press the tip on completely. Do not twist. You should hear or feel a definitive "pop" or "click" as it seats fully.
- Alternative Method (for stubborn tips): Some hikers recommend using a rubber mallet to gently tap the tip into place. The goal is a uniform, secure fit.
Troubleshooting Common Issues
- Stuck Old Tip: If the tip won't budge, applying a small amount of penetrating oil (like WD-40) around the base and letting it sit for 10 minutes can help loosen the adhesive. Be sure to wipe the ferrule clean completely before installing the new tip.
- Loose New Tip: If the new tip feels loose or wobbles, it’s likely the wrong size. A properly fitted tip will be very snug and require significant force to remove. If it's the correct size but still loose, a small drop of epoxy glue inside the tip before pressing it on will permanently secure it.
Pro Tips and Maintenance
- Rotate Your Tips: If you hike on asphalt or rocky terrain frequently, use rubber trekking pole "boots." These protect the carbide tips from premature wear and make your poles quieter and less jarring on paved surfaces.
- Carry Spares: A set of replacement tips weighs almost nothing and is invaluable on a long thru-hike.
- Brand-Specific Systems: Be aware that some brands (like LEKI) have proprietary tip replacement systems that may require a specific tool or even returning the pole to the manufacturer. Always check your manual.
Conclusion: A Five-Minute Tune-Up for Safety
Replacing your trekking pole tips is a quick, simple, and satisfying piece of gear maintenance. It restores critical performance and safety to your equipment for just a few dollars. By mastering this five-minute skill, you ensure your poles remain a trusted and reliable partner on every adventure, from local day hikes to epic cross-country journeys.


