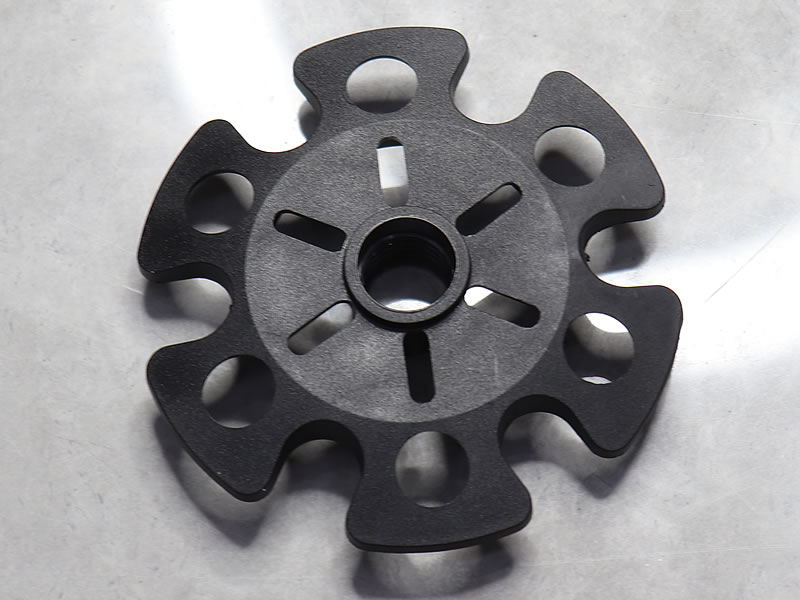
Trekking pole snow basket installation?
When winter transforms familiar trails into snowy wonderlands, your standard trekking poles might need a quick upgrade to remain effective. Snow baskets are essential accessories for winter hiking, snowshoeing, or backcountry skiing, preventing your poles from sinking deep into soft snow. If you’re wondering how to install them correctly, you’ve come to the right place. This guide covers everything you need to know—from why snow baskets matter to step-by-step installation tips.

Why Use Snow Baskets?
Standard trekking poles typically come with small, dirt-focused baskets that are inadequate for snow. Without larger snow baskets, your poles can plunge inches—or even feet—into deep powder, compromising stability and efficiency. Snow baskets distribute weight across a wider surface area, providing crucial support and preventing fatigue on long winter excursions.
Types of Snow Baskets
Not all snow baskets are created equal. The most common types include:
- Round Baskets: Ideal for deep, soft snow, offering maximum flotation.
- Teardrop/Pivot Baskets: Designed for variable conditions, these provide a balance of surface area and maneuverability.
- Offset Baskets: Often used in ski mountaineering, these are angled to optimize pole planting on steep terrain.
Most trekking pole brands (like Black Diamond, Leki, or REI Co-op) sell compatible snow baskets. Ensure you purchase the correct size and model for your poles.
How to Install Snow Baskets
Installation is usually straightforward and tool-free. Follow these steps:
- Remove the Old Baskets (If Applicable):Grip the existing basket firmly and twist it counterclockwise until it loosens. Some models may require gently prying it off with a tool if stuck.
- Clean the Threads:Wipe the threaded metal fitting near the pole tip with a dry cloth to remove dirt or ice. This ensures a smooth attachment.
- Attach the New Snow Baskets:Align the snow basket’s threading with the pole’s fitting and twist clockwise until snug. Avoid over-tightening, as this can damage the threads or make removal difficult later.
- Test for Security:Gently tug the basket to ensure it’s firmly attached. It shouldn’t wobble or spin freely.
Pro Tips and Common Mistakes
- Check Compatibility: Not all baskets fit all poles. Consult your pole’s manufacturer guidelines before purchasing.
- Carry Spares: Snow baskets can snap in icy conditions or pop off if not secured properly. Toss an extra pair in your pack.
- Combine with Winter Tips: For icy terrain, consider using carbide or ice tip attachments alongside snow baskets for maximum traction.
- Avoid Cross-Threading: When installing, start threading gently by hand to avoid stripping the threads.
When to Use Snow Baskets
Snow baskets aren’t just for deep powder. Use them in:
- Soft, wet spring snow
- Firm but unpredictable winter trails
- Mixed conditions where poles might punch through icy crusts
Conclusion
Installing snow baskets on your trekking poles is a quick, simple process that significantly enhances safety and performance in winter conditions. Whether you’re a casual snowshoer or a seasoned mountaineer, this small upgrade ensures your poles work as intended—keeping you stable, efficient, and confident on snowy adventures. Don’t let sinking poles slow you down this season; equip your gear for success!
Final Thought: Snow baskets are inexpensive, lightweight, and easy to store. Leave them in your pack all winter so you’re always prepared when the flakes start falling.


