


How to Replace Hiking Pole Tips: A Complete Guide
Worn-down trekking pole tips are more than just an inconvenience; they are a safety hazard. Slippery, smooth carbide tips or torn rubber pads can lead to loss of traction on critical terrain, increasing the risk of slips and falls. Fortunately, replacing them is one of the simplest and most cost-effective forms of gear maintenance. This comprehensive guide will walk you through the entire process, from identifying wear to securing your new tips for the trail.
Recommended trekking pole purchase link: https://s.click.aliexpress.com/e/_c4M7OWaN
Signs You Need New Tips
Don't wait for a complete failure. Inspect your tips regularly for:
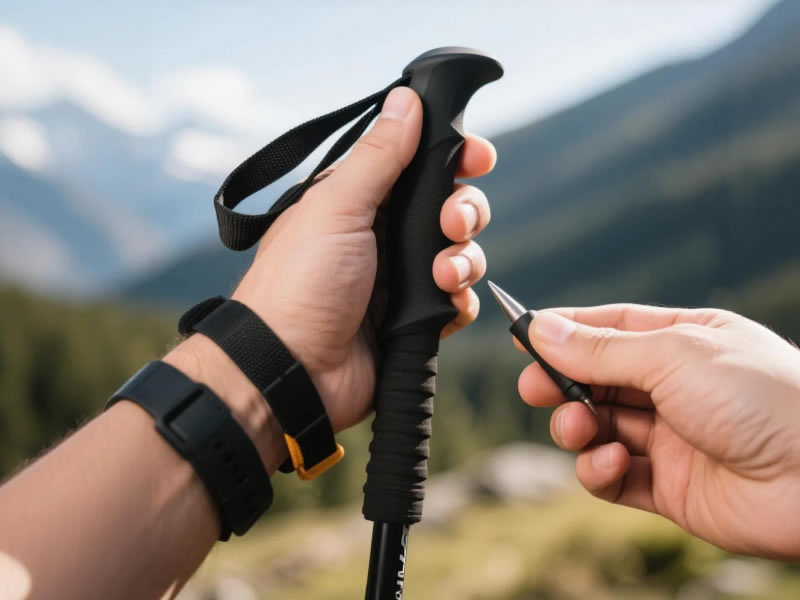
- Worn Carbide: The hard, tungsten-carbide insert at the tip's center should be sharp and protruding. If it's flush with the surrounding plastic or metal, or completely worn away, traction is severely compromised.
- Split or Missing Rubber Pads: The rubber tip that covers the carbide for road or indoor use can tear. While you can hike without it, a missing pad exposes the sharp carbide edge and can damage indoor floors.
- Loose Tips: If the tip wobbles or spins on the shaft, the threads may be worn or dirty, or the tip itself may be cracked. This instability defeats the purpose of a secure planting motion.
Tools and Preparation
You'll need just a few simple items:
- Replacement Tips: Ensure they match your pole's brand/model and shaft diameter (common sizes are 8mm, 10mm, and 12mm). Universal kits are available but may require an adapter.
- Vise or Pliers with a Soft Jaw (Optional but Helpful): A small bench vise is ideal. If using pliers, wrap the shaft in a cloth or use rubber grips to prevent damaging the carbon fiber or anodized finish.
- Rag or Paper Towel: For cleaning.
- Rubbing Alcohol (Optional): For degreasing threads for a better bond if using threadlocker.
Step-by-Step Replacement Process
Step 1: Remove the Old Tip
Most tips have standard, reverse-threaded connections. This means you turn them CLOCKWISE to loosen and remove them. The design prevents them from unscrewing during normal hiking.
- Method A (With a Vise): Securely clamp the shaft of the pole (not the tip) in the vise. Grip the old tip firmly with your hand and turn it clockwise. It should unscrew with moderate force.
- Method B (Without a Vise): Brace the pole securely against a sturdy surface. Use pliers or a multi-tool wrapped in a cloth to grip the old tip, and turn clockwise. Be careful not to crush or twist the pole shaft itself.
Step 2: Clean and Inspect the Threads
Once the old tip is off, wipe the exposed male threads on the pole shaft clean of any dirt, old adhesive, or metal filings. Inspect the threads for damage. If they are cross-threaded or stripped, contact the manufacturer, as the shaft itself may need service.
Step 3: Install the New Tip
- Dry Fit First: Hand-tighten the new tip counter-clockwise onto the clean threads. Ensure it screws on smoothly and straight. Do not force it.
- Apply Threadlocker (For a Permanent, Rattle-Free Seal): For a more secure hold that prevents tips from vibrating loose, apply a small drop of blue (removable) threadlocker (like Loctite 243) to the shaft threads before the final tightening. Avoid strong, red threadlocker.
- Final Tightening: Screw the tip on counter-clockwise as far as it will go by hand. For the final secure tightening, use your vise-and-hand or pliers method again, turning counter-clockwise until the tip is very snug. Avoid overtightening, which can damage plastic components or crack carbon fiber.
Step 4: Install New Rubber Pads (If Applicable)
Simply press the new rubber pad firmly onto the tip until it clicks or seats fully. Some may slide on and require a slight twist.
Pro Tips and Troubleshooting
- Stuck Tips: If a tip is severely stuck, applying a small amount of penetrating oil (like WD-40) to the seam and letting it sit for 10 minutes can help. Be sure to clean the threads thoroughly afterward.
- Choosing Tips: Consider replacement tips from your pole's manufacturer for a guaranteed fit. Third-party tips from reputable outdoor brands (like MSR, Black Diamond) also work well and often come in multi-packs.
- Carry Spares: Always pack an extra set of tips and rubber pads in your long-distance hiking repair kit. They are lightweight and can save your trip.
Conclusion: An Essential Maintenance Skill
Knowing how to replace your hiking pole tips is a fundamental skill that extends the life of your gear and ensures your safety on the trail. The process takes less than five minutes per pole and requires minimal tools. By keeping fresh, sharp tips on your poles, you maintain optimal grip and propulsion, allowing you to tackle every ascent and descent with confidence. Treat this simple maintenance task as part of your regular pre-hike checklist, and your poles will reward you with reliable performance for thousands of miles.


