


How to Adjust Walking Pole Height? The Complete Guide to Proper Fit for Every Terrain
Proper pole height is not a "set it and forget it" proposition. It is a dynamic adjustment that should change with every major terrain variation. A pole that is perfectly sized for a flat trail becomes a liability on a steep climb and a missed opportunity for knee relief on a descent. This guide provides a comprehensive, step‑by‑step methodology for adjusting your walking poles—from the basic 90‑degree rule to advanced techniques for sidehills, stream crossings, and everything between.
Recommended trekking pole purchase link: https://s.click.aliexpress.com/e/_c4M7OWaN
The Foundation: The 90‑Degree Rule for Flat Terrain
Before you can adjust for terrain, you must establish your baseline—the correct height for walking on level ground.
The Test:
- Stand upright on a flat, hard surface wearing your typical hiking shoes.
- Grip the pole handle as you normally would.
- Place the tip on the ground beside your foot.
- Your elbow should form a 90‑degree angle. Your forearm should be parallel to the ground.
Why this matters: This position allows for an efficient arm swing, optimal power transfer, and neutral wrist posture. It is the reference point from which all other adjustments are made.
If you do not have a 90° angle:
- Elbow >90° (arm too straight) → Pole is too long; shorten it.
- Elbow <90° (arm too bent) → Pole is too short; lengthen it.
Dynamic Adjustment: Matching Height to Terrain
Once your baseline is set, you must adapt as the trail changes.
1. Uphill Climbing – Shorten
| Adjustment | Amount | Why |
|---|---|---|
| Shorten from baseline | 5–10 cm (2–4 inches) | A shorter pole allows you to plant closer to your body, maintain an upright torso, and generate powerful push‑off from behind. |
Technique: Before a sustained climb, stop and shorten both poles. You should feel a more natural, aggressive planting motion. If you are reaching forward excessively or feeling hunched, shorten further.
Common mistake: Leaving poles at flat‑terrain length on a steep climb forces you to reach upward, compromising leverage and posture.
2. Downhill Descents – Lengthen
| Adjustment | Amount | Why |
|---|---|---|
| Lengthen from baseline | 5–15 cm (2–6 inches) | A longer pole allows you to plant ahead of your body, creating a braking action that reduces knee impact and provides stability. |
Technique: Before descending, lengthen both poles. Plant the tip firmly downhill and ahead of your next foot placement. Transfer weight onto the pole as you step down.
Why it matters: This single adjustment can reduce knee compressive forces by up to 25%. Skipping it negates one of the primary benefits of using poles.
3. Sidehill Traverses – Independent Adjustment
On a slope where the trail angles across a hillside, your uphill and downhill poles need different lengths.
| Pole | Adjustment | Why |
|---|---|---|
| Uphill pole | Shorten | Keeps your uphill hand from being raised awkwardly; maintains comfortable arm position. |
| Downhill pole | Lengthen | Allows you to plant firmly on the lower side, acting as an outrigger to prevent downhill lean. |
Technique: Before traversing a significant sidehill, adjust each pole independently. The goal is to keep both grips at roughly the same height relative to your shoulders, despite the slope.
4. Stream Crossings – Lengthen for Probing
| Adjustment | Amount | Why |
|---|---|---|
| Lengthen from baseline | 5–10 cm (2–4 inches) | Provides extra reach to probe the streambed ahead, testing depth and stability before committing your weight. |
Crucial safety note: Always unbuckle wrist straps before crossing water.
5. Deep Snow / Mud – Lengthen
Soft surfaces require longer poles to prevent the basket from sinking too deeply. Lengthen 5–10 cm from baseline and ensure large snow/mud baskets are installed.
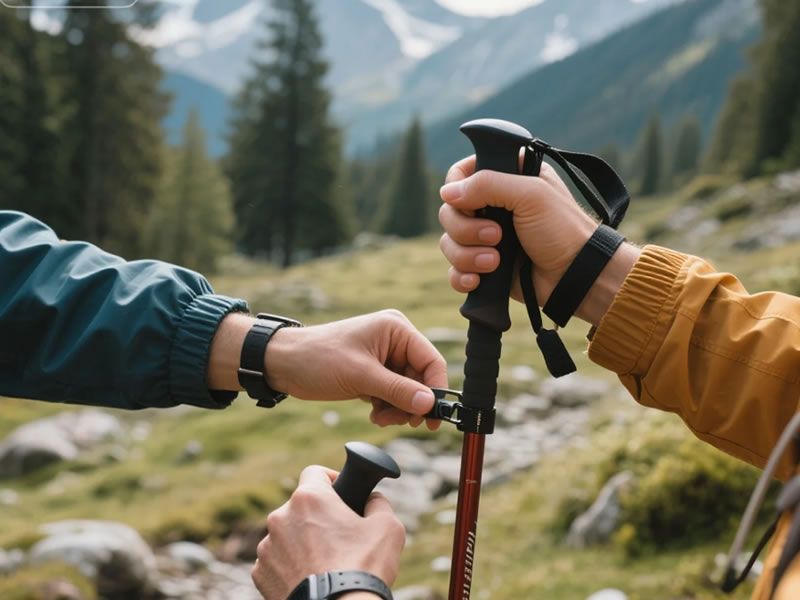
Locking Mechanisms: How to Adjust
Your ability to adjust quickly and confidently depends on your pole's locking system.
Flip Locks (Lever Locks) – The Preferred Choice
- Open the lever fully to release clamping pressure.
- Slide the section to desired length.
- Close the lever firmly until it clicks/secures.
- Verify by pushing down on the pole—it should not slip.
Advantage: Instant, tool‑free, and operable with gloves. Tension can be adjusted with a hex key if the lever becomes loose.
Twist Locks – More Finicky
- Loosen by twisting the sections counter‑clockwise.
- Slide to desired length.
- Tighten by twisting clockwise firmly—significantly tighter than you think necessary.
- Test by applying weight; if it slips, tighten more.
Warning: Twist locks are prone to slipping under load and are difficult to adjust with cold/wet hands. If you have them, check tension frequently.
Adjustment Frequency: When to Change
Do not wait until you are struggling. Develop the habit of adjusting:
- Before every sustained climb or descent.
- At major terrain transitions (trailhead to trail, flat to hill, etc.).
- Whenever you feel your posture is compromised or your poles feel "wrong."
With flip locks, this takes 5 seconds. The benefit in comfort and joint protection is enormous.
Common Adjustment Mistakes
| Mistake | Consequence | Correction |
|---|---|---|
| Never adjusting from flat baseline | Poor posture on hills; missed knee protection. | Adjust for every major terrain change. |
| Over‑lengthening on descents | Poles too long cause over‑reaching and shoulder strain. | 5–15 cm max; maintain slight elbow bend. |
| Under‑shortening on climbs | Reduced leverage; inefficient climbing. | Shorten enough to feel a powerful push‑off. |
| Ignoring sidehill adjustments | Uneven arm position; reduced stability. | Adjust each pole independently. |
| Not verifying lock security | Pole can slip under load, causing a fall. | Always test with weight after adjusting. |
Special Cases
Nordic Walking / Fitness Walking
For dedicated fitness walking on flat or rolling terrain, many users prefer fixed‑length poles sized precisely to the 90° rule. No adjustment needed—simplicity and efficiency are paramount.
For Sharing Poles
If you share poles with a partner of different height, mark your preferred settings with a piece of tape on the shaft. This allows quick return to your length after the other person adjusts.
For Children
Children's poles should be adjusted more frequently as they grow. The 90° rule applies equally.
Summary: Quick‑Reference Card
| Terrain | Adjustment from Baseline | Action |
|---|---|---|
| Flat | None | 90° elbow angle |
| Uphill | Shorten 5–10 cm | Improve leverage, posture |
| Downhill | Lengthen 5–15 cm | Reduce knee impact, improve stability |
| Sidehill | Uphill pole shorter; downhill pole longer | Maintain level shoulders |
| Stream crossing | Lengthen 5–10 cm | Probe ahead safely |
| Deep snow/mud | Lengthen 5–10 cm | Prevent sinking |
Conclusion: The Five‑Second Habit That Transforms Your Hike
Adjusting your pole height is not a chore; it is a performance tool that costs seconds and pays dividends in comfort, efficiency, and joint health. The hiker who never adjusts is leaving benefits on the trail. The hiker who adapts to every terrain change is maximizing the potential of their equipment.
Commit to the habit:
- Feel the terrain change.
- Stop for five seconds.
- Open, slide, close.
- Hike on—faster, safer, and more comfortably.
Your knees, your shoulders, and your future self will thank you.


